1-20
82
To unmark selected print
marks
Select the image to be unmarked in
step 5 with
v
/
V
/
b
/
B
,thenpress
z
.
To unmark all the print
marks
Select [ALL] with
b
/
B
in step 4, then
press
z
. Select [OFF] with
b
/
B
,then
press
z
.
The marks on all images are
unmarked.
To cancel marking the print
mark
Select [CANCEL] with
b
/
B
in step 4,
then press
z
, or select [EXIT] with
b
/
B
in step 7,thenpress
z
.
Notes
• You cannot mark moving images, Clip
Motion images or images recorded in
TEXT mode.
• If you mark an image recorded in TIFF
mode with a print mark, only the
uncompressed image is printed, and the
JPEG image recorded at the same time is
not printed.
• If you mark an image with a print mark,
the disc space will decrease. Also, if you
unmark the print mark, the disc space will
decrease.
• If the disc space is not sufficient, you may
not be able to mark an image with a print
mark.
Formatting a CD-RW
When deleting all the images in the
CD-RW or using the CD-RW
formatted with other equipment than
this camera, format the CD-RW. When
youformataCD-RW,alldatastored
on the disc will be deleted. Check the
contents of the disc before formatting.
The initialization is also executed after
the format.
To cancel formatting
Select [CANCEL] with
v
/
V
in step 3,
then press
z
.
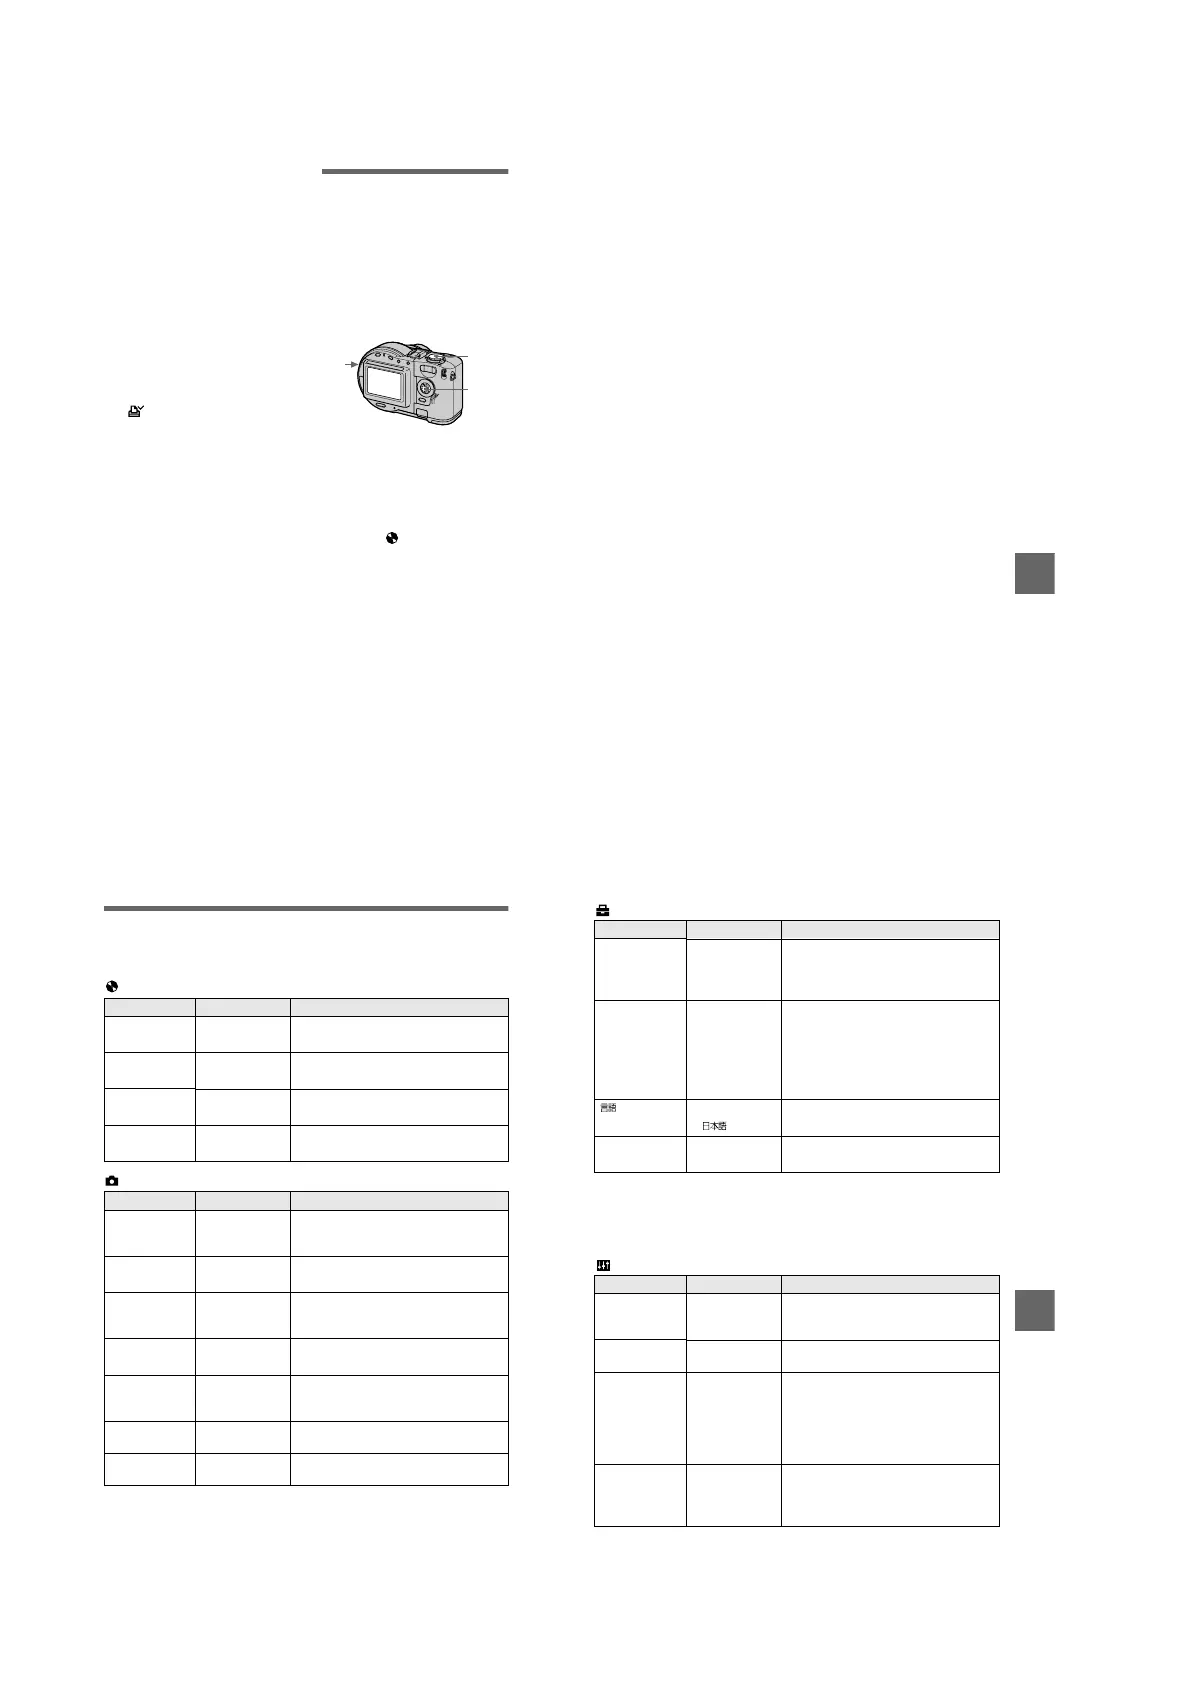
6
Press MENU.
The menu appears.
7
Select [OK] with
b
/
B
,then
press
z
.
1
Insert only the CD-RW you
want to format.
2
Set the mode dial to SET UP.
The setup screen appears.
3
Select [ ] (DISC TOOL) with
v
/
V
, [FORMAT] with
B
/
v
/
V
,
then press
B
.
4
Select [OK] with
v
/
V
,then
press
z
.
“FORMAT PLACE ON LEVEL
SURFACE” appears on the LCD
screen.
5
Select [OK] with
v
/
V
,then
press
z
.
2
1
3
–
5
B
BB
B Editing
83
Notes
• When you format, be sure to use a fully
charged battery pack or the AC power
adaptor as the power source.
• CD-Rs cannot be formatted.
• The disc which is formatted using other
equipment than this camera cannot be used
with this camera. Format the disc again
with this camera.
• It takes about seven minutes to execute the
format.
• About 300 times formatting can be
available on a CD-RW.
• Once you format the CD-RW, protected
images are also deleted.
84
Changing the setup settings (SET UP)
Set the mode dial to SET UP. The setup screen appears. You can set up the following
items with the control button.
DISC TOOL
CAMERA
Item Setting Description
FINALIZE OK Finalizes a disc (page 32).
CANCEL Cancels the finalization.
FORMAT OK Formats a CD-RW (page 82).
CANCEL Cancels formatting of the CD-RW.
INITIALIZE OK Initializes a disc (page 18).
CANCEL Cancels the initialization.
UNFINALIZE OK Unfinalizes a CD-RW (page 34).
CANCEL Cancels the unfinalization.
Item Setting Description
SCENE
SELECTION
x
TWILIGHT
LANDSCAPE
PORTRAIT
Selects the SCENE SELECTION mode that
is assigned to the SCN position (page 58).
MOVING
IMAGE
x
MPEG MOVIE Records the MPEG movie (page 26).
CLIP MOTION Records the Clip Motion.
DATE/TIME DAY & TIME
DATE
x
OFF
Sets whether to insert the date and time into
the still image (page 70).
DIGITAL ZOOM
x
ON Uses digital zoom (page 23).
OFF Does not use digital zoom.
BRACKET STEP
(MVC-CD300
only)
±1.0EV
x
±0.7EV
±0.3EV
Sets the exposure plus minus value when
recording three images with each exposure
valueshifted(page63).
RED EYE
REDUCTION
ON
x
OFF
Reduces the red-eye phenomenon (page 24).
AF
ILLUMINATOR
x
ON
OFF
Uses when it is hard to focus on the subject
under dark situations (page 25).
B
BB
B Editing
85
SETUP 1
When [CONVERSION LENS] is set to [ON]:
• The SCENE SELECTION and zoom functions are not activated.
• WhenthemodedialissettoSorM,theirisvaluecanbeselectedonlyfromF4ormore.
• The focus preset is not activated.
• The macro recording is not activated.
SETUP 2
Item Setting Description
FILE NUMBER SERIES Assigns numbers to files in sequence even if
the disc is changed.
x
RESET Resets the file number that starts from 0001
each time the disc is changed.
CONVERSION
LENS (MVC-
CD300 only)
ON Set to [ON] when using the VCL-MHG07
conversion lens (not supplied). At this time,
the zoom function does not work. Also, note
that the VAD-S70 adaptor ring needed to
mount the conversion lens to your camera is
not sold in some countries and regions.
x
OFF
/
LANGUAGE
x
ENGLISH Displays the menu items in English.
/JPN Displays the menu items in Japanese.
CLOCK SET OK Sets the date and time (page 14).
CANCEL
Item Setting Description
LCD
BRIGHTNESS
BRIGHT
x
NORMAL
DARK
Selects the LCD brightness (page 22).
LCD
BACKLIGHT
BRIGHT
x
NORMAL
Selects the brightness of the LCD backlight.
BEEP SHUTTER Turns on the shutter sound only. (The shutter
sound is heard when you press the shutter
button.)
x
ON Turns on the beep/shutter sound (when you
press the control button/shutter button).
OFF Turns off the beep/shutter sound.
VIDEO OUT NTSC Sets the video output signal to NTSC mode
(e.g., Japan, the USA).
PAL Sets the video output signal to PAL mode
(e.g., Europe).

 Loading...