1-11
44
Changing the
Initial Settings
Select “Setup” from the “System Menu”
when you need to change the settings of the
player (e.g., when changing the connected
device or the audio/video output, etc.).
The last part of this section explains how to
return all of these settings to their factory
defaults.
Note
Playback settings described in this section may not work
when there is any preset playback setting in the disc. The
disc’s playback settings take priority over the player’s
playback settings.
Using the Setup Displays
From the “System Menu,” enter the “Setup” displays to change
the settings of the player.
a Press SYSTEM MENU while the player is
stopped.
b Select “Setup,” and press ENTER.
c Select the “Setup” display you want to use,
from “Video Setup,” “Audio Setup,”
“Language,” “Parental Control,”
“Speakers,” or “Options,” and press
ENTER.
The “Setup” display appears with the related items.
Note that the display switches to the screen saver if
you do not operate for 15 minutes.
d Select the item you want to change, and press
ENTER.
Refer to the explanations in the following sections.
To return to the previous display
Press RETURN.
BD
DVD
DATA DVD
CD
Use
to select an item, then press [RR] or
ENTER.
Confirm Exit
SYSTEM MENU
Setup
Video Setup
Audio Setup
Language
Parental Control
Speakers
Options
TV Type
4:3 Video Out
DVD Aspect Ratio
YC
b
C
r
/RGBPC(HDMI)
24p Output
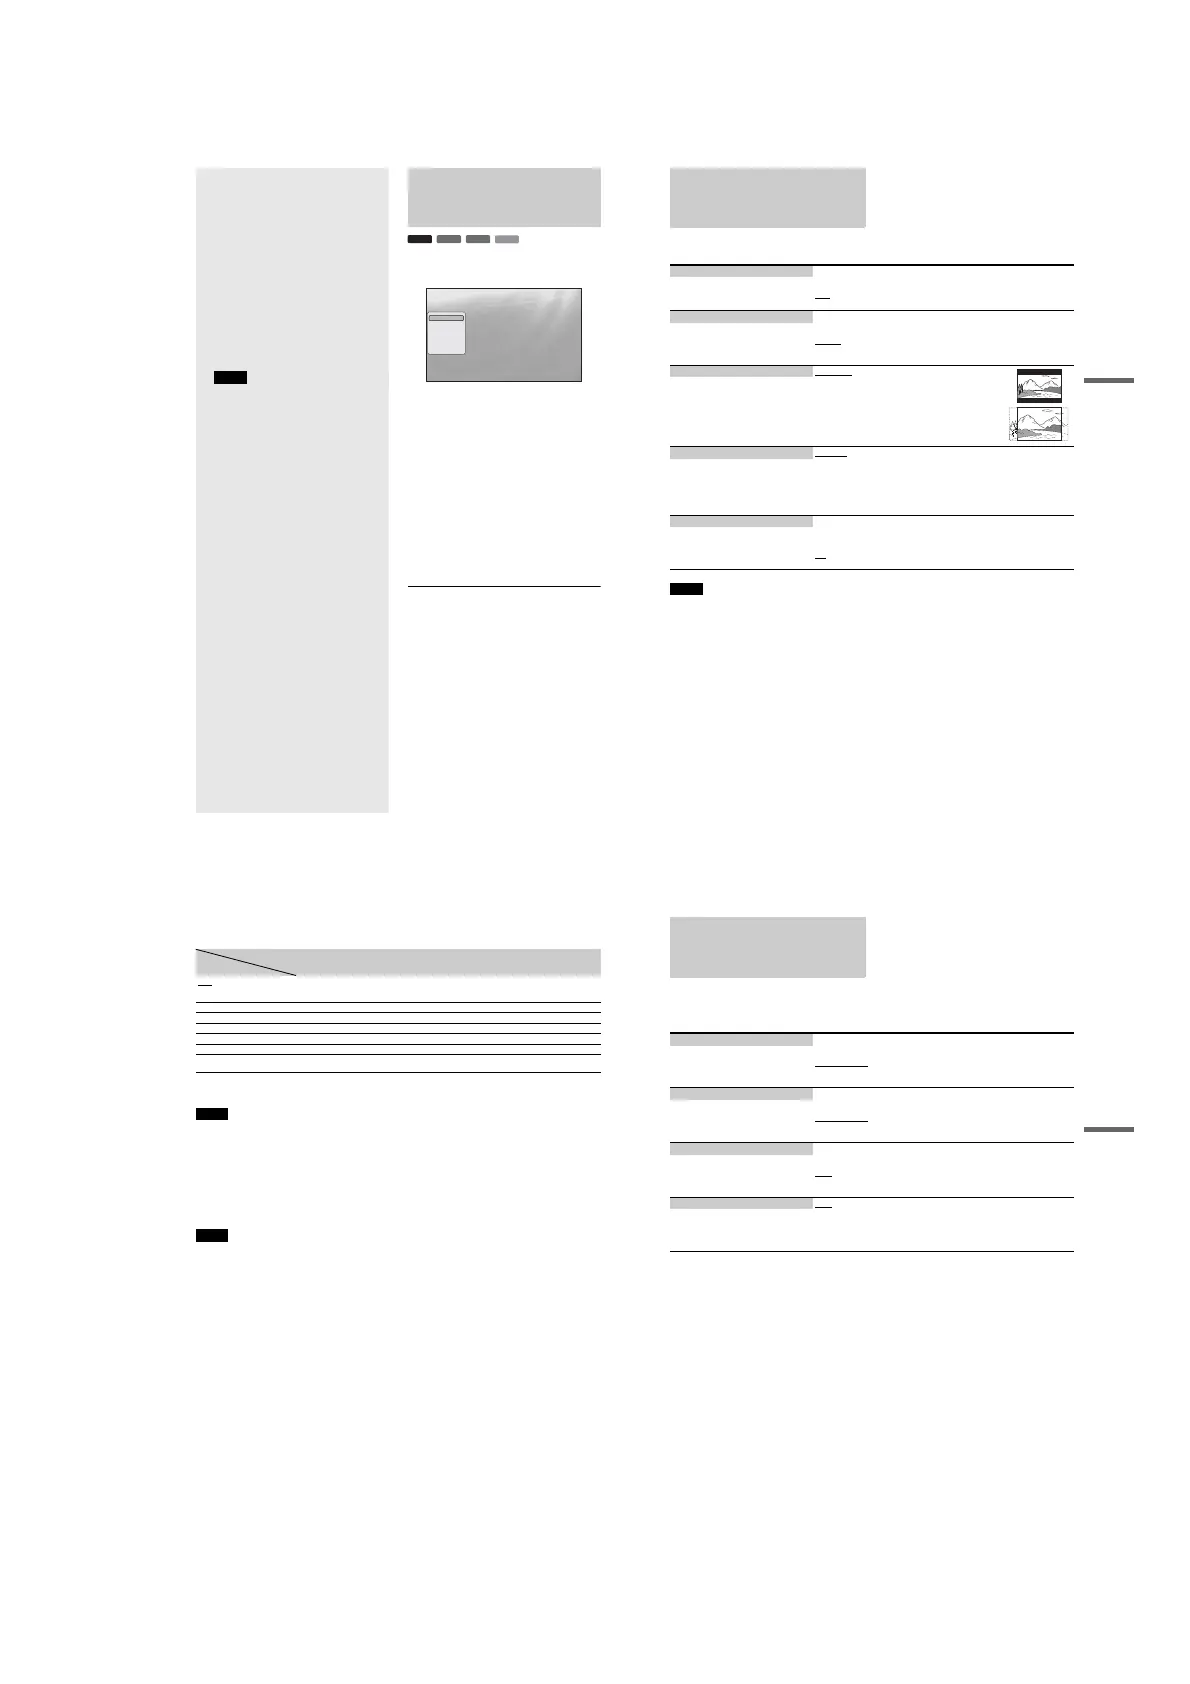
16:9
Normal
Letter Box
Y, C
b
, C
r
Off
•
Using the Setup Displays
. . . . . . . . . . . . . . . .
44
•
Video Setup
. . . . . . . . . . . . . . . . . . . . . . . . . .
45
•
Audio Setup
. . . . . . . . . . . . . . . . . . . . . . . . . .
47
•
Language
. . . . . . . . . . . . . . . . . . . . . . . . . . . .
49
•
Parental Control
. . . . . . . . . . . . . . . . . . . . . . .
50
•
Speakers
. . . . . . . . . . . . . . . . . . . . . . . . . . . . .
51
•
Options
. . . . . . . . . . . . . . . . . . . . . . . . . . . . . .
52
•
Resetting the Player
. . . . . . . . . . . . . . . . . . . .
53
45
Changing the Initial Settings
Video Setup
Underlined items are the default settings.
Note
“TV Type” and “DVD Aspect Ratio” can be set when video output resolution is 480i/480p.
TV Type 4:3
–4:3 screen TV.
16:9
–Wide-screen TV, or a TV with a wide mode function.
–Select your TV type.
4:3 Video Out Full
–Displays a 4:3 screen picture in 16:9 aspect ratio.
Normal
–Displays a 4:3 screen picture in 4:3 aspect ratio with black bands on the sides. Select
this if your TV does not have a 4:3 screen mode.
–Select the display configuration for a 4:3
screen picture on a 16:9 wide screen TV.
DVD Aspect Ratio Letter Box
–Displays a wide picture with black bands on the top and
bottom.
Pan & Scan
–Displays a full-height picture on the entire screen, with
trimmed sides.
–Select the display configuration for a 16:9
DVD picture on a 4:3 screen TV (selectable
when “TV Type” is set to “4:3”).
Note that the aspect ratio is fixed on some
discs. For example, a 4:3 letterbox picture
may appear even when “Pan & Scan” is
selected.
YCbCr / RGBPC (HDMI) Y, Cb, Cr
–Select this when connecting to an HDMI device.
RGB (16-235)
–Select this when connecting to a device with an HDCP-compliant DVI jack.
RGB (0-255)
–Select this when connecting to an RGB (0-255) device.
–Select the type of output from the HDMI
OUT jack.
24p Output On
–Sends 1920 × 1080p/24 Hz video signals when playing Film-based materials on BD-
ROMs (720p/24 Hz or 1080p/24 Hz). Select this when the connection applies.
Off
–Select this for any other connection.
–For connection to a 1080/24p-compatible TV
using the HDMI OUT jack.
,continued
46
To set the video output resolution
Press VIDEO FORMAT repeatedly to select the desired resolution. Note that the resolution differs depending on the display device,
connecting jack and the source material as below.
*
1
Outputs in the same resolution and frequency as recorded on the disc.
*
2
1080/24p video signals are not output from the COMPONENT VIDEO OUT jacks.
*
3
Outputs in the resolution of the original setting (720p or 1080i) when the DVD is not copy guarded.
Notes
• If the picture is not clear, natural or to your satisfaction, try another resolution that suits the disc and your TV/projector, etc. For the details, refer also
to the instruction manual supplied with the TV/projector, etc.
• 480i or 480p video signals may be output when you connect to the COMPONENT VIDEO OUT jacks and play some copy-guarded BDs/DVDs. To
enjoy the HD quality resolution in this case, connect the display device to the HDMI OUT jack using an HDMI cord.
•Even when you select a setting other than “Auto,” the player automatically adjusts the video signals if the TV cannot accept the set resolution.
To output the 1080/24p video signals
A 1080/24p-compatible TV is required for this setting.
1 Set “24p Output” in “Video Setup” to “On” (page 45).
2 Press VIDEO FORMAT repeatedly to select “Auto” or “Source Direct.”
Note
If there is no picture, press VIDEO FORMAT repeatedly until the picture appears correctly.
HDMI OUT COMPONENT VIDEO OUT VIDEO/S VIDEO
Auto Automatically selects the
recommended resolution acceptable
for your TV.
480i 480i
480i 480i 480i 480i
480p 480p 480p 480i
720p 720p BD:720p, DVD:480p*
3
480i
1080i1080iBD:1080i, DVD:480p*
3
480i
1080p 1080p 480p 480i
Source Direct Output differs depending on source
material*
1
Output differs depending on source
material*
2
480i
Connecting
jack
Settings
47
Changing the Initial Settings
Audio Setup
Underlined items are the default settings. Since many factors
affect the type of audio output, see also “About the audio output
signals” on page 48.
Dolby Digital Dolby Digital
–Select this when connecting to a device with a built-in Dolby Digital decoder.
Downmix PCM
–Converts to output Linear PCM signals. Select this when connecting to a device
without a built-in Dolby Digital decoder.
–Select the audio signals output when playing
Dolby Digital discs. This setting affects the
output from the DIGITAL OUT (COAXIAL
or OPTICAL) jack.
DTS DTS
–Select this when connecting to a device with a built-in DTS decoder.
Downmix PCM
–Converts to output Linear PCM signals. Select this when connecting to a device
without a built-in DTS decoder.
–Select the audio signals output when playing
DTS discs. This setting affects the output
from the DIGITAL OUT (COAXIAL or
OPTICAL) jack.
DTS Downmix Stereo
–Downmixes multi-channel audio signals for two channel stereo.
Lt/Rt
–Allows you to hear surround sound when the connected device has a built-in Dolby
Pro Logic decoder.
–Select the type of 2-channel signals when
down-mixed from multi-channel DTS
sources (effective for audio connections
when “DTS” is set to “Downmix PCM”).
Audio (HDMI) Auto
–Normally, select this. Outputs audio signals according to the status of the connected
HDMI device.
PCM
–Converts all audio signals to Linear PCM.
–Select the output method from the HDMI
OUT jack.
,continued
 Loading...