33
KV-34DRC430/36DRC430
KV-34DRC430/36DRC430
SECTION 4: CIRCUIT ADJUSTMENTS
ELECTRICAL ADJUSTMENTS BY REMOTE COMMANDER
Use the Remote Commander (RM-Y197) to perform the circuit adjustments in this section.
Test Equipment Required: 1. Pattern generator 2. Frequency counter 3. Digital multimeter 4. Audio oscillator
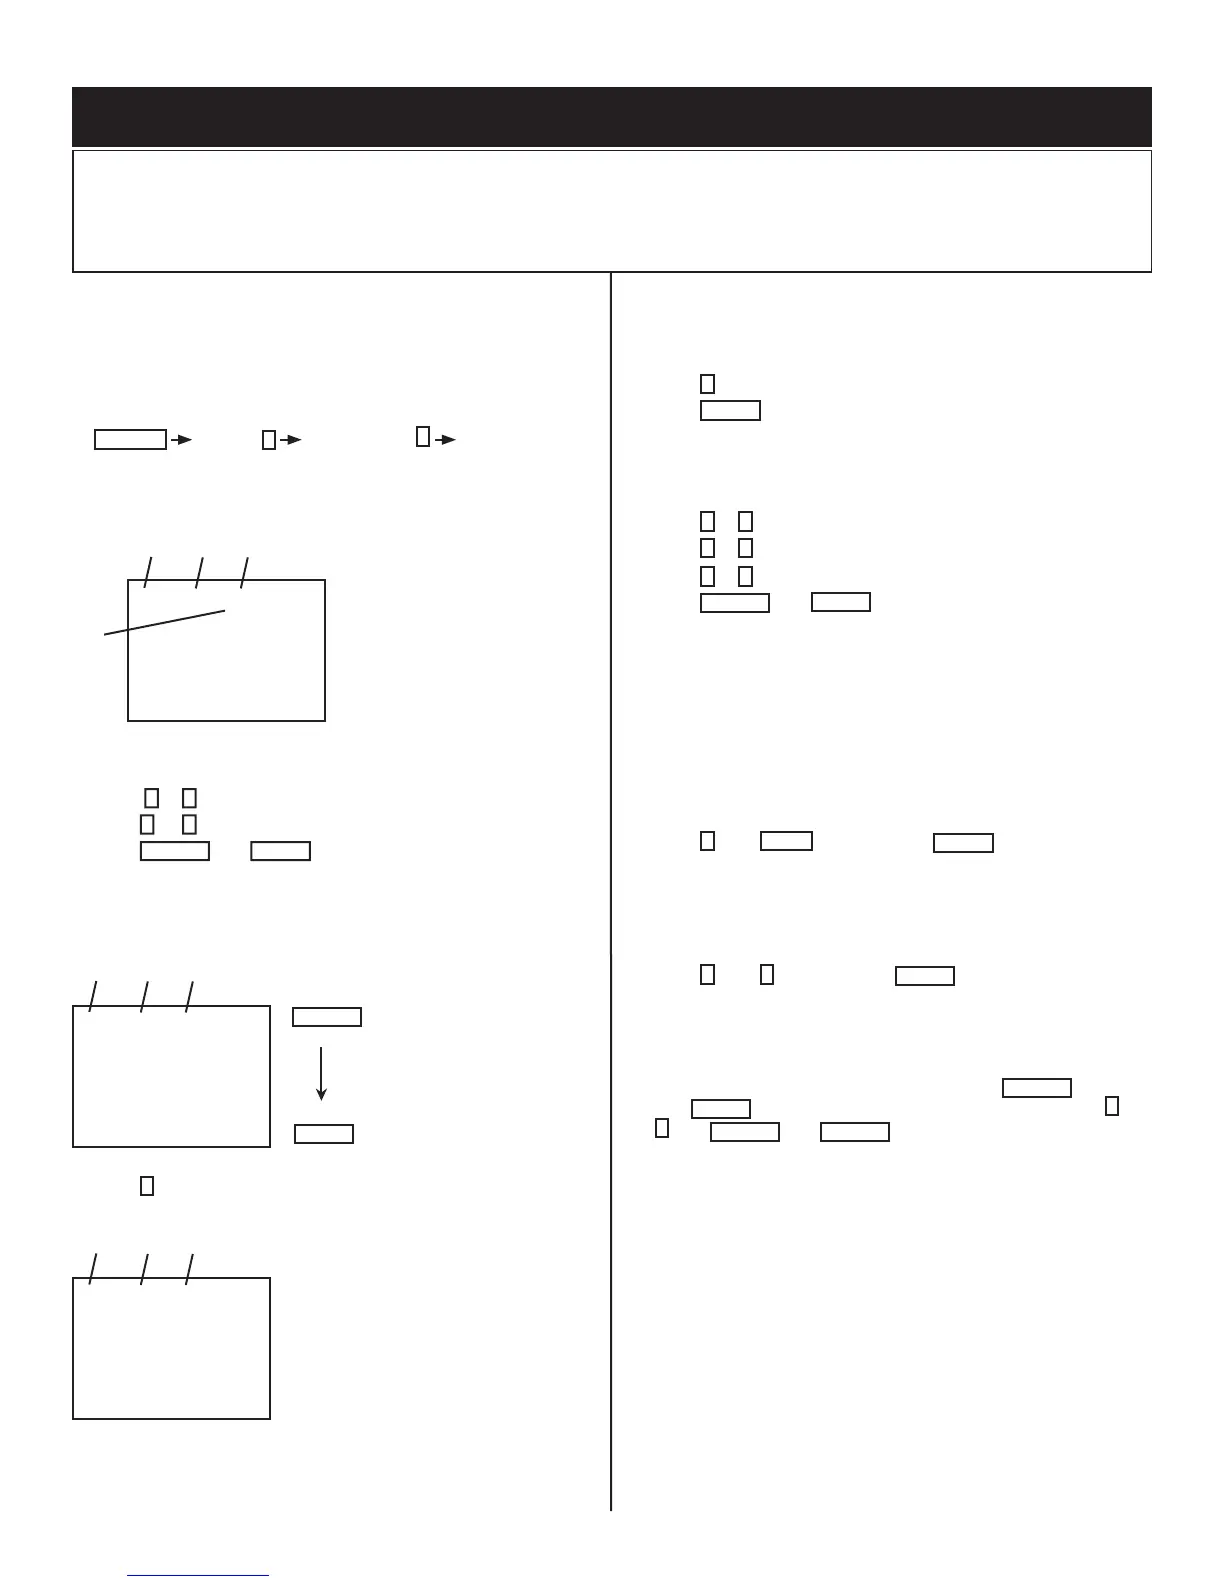
4-1. SETTING SERVICE ADJUSTMENT MODE
1. Standby mode (Power off).
2. Press the following buttons on the remote commander within a second
of each other:
DISPLAY
Channel
5
Sound Volume
+
Power
4-1.1. SERVICE ADJUSTMENT MODE IN
Disp.
(Item)
Item
data
0
VP
HSIZ
7
TV
Item
order
SERVICE
Mode
3. The CRT displays the item being adjusted.
4. Press
1
or
4
on the Remote Commander to select the item.
5. Press
3
or
6
on the Remote Commander to change the data.
6. Press
MUTING
then
ENTER
to write into memory.
4-1.2. SERVICE ADJUSTMENT MODE MEMORY
Disp.
(Item)
Item
data
SERVICE
0
VP
HSIZ
7
TV
Item
order
ENTER
MUTING
Red
Green
7. Press
8
on the Remote Commander to initialize.
Disp.
(Item)
Item
data
WRITE
0
VP
HSIZ
7
TV
Item
order
8. DO NOT turn off set until SERVICE appears.
4-1.3. READING THE MEMORY
1. Enter into Service Mode.
2. Press
0
on the Remote Commander.
3. Press
ENTER
to read memory.
4-1.4. ADJUSTING THE PICTURE
1. Enter into Service Mode
2. Press
2
or
5
on the remote to select the device item.
3. Press
1
or
4
on the remote to select an item.
4. Press
3
or
6
on the remote to change the data.
5. Press
MUTING
then
ENTER
to write into memory.
4-1.5. RESETTING THE DATA
CAUTION: Be careful when using the remote! It will clear and re-
initialize ALL NVM data including defl ection adjustment data if not
reset properly as follows:
4-1.6. RESETTING THE MID NVM DATA
1. Enter into Service Mode.
2. Press
7
, then
JUMP
, and then press
ENTER
on the remote.
4-1.7. RESETTING THE SYSTEM NVM DATA
1. Enter into Service Mode. This resets DEFL adjust and video white
balance.
2. Press
7
, then
9
, and then press
ENTER
on the remote.
4-1.8. COPY FUNCTION
How to use copy function for DA4 Chassis:
• After writing your adjusted data into NVM, press
MUTING
then
ENTER
, copy can be made by changing copy data from
0
to
1
then
MUTING
, and
ENTER
again.
WARNING: DO NOT copy data before writing your corrected data in
NVM. If data is copied before writing corrected data, old
data will be copied.
• CPY1: DF/DQP DATA (CXA2170D-4 Item 6)