7
Preparation
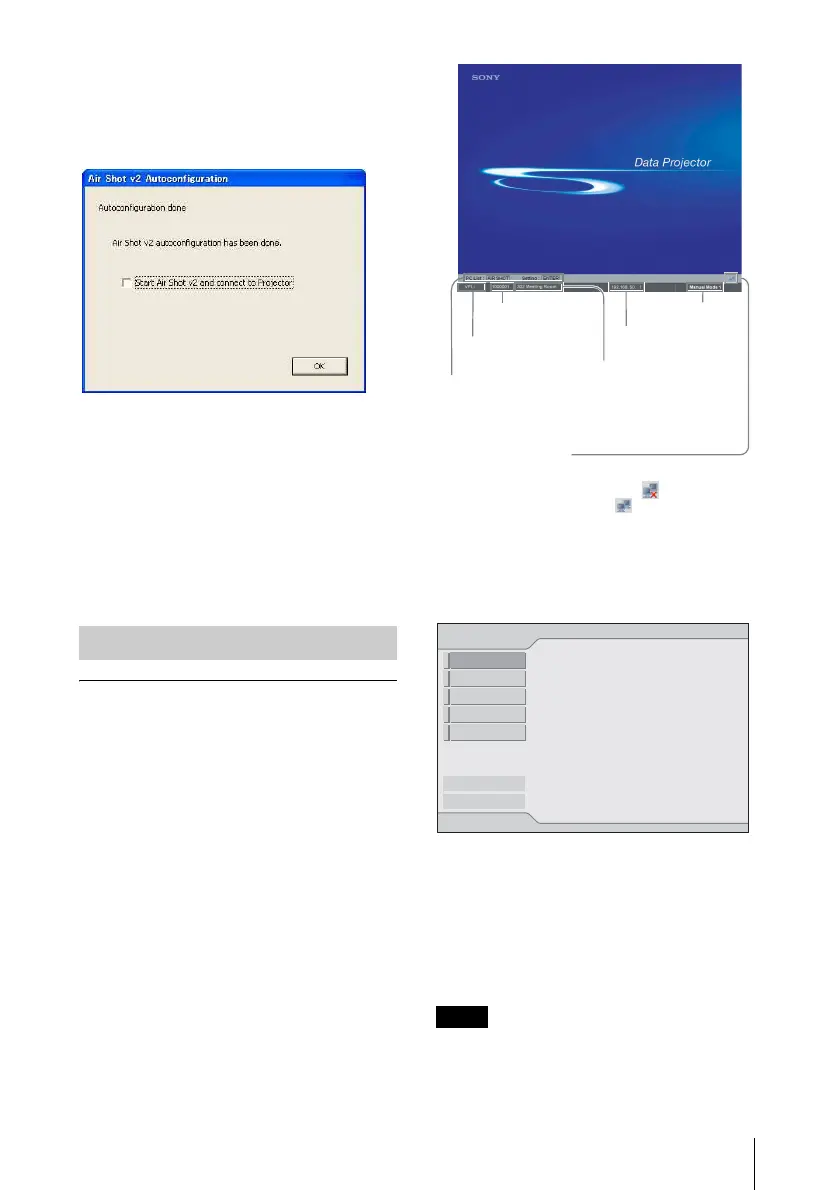
[Autoconfiguration done] appears after the
installation is completed.
To continue projecting the pictures, check
the [Start Air Shot v2 and connect to
Projector] check box and click [OK].
Projector Station for Air Shot Version 2
starts up automatically.
When you are not going to project the
pictures, click [OK].
After executing [AutoConfig.exe], start up
the application with [PjstnASv2.exe].
When you change the computer, execute
[AutoConfig.exe].
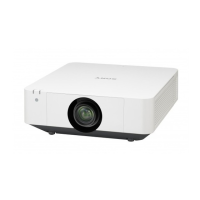
Setting the projector
1 Connect the network cable to the
NETWORK connector of the
projector.
2 Turn on the projector.
3 Press the INPUT E or AIR SHOT key
on the remote commander.
The home display of the network
presentation appears.
4 Press the ENTER key.
The setting menu display appears.
5 Select the mode to be set and press the
ENTER key.
The setting items menu (action menu) is
displayed.
Set referring to the “Setting each mode”
on page 9.
To use the network function, set [Standby
Mode] in the menu for the setup of the
projector to [Standard].
Preparing the Projector
Note
Model name
Serial number
Operations
guide
Nick name (only
when specified)
IP address
Mode
Icon
Icons representing network status:
being not connected
being connected
Simple Mode
Internet Protocol(IP)
IP Address Setting:
IP Address:
Subnet Mask:
Default Gateway:
192.168.11.21
255.255.255.0
192.168.11.253
Manual
System Setup
Exit
Network
Manual Mode1
Manual Mode2
Manual Mode3
Manual Mode4
Manual Mode5