2-1
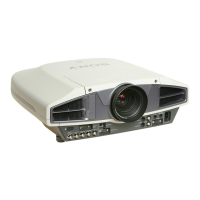
VPL-FX52/FX52L
Section 2
Electrical Adjustments
2-1. Preparation
2-1-1. Required Equipment
. NTSC, PAL, SECAM component signal generator
LEADER 408-NPS or equivalent
. ASTRO programmable video signal generator
VG-828 or equivalent
. Chroma Meter/Light Meter
Minolta CL-200 or equibalent
n
Allow the warm-up time of 5 minutes after the power is on
before starting the following adjustments.
2-1-2. How to Enter the Factory Mode
1. Confirm that the MENU can be displayed.
2. Close the MENU.
3. Press the keys in the following order : [ENTER] →
[ENTER] → [&] → [ENTER].
The message [Do you want to enter the Factory Mode?
Yes : ↑ No : ↓] appears.
Select [Yes : ↑].
[Supplementary information: How to Exit the
Factory Mode]
Perform the step 3 KEY operation.
The message [Do you want to return to the User Mode?
Yes : ↑ No : ↓] appears.
Select [Yes : ↑].
2-2. V COM Adjustment
1. Input the green-only, 30 IRE single-line ON/OFF
signal to the input connector.
(XGA signal)
2. Enter the G VCOM adjustment screen of the Device
Adjust.
3. Adjust the G VCOM value so that the flicker is
minimal.
4. Switch the input signal from green-only to red-only
(30 IRE) then to blue only (50 IRE) single-line ON/
OFF signal. In the same way as step 3, adjust the R
VCOM and B VCOM values respectively so that the
flicker is minimal.
5. Take note of the adjustment values.
6. Set the “Image Flip” to either V or HV.
7. Input the above R/G/B adjustment values.
8. Take note of the adjustment values.
9. Set the “Image Flip” to OFF.