15
Place a cleaning tablet in the coee powder chute and close
the lid.
The cleaning process re-starts. Symbol S11
ashes. The cleaning
process is automatic and will run for about 10 minutes. Once the
process has nished, symbol S2
is displayed and symbol S11
ashes.
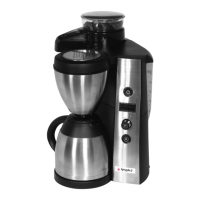
Remove the drip tray with used coee grounds container (gures
1/N and Q) and empty both.
Re-insert the drip tray and used coee grounds container.
The machine briey heats up. It is ready for use again when the bean
symbols are displayed.
If required, the cleaning programme can also be started and run as
described in point 4.2, without the prompt of symbol S11
.
If the machine requires descaling, symbol S7 appears on the
display.
by the red bars at the bottom of the display. The more bars that
Switch the machine on.
Press the strength/volume selector (Fig. 1/B) for more than three
seconds to go to the maintenance menu.
Symbol S6
, S7 or S11 will be displayed.
Turn the strength/volume selector (Fig.1/B) clockwise or
anti-clockwise until symbol S7
is on.
Start the descaling programme by briey pressing the strength/
volume selector (Fig. 1/B).
i
4. CLEANING AND MAINTENANCE
!
!
i