Error! Main Document Only.6. Installing the Dash-2 Kart Logger STACK Dash-2 Kart Logger
32 Users Guide
Procedure
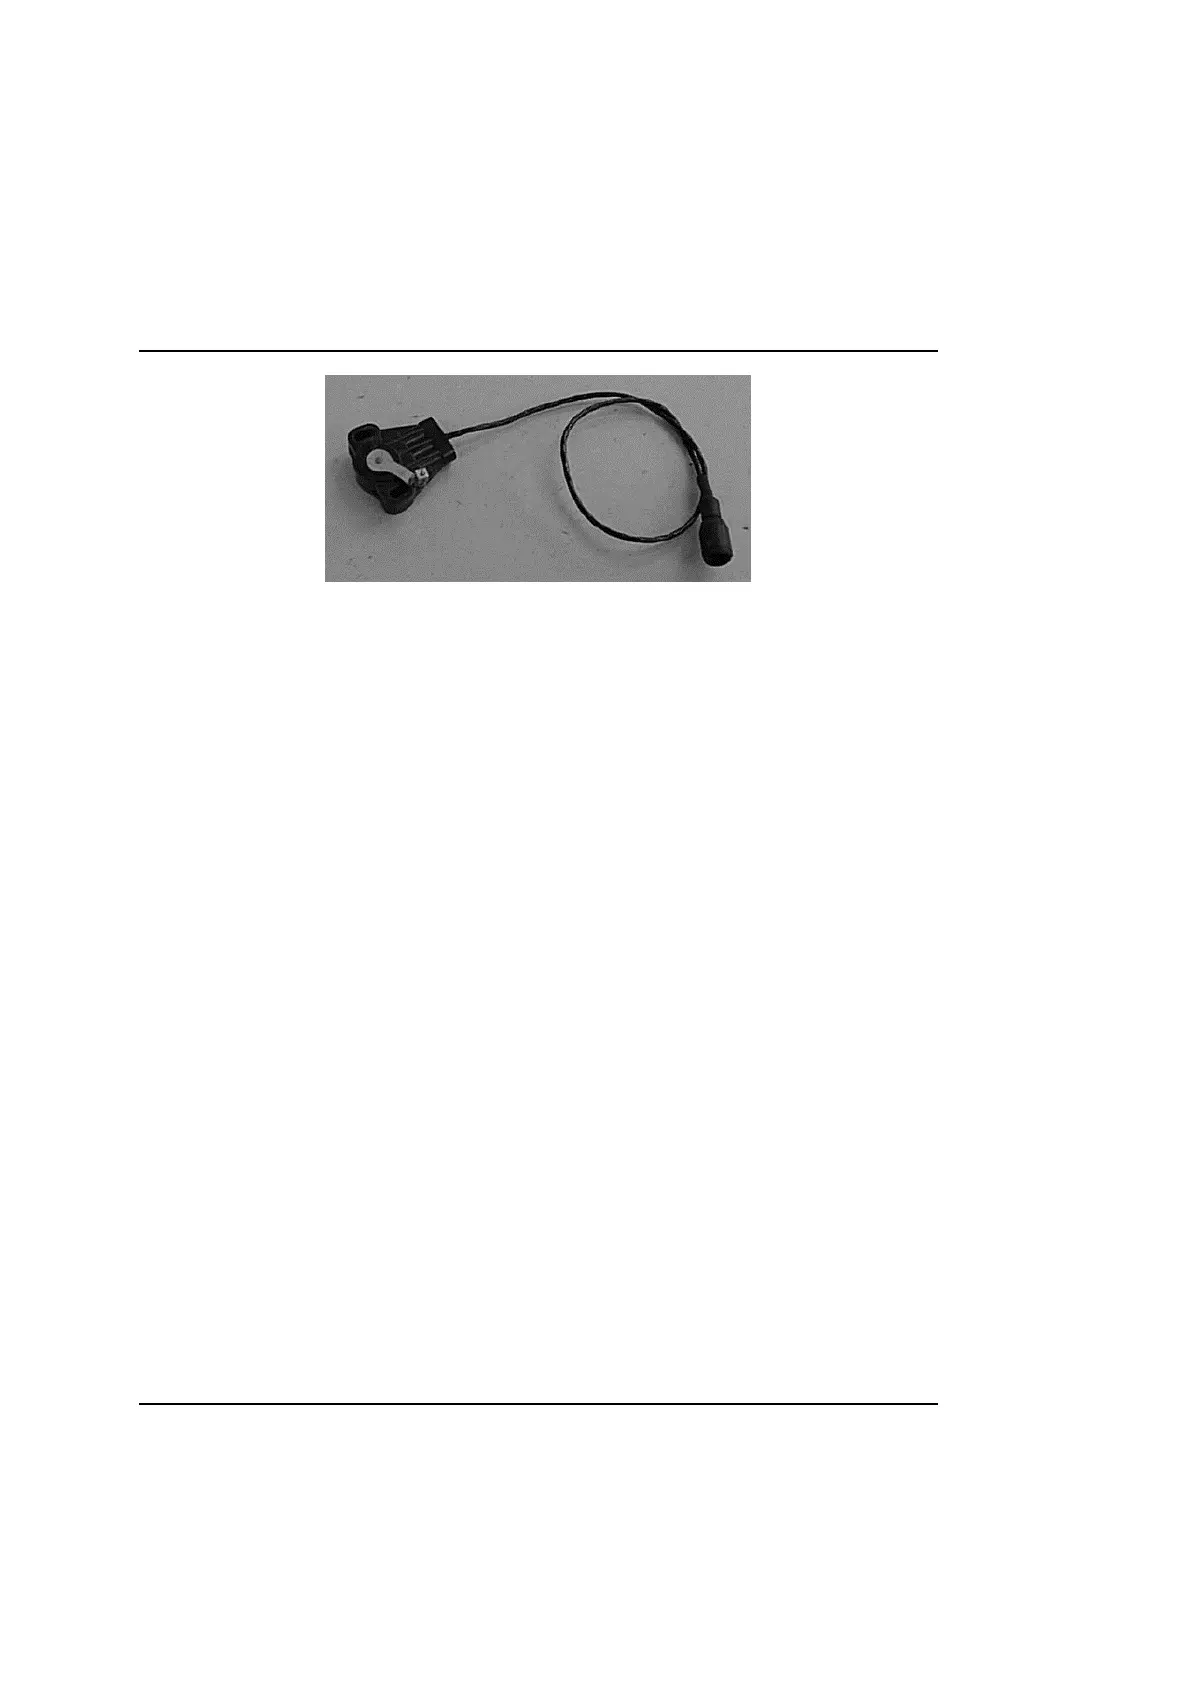
1. Mount the sensor on the floor of the kart such that is does not interfere with the drivers feet movements.
2. Once the intended location for fixing is determined, mark the positions for the two attachment hole positions for the sensor onto
the floor of the kart. Drill these positions with a 4.5mm drill to provide clearance for the supplied bolts.
3. Feed the crosshead bolts through the floor of the kart and the holes in the sensor, keeping the bolt heads on the underside of the
floor. Fit and tighten the supplied locknuts onto the bolts. Using the length of cable supplied, pass the end of the cable through the
hole in the lever arm and attach the other end to the side of the pedal.
4. Adjust the cable tension until the lever arm is just pulled away from it’s rest position. This adjustment needs to be checked
regularly to remove any slack in the cable which may give rise to errors in throttle position.
5. Once the sensor is fully installed, connect the sure seal connector to the system harness input labelled TP for the throttle, or
EGT BP for the brake.