12
During antenna length changes, both affected band button and Power/Tuning LED
located below POWER button will blink at one second intervals. When tuning is done,
band button will have a steady green border.
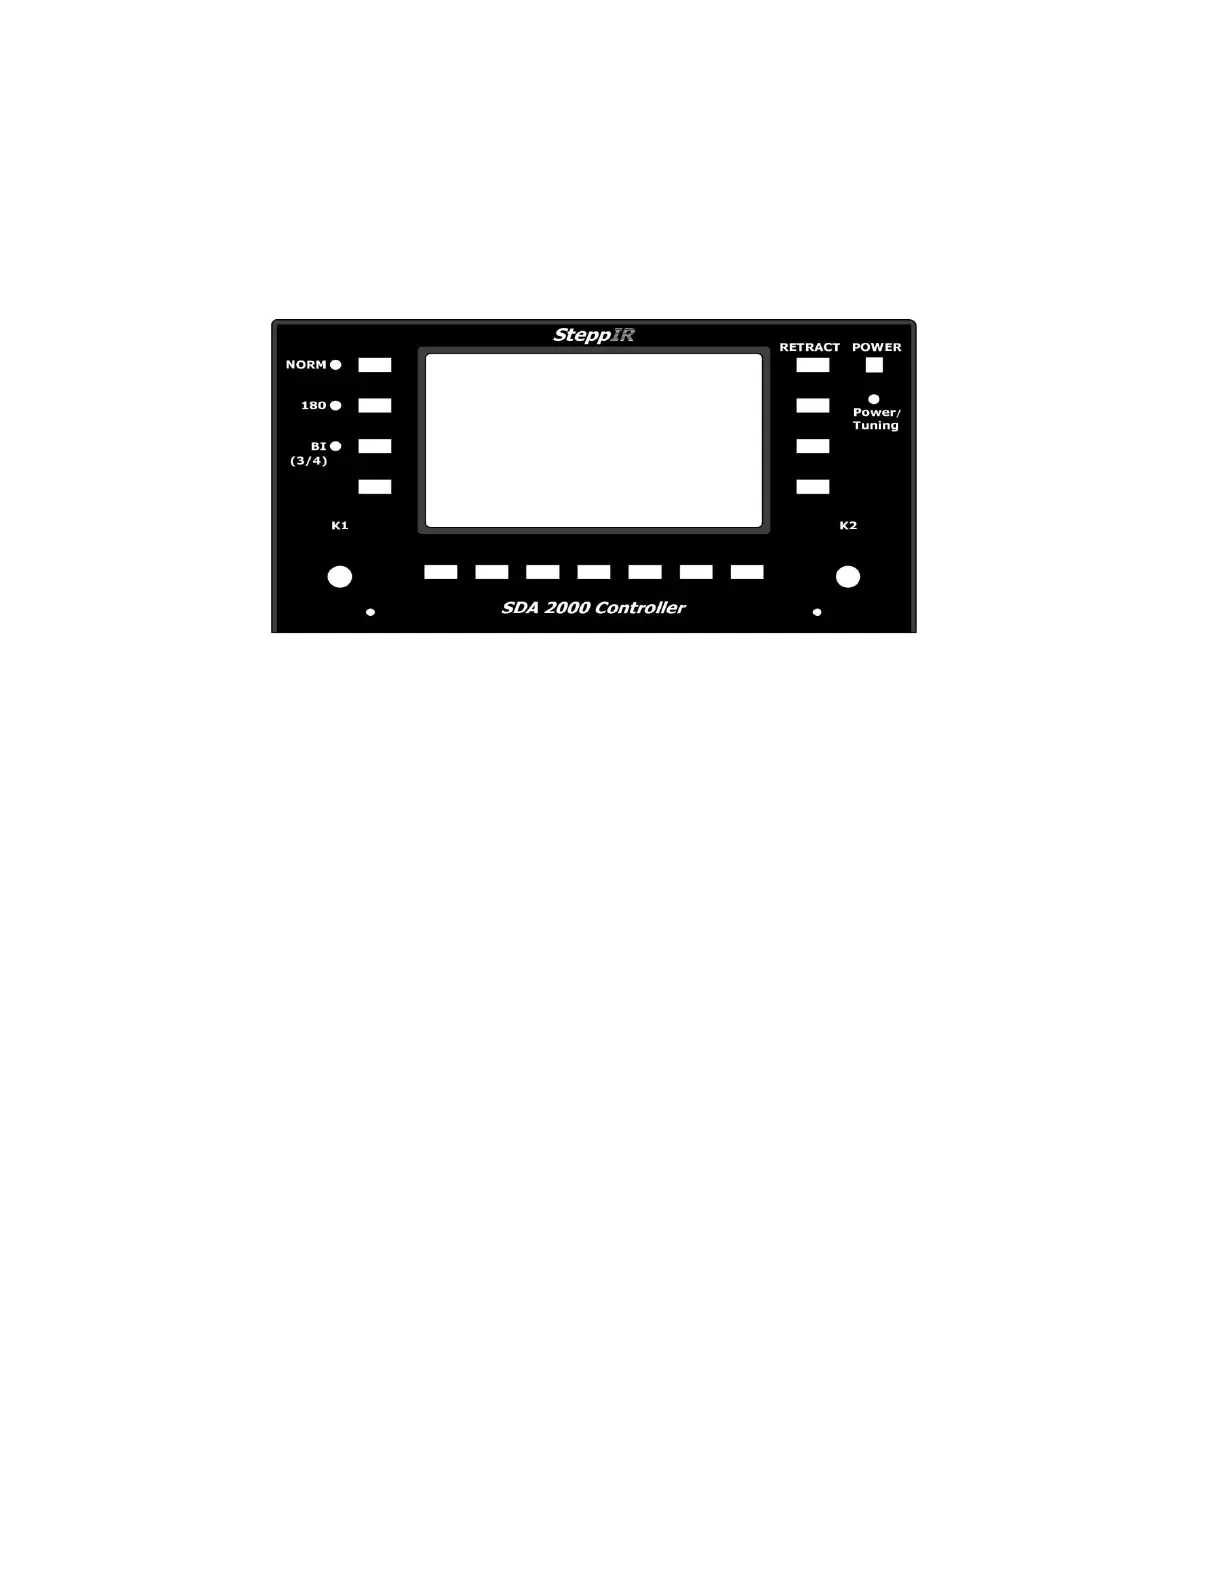
OptimizIR Buttons in Operate Mode
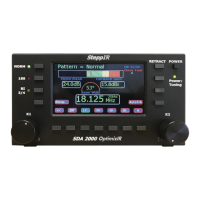
OptimizIR Front Panel
The NORM button selects the Forward antenna patterns used in conjunction with the K1
knob. The LED next to it will light when pressed.
The 180 button selects reverse, opposite of NORM, antenna patterns used in conjunction
with K1 knob. The LED next to it will light when pressed.
The BI 3/4 button selects Bidirectional antenna patterns, the ones that defeat front-to-back
ratio of the antenna used in conjunction with K1 knob. The LED next to it will light when
pressed.
The K1 knob, NORM, 180 and BI 3/4 buttons all control selectable patterns. The number
of sub-patterns selected with K1 knob can be 0 to 15 depending on the antenna and band
selected.
The K2 knob controls frequency by rotating knob and step-size by pressing the knob.
When K2 knob is pressed, it cycles through five possible frequency step sizes of 5 kHz,
10 kHz, 25 kHz, 50 kHz and 100 kHz. Turning K2 knob will adjust frequency by step-size.
The antenna will start tuning immediately upon changing frequency. As long as frequency
is within band limits (can be changed from setup menu) and antenna is allowed to finish
tuning to new frequency, it will be saved as default band frequency. The last used
frequency for each band is saved separately so controller will always return to last
frequency used on a given band.