stewmac.com
12
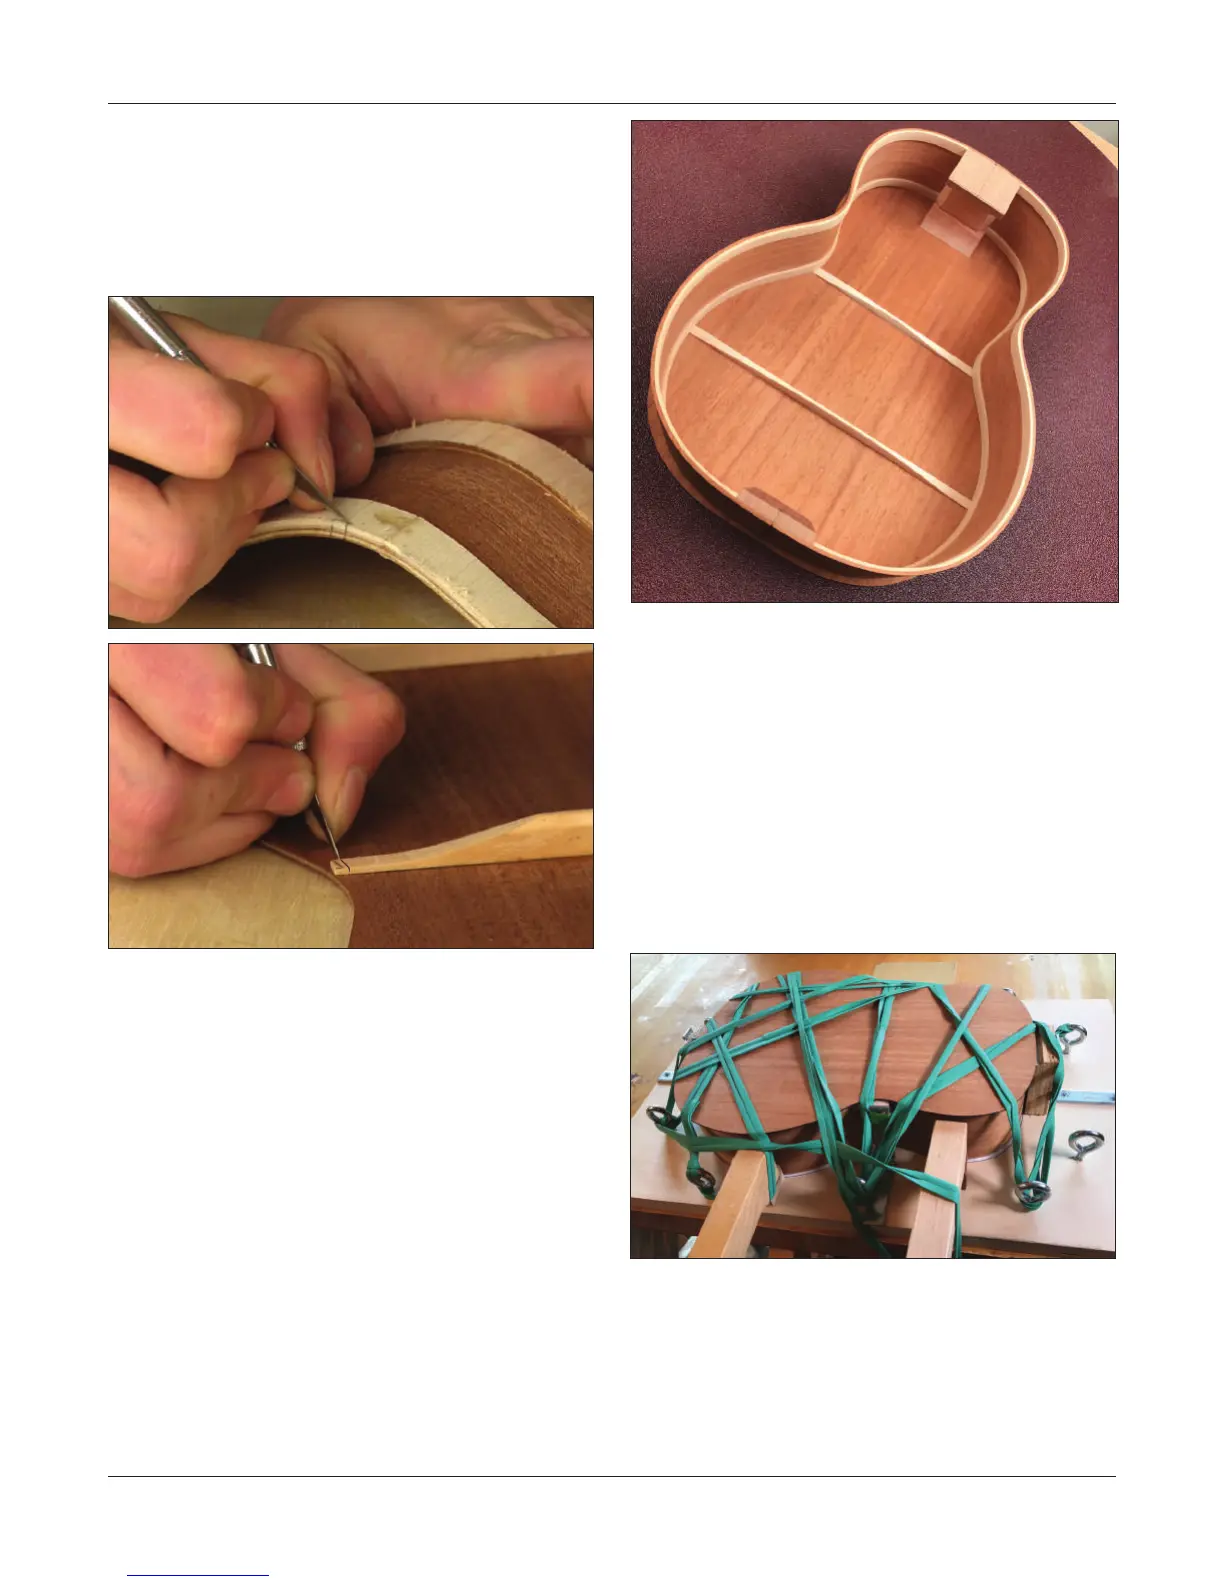
With a sharp razor knife, cut notches in the linings for the
braces. A small chisel is helpful for chipping out the notch.
Trim the ends of the braces so they t within the sides,
dropping into the notches. Scrape the trimmed brace ends
o the back. When you’re done, the back ts at onto the
sides, with the braces keyed into the notches.
The top and back are slightly oversize, with edges that hang
over the sides. This overhang will be removed after gluing.
Glue the back on the rim
To get good clamping pressure all around the back, the
body mold is now put to use again. By adding screw eyes
or hooks around the edges of the of the plywood, you can
ax the rubber clamping bands included with your kit. If
your clamping band is an unbroken loop, cut it to make it
one long strip.
Tie the end of the clamping band and stretch it tightly over
the body to the opposite corner. Continue strapping from
corner to corner until the back is clamped under a web of
rubber bands. Tie o the end to one of the screw eyes. Try
this as a dry run.
When you’re ready for glue, apply it to the edge of the side
and lining, and to the end of the neck and tail blocks. Put the
back in position and wrap with the rubber clamping band.
Let the glue dry for 2 hours, then remove the body from
the mold. Clean away any dripped glue, especially where it
can be seen through the soundhole of the assembled body.