Release 00 - 03/2018
Engine RS100 - RSC100
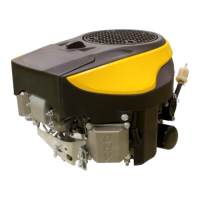
page 19
Service manual
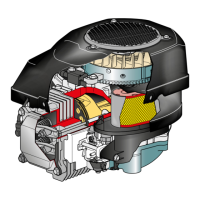
6. STARTING SYSTEM
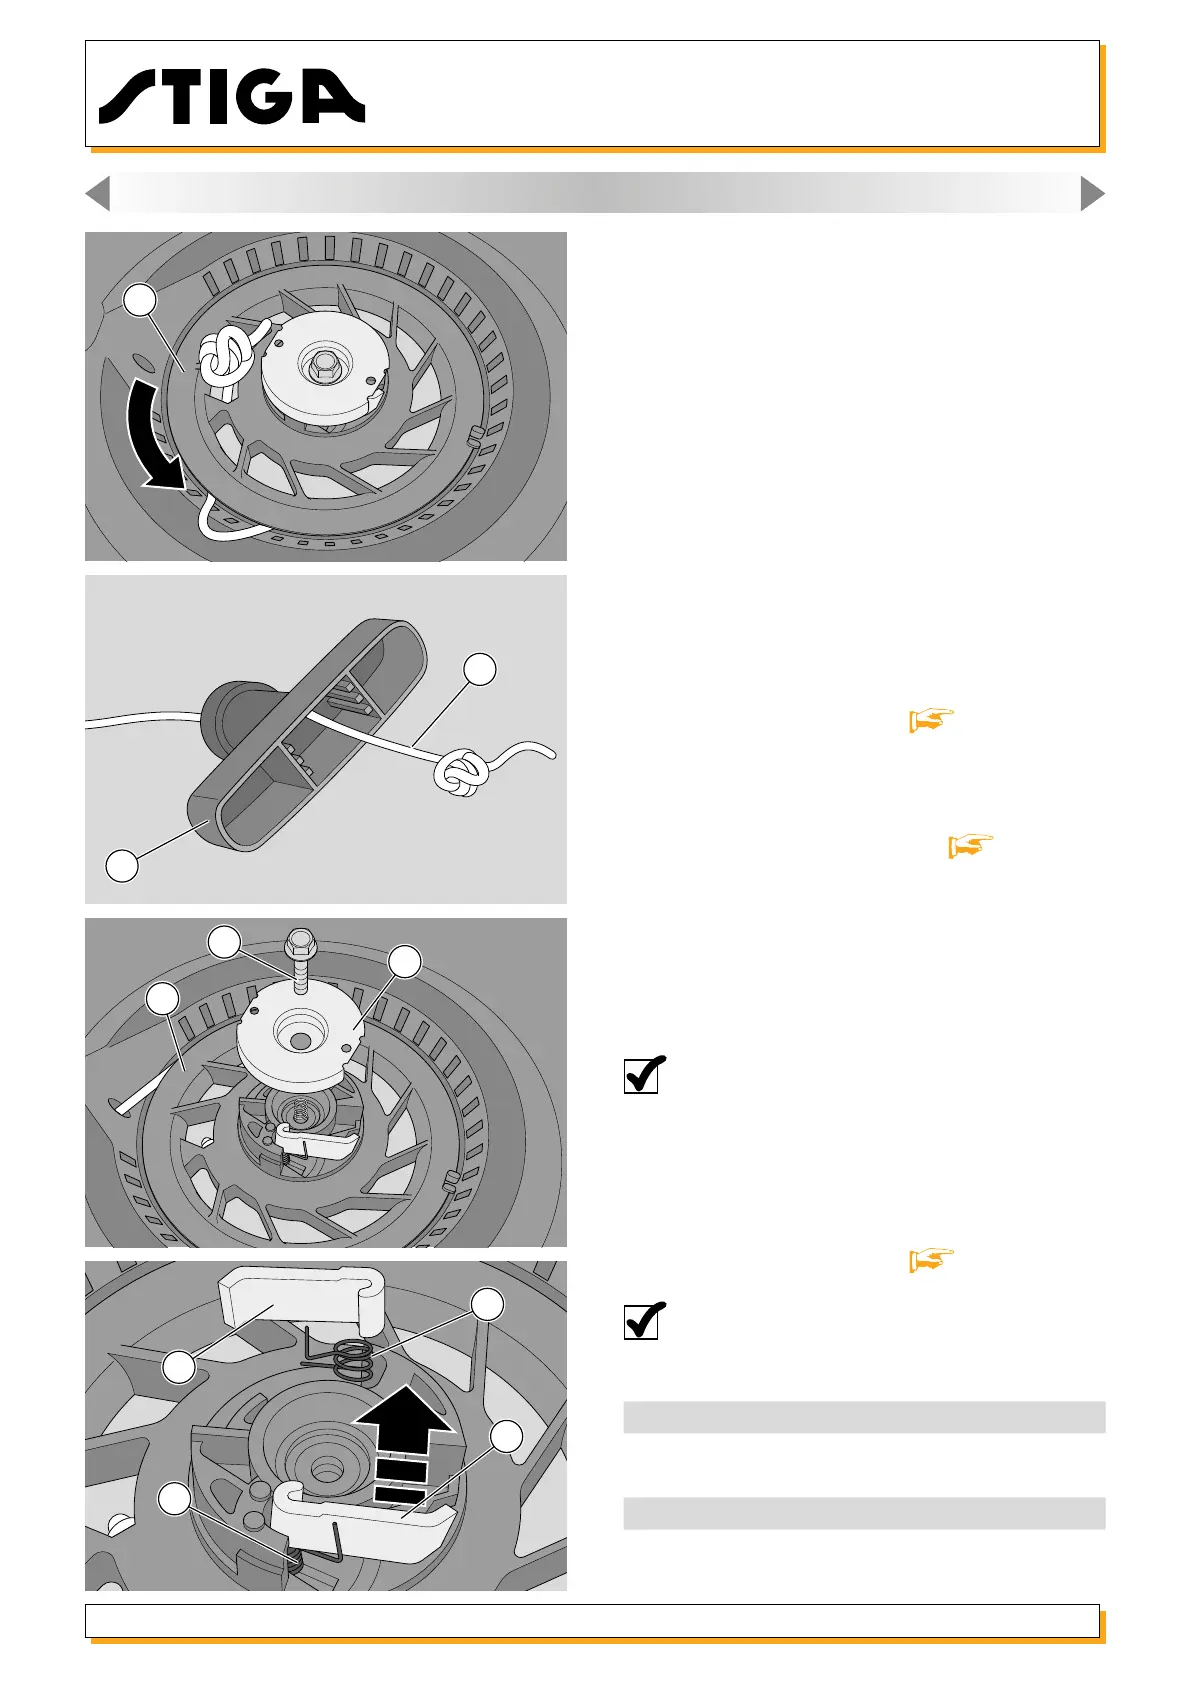
4 - Rotate the pulley (4) through about 6 complete
turns anticlockwise in order to load the spring and
hold it still.
5 - Insert one end of the rope (5) (ø 3mm - length
2350mm) through the guide in the ventilation grille,
into the hole in the pulley (4), and fasten it by tying
a knot.
6 - Insert the other end of the rope into the grip
(6), fasten it with a knot and carefully release the
pulley to allow the rope to rewind itself completely
onto the pulley.
7 - Check that the pulley rotates freely.
8 - After pulling the entire length of the rope, check
that the pulley (4) is able to complete another 2-3
turns before compressing the spring.
9 - Ret the starter assembly [ 6.1].
6.3. Replacing the hooks
1 - Remove the starter assembly [
6.1].
2 - Loosen the screw (7) and remove the cover (8),
putting the spring to one side. Be careful not to slip
the pulley (4) off its seat.
3 - Remove the couplings (9) and take out the
springs (10) from their seats.
NOTE: Always replace the complete set
consisting of hooks, return springs, cover and
screw, as a unit.
4 - When tting, tighten the screw (7) to the torque
indicated.
5 - Ret the starter assembly [
6.1].
NOTE: Check that the spring lever (10) is
outside the coupling (9).
Tightening torques
3
Fixing nuts, starter assembly
8-10 Nm
7 Starter screw 4-6 Nm
Technical information
Starter rope dimensions ø 3x2350 mm
5
6
4
7
8
9
9
10
10
4

 Loading...