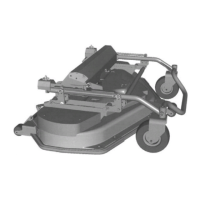
Dismantling an angle joint
1. Fold spring washer A up from the an-
gle joint body.
2. Pull out the spring washer.
3. Pry loose the joint body from the ball
using a screwdriver or similar.
4. Reassemble in reverse order. The
joint body must be pressed onto the
ball using a polygrip or similar.
Note!
It is important that spring washer
A is inserted through both the an-
gle joint holes. Otherwise the an-
gle joint may fall apart during
operation.
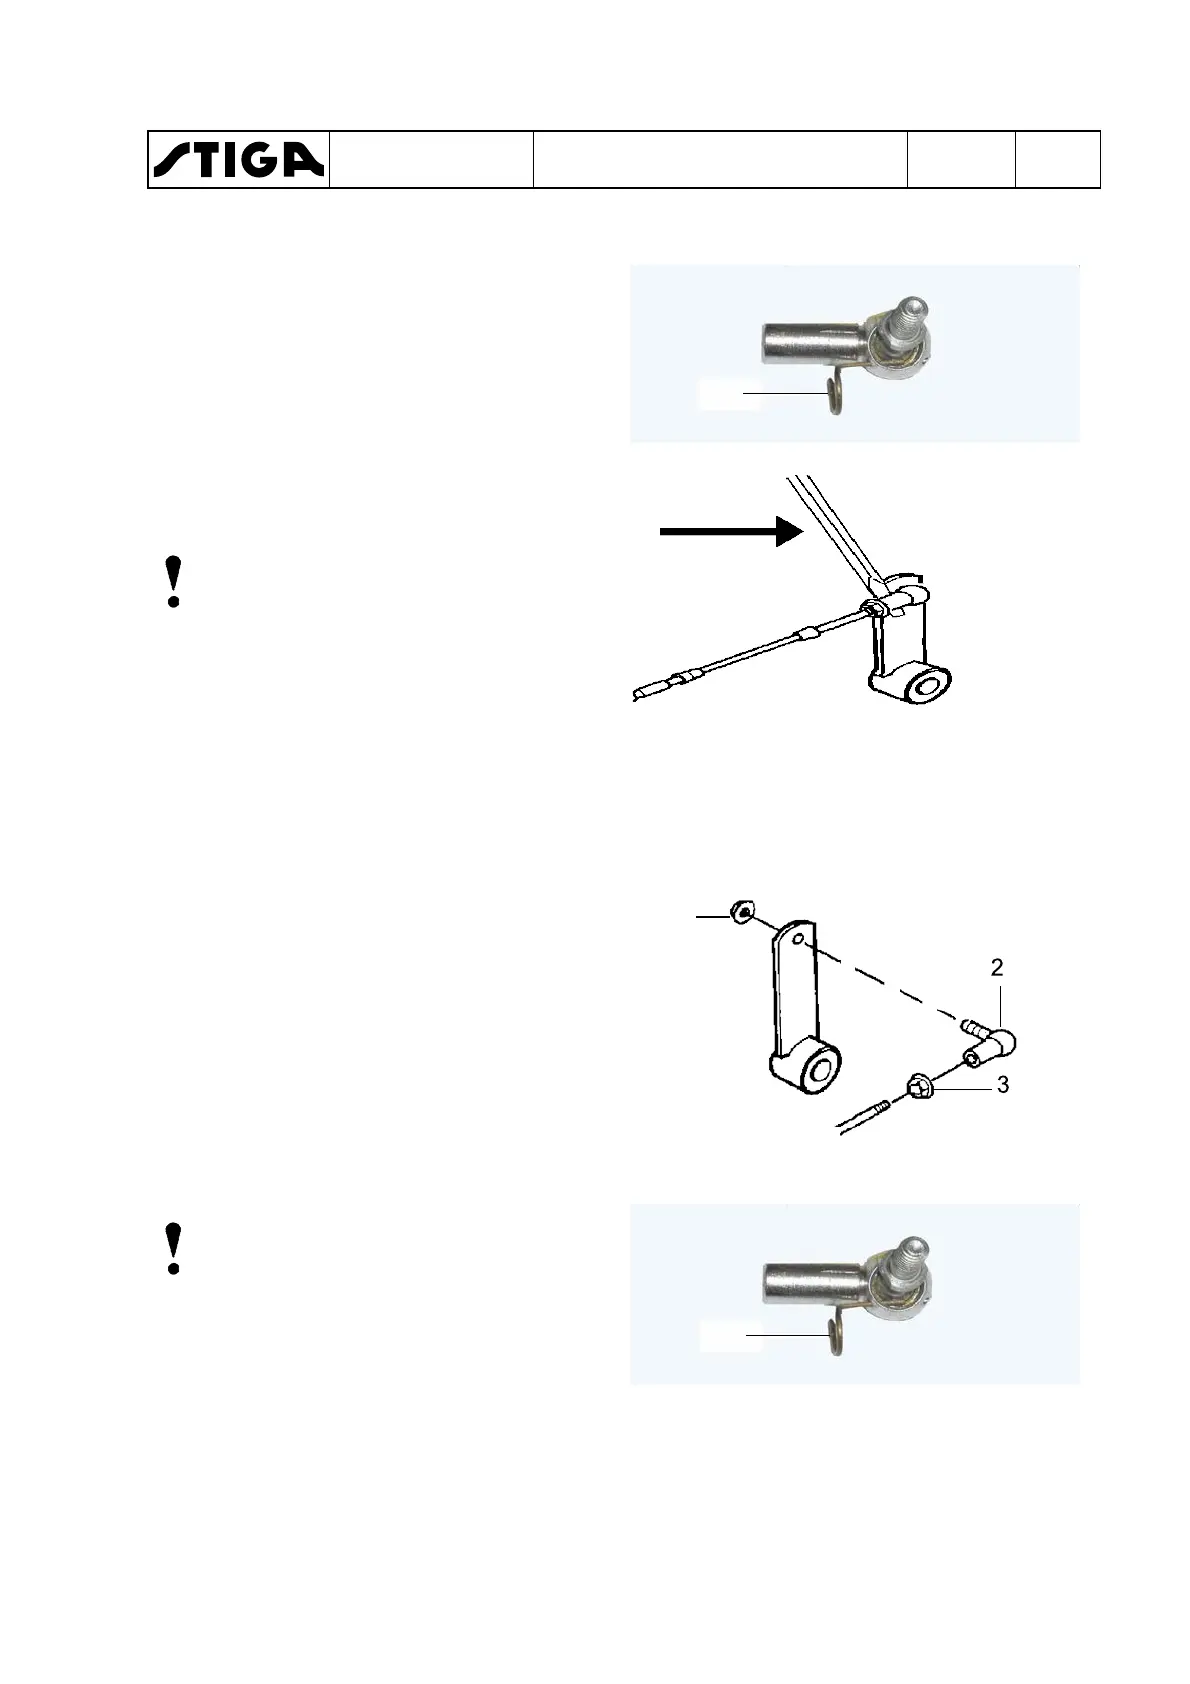
Adjustment
1. Loosen nut 3 with an 8 mm spanner.
2. Dismantle the angle joint as de-
scribed above.
3. Screw the joint body in the desired di-
rection on the cable screw. Move nut
3 on the screw if necessary.
4. Check the adjustment result by
pressing the angle joint in the ball
without installing the spring washer.
5. After adjustment, assemble in re-
verse order and tighten nut 3 to the
angle joint body.
Note!
It is important that the spring
washer 4 passes in through both
the angle joint holes. Otherwise
the angle joint may fall apart dur-
ing operation.
A
1
A
WORKSHOP MANUAL
TITAN
Chapter
5 - Control cables
EDITION
2018
Page
87

 Loading...