Series 4180 Powerhead 41
N Rotate the crankshaft clockwise until the cam lobe
points downwards.
N Check that mark on flywheel lines up with the right-
hand screw on the ignition module.
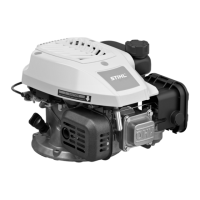
The two arrows on the cam gear (8) must line up with the
two notches in the cylinder.
N Fit the cover (8) before adjusting the valves.
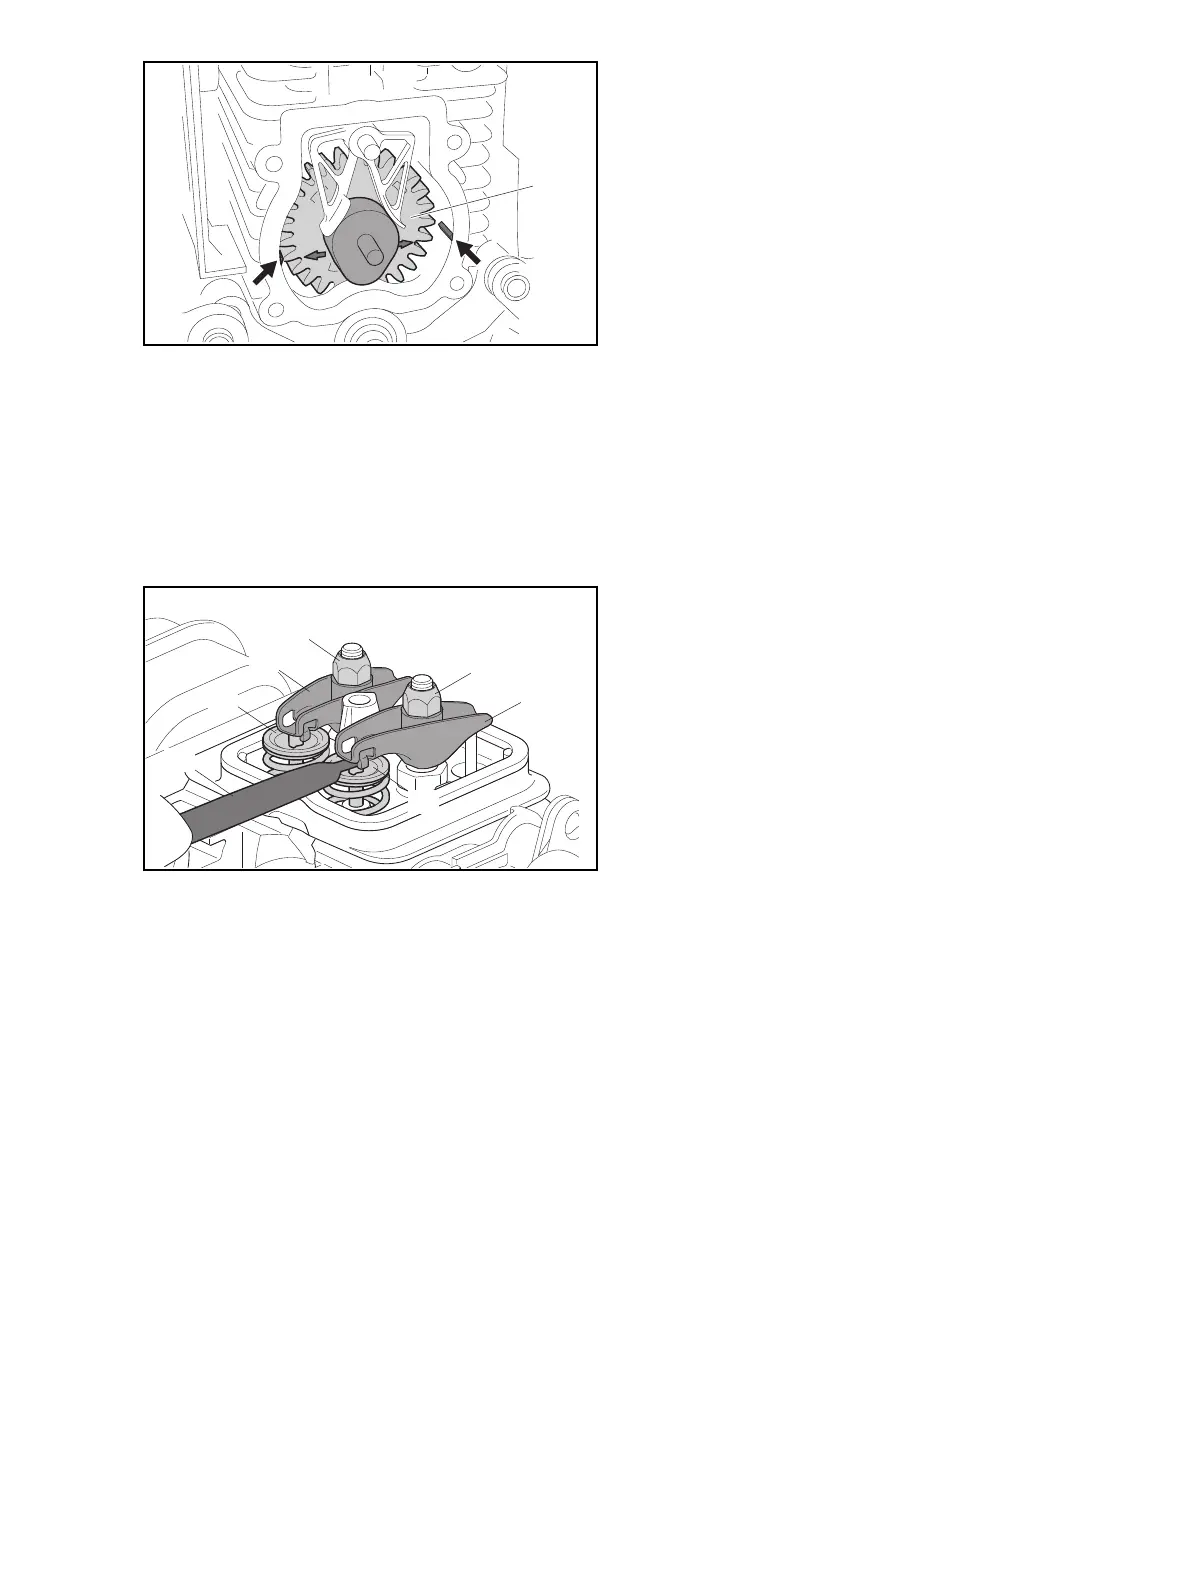
Checking, adjusting valve clearance
N Insert feeler gauge 4180 893 6400 (23) between
rocker arm (14) and valve stem (21).
The feeler gauge must slip through with a certain
resistance.
N Adjust valve clearance with the two nuts (16):
Inlet valve = 0.10 +- 0.02 mm
Exhaust valve = 0.10 +- 0.02 mm
To increase valve clearance: Turn nut counterclockwise.
To reduce valve clearance: Turn nut clockwise.
N Rotate crankshaft several times and then check valve
clearance again.
N Apply Dirko sealant to groove in cover (8).
N Fit the cover (8).
N Insert and tighten down the screws (9).
N Fit gasket (17) in the valve cover (18).
N Place valve cover (18) in position, fit screw (20) with
new sealing ring (19) and tighten down.
N Fit the starter cup (11) and tighten down the nut (10).
N Insert and tighten down the spark plug.
N Fit the spark plug boot.
N Install the shroud, @ 4.3.
7
0000-GXX-1938-A0
21
16
14
23
22
16
14
0000-GXX-1942-A0

 Loading...