BGA 86 7
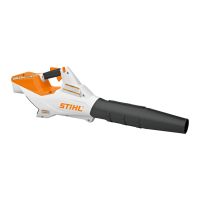
4.1 Light Emitting Diodes (LEDs) On Battery
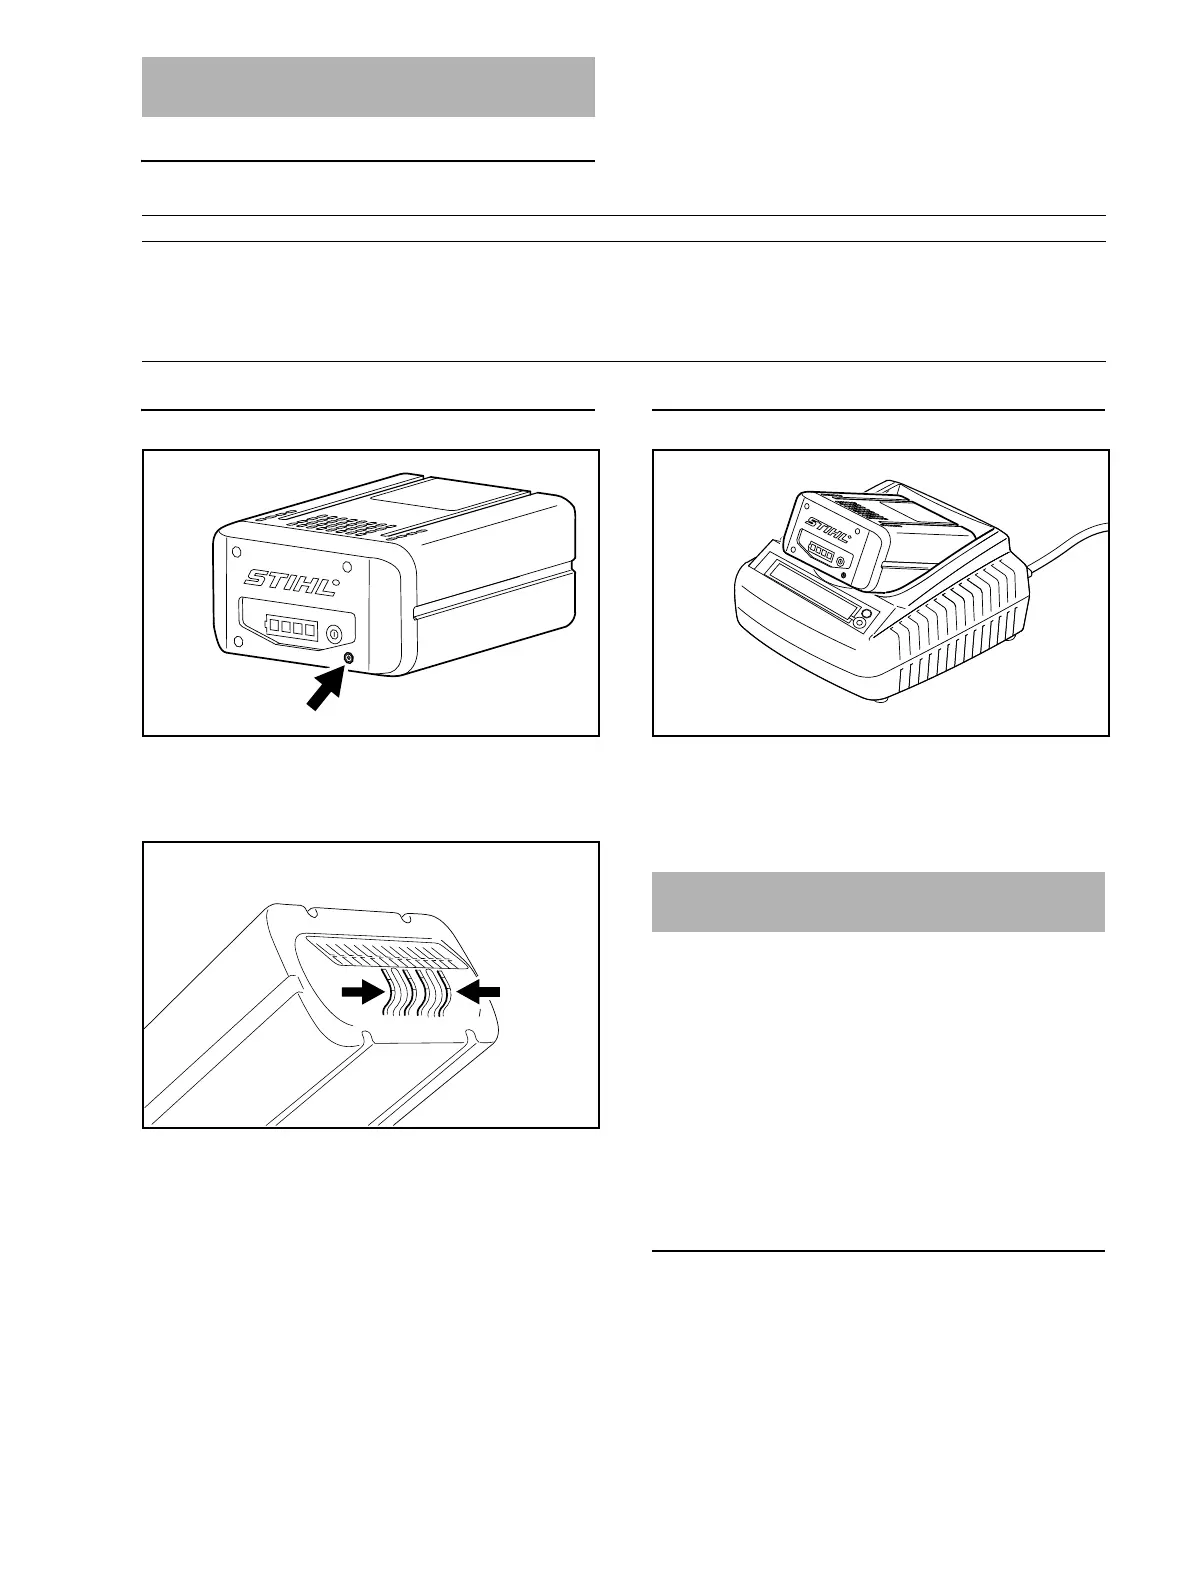
4.2 Visual Inspection
The battery is sealed (arrow) when it leaves the factory.
Never attempt to open or repair the battery.
Always carry out a visual inspection first.
N Check the contacts (arrows)
If there are signs of external damage (e.g. bent or
damaged contacts, deformation, cracks in housing),
always install a new battery.
4.3 Testing With ADG 1 Battery Analyzer
N Test the battery with the STIHL ADG 1 battery
analyzer, see separate instruction manual for ADG 1.
Always replace a defective battery.
N Observe safety precautions, see. @ 2
The electrical components of all STIHL battery power
tools with an EC motor can be tested with the STIHL
ADG 2 analyzer.
A battery bag and a suitable geometrically matching
STIHL battery with a minimum charge of 80% are required
to test the power tool.
WARNING!
The power tool's motor starts during the test. Before
starting the test, exclude any risk of injury or damage to
property from the power tool's airstream – risk of
accidents.
5.1 Visual Inspection
Always carry out a visual inspection first.
Replace damaged parts before performing test with the
analyzer.
4 Battery
Condition Cause Remedy
1 LED on battery flashes green Insufficient state of charge Charge the battery
1 LED on battery glows red Battery too hot / too cold Allow battery to cool down / allow battery
to warm up slowly at temperatures of
about 15°C - 20°C (59°F - 68°F)
4 LEDs on battery flash red Malfunction Remove the battery and refit it
5 Testing Cordless Power Tool
 Loading...