THREE PHASE HI 25/50kW | Installer Manual22
PV Module Wiring
1. Switch the Grid Supply Main Switch (AC) OFF.
2. Switch the DC isolator OFF.
3. Assemble PV input connector to the inverter.
4. Use the MC4 connectors supplied by Sunsynk with the inverter.
WARNING
Before connection, please ensure the polarity of the output voltage of the PV array matches the DC+
and DC- symbols.
Please do not connect the PV array's positive and negative poles to the ground. This can
seriously damage the inverter.
Before connecting the inverter, please make sure the PV array open-circuit voltage is within the maxi-
mum limit of the inverter.
Please utilise an approved DC cable for the PV system.
Cable type
Cross section (mm)
Range Recommended value
Industry generic PV cable
(model: PV1-F)
2.5~4 (12~10AWG) 2.5 (12AWG)
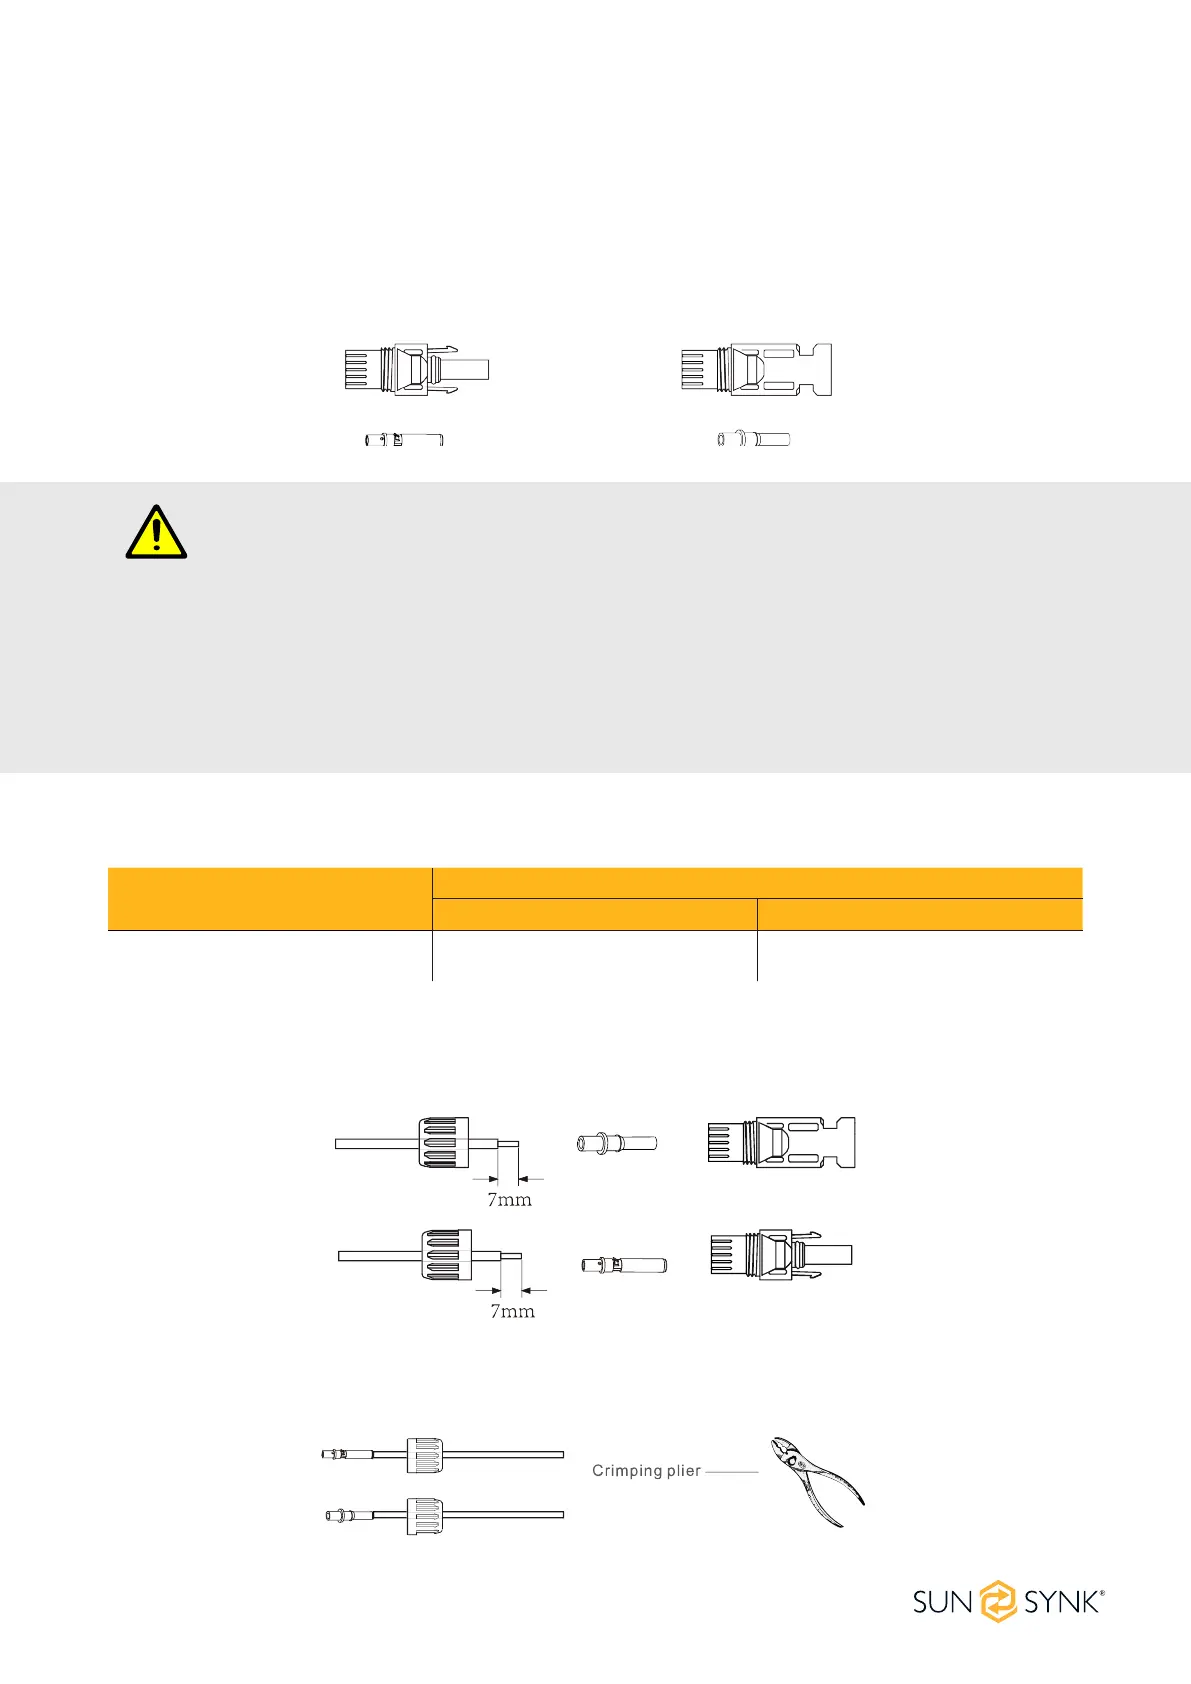
The correct steps in assembling the DC connector are explained below:
1. Strip 7mm of the plastic coating o the DC wire and disassemble the connector cap nut.
2. Crimp metal terminals with crimping pliers.
 Loading...