50
SuperFlow Technical Support
Quick Start Checklist for SF-PM Engine Dynos with NetDyn.doc Page 1 of 1
Created on 3/27/2018 2:38 PM Created by Bret E. Williamson
Quick Start Checklist for SF-PM Engine Dynos With NetDyn
Steps
Exhaust System
Airflow System
Insure all infrastructure systems are functional
Insure all necessary engine mounting functions are
completed
Power switch on Dyno
Computer
Turns on computer to prepare to load WinDyn software
Turns on sensor box and console
Launch NetDyn
application
NetDyn Icon on left
computer desktop
Starts the NetDyn application for the center monitor;
NetDyn should automatically connect to the sensor box
WinDyn Icon on left
computer desktop
Establishes comm to sensor box, runs WinDyn application
on dyno computer
‘F2’ function key on
computer keyboard
Installs the selected files from the computer to the sensor
box
‘2’ key on dyno
computer keyboard
Verify the torque system is at or near zero
(+/-2), verify weather conditions are current
computer keyboard
Set the data file name and beginning sequence number
Set the file storage location (folder) for test data files
Select test profile to perform (Normal test is Accel)
Set correct engine specifications
Set test parameters
Set ValPos channel for engine power (under 1000Hp, use
3)
Enter test notes to be appended to the data files
Memorize settings for future use
‘F2’ function key on
computer keyboard
Installs and activates test setup into sensor box.
Return to main viewing
screen
‘1’ key on dyno
computer keyboard
Normal viewing screen when running tests
Prepare the engine for
testing
Engine and test cell
control switches
Connect all desired sensors, warm engine up
NetDyn application
Begins execution of the selected test type, stops at ramp
command; Bring throttle to WOT, servo should hold
engine at LOWER RPM setting; allow engine time to
‘D’ key on NetDyn
application interface
Executes ramp (accelerates engine); when ramp
completes, return throttle to IDLE
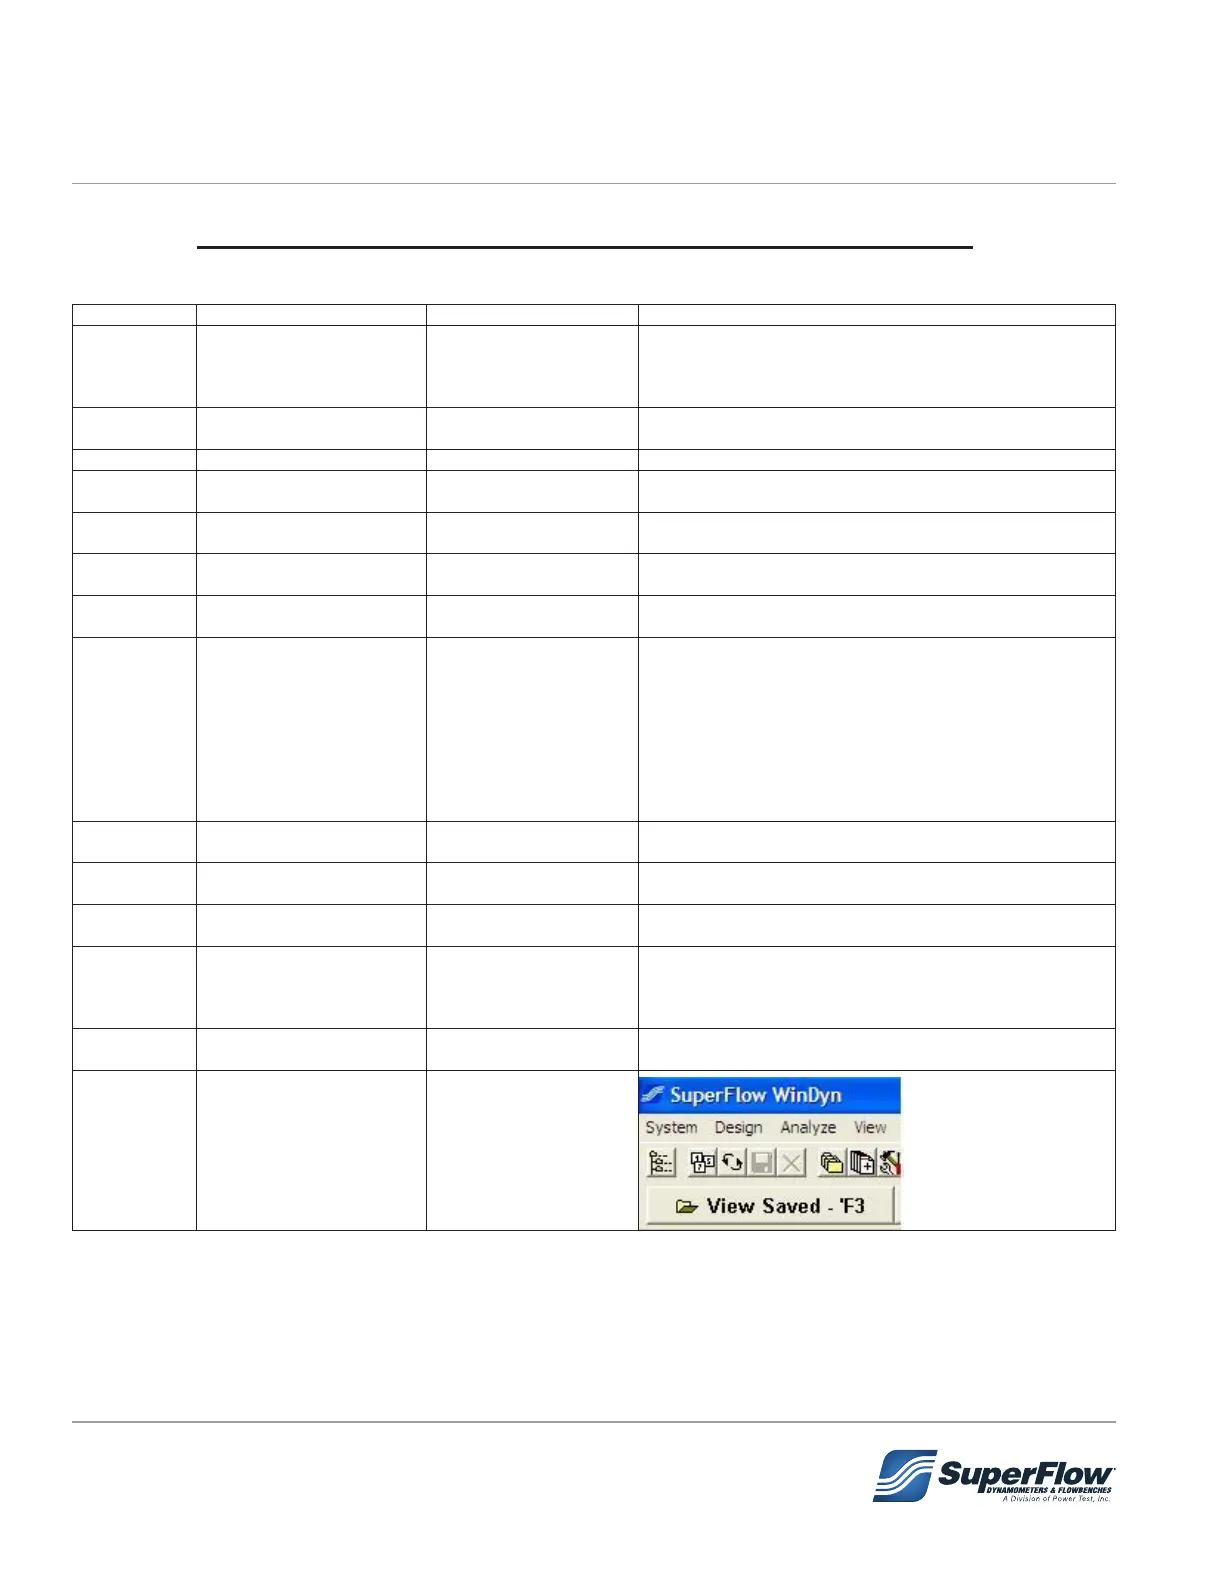
WinDyn “Analysis -
Saved” Toolbar
to analyze, print, or
plot
5.0 Operation