NEXUS STATION | TECHNICAL OPERATIONS AND MAINTENANCE GUIDE APR/2017
39 INSIDE COMPONENTS AND ELECTRONICS | POWER SUPPLY
2 Remove the two screws and washers at the top of the outer rod.
3 Slide the door downward so the upper rod clears the door bearing. Then gently pull upward and out-
ward until the lower rod clears the lower door bearing.
Power supply
The power supply may require removal when the core-turnstile assembly is being removed from and rein-
stalled into the station. It is mounted on a bracket that is attached to the back of the station with three self-
tapping screws.
Installation instructions in this sequence assume that the power supply has been installed initially and
that the three attachment screws are in place.
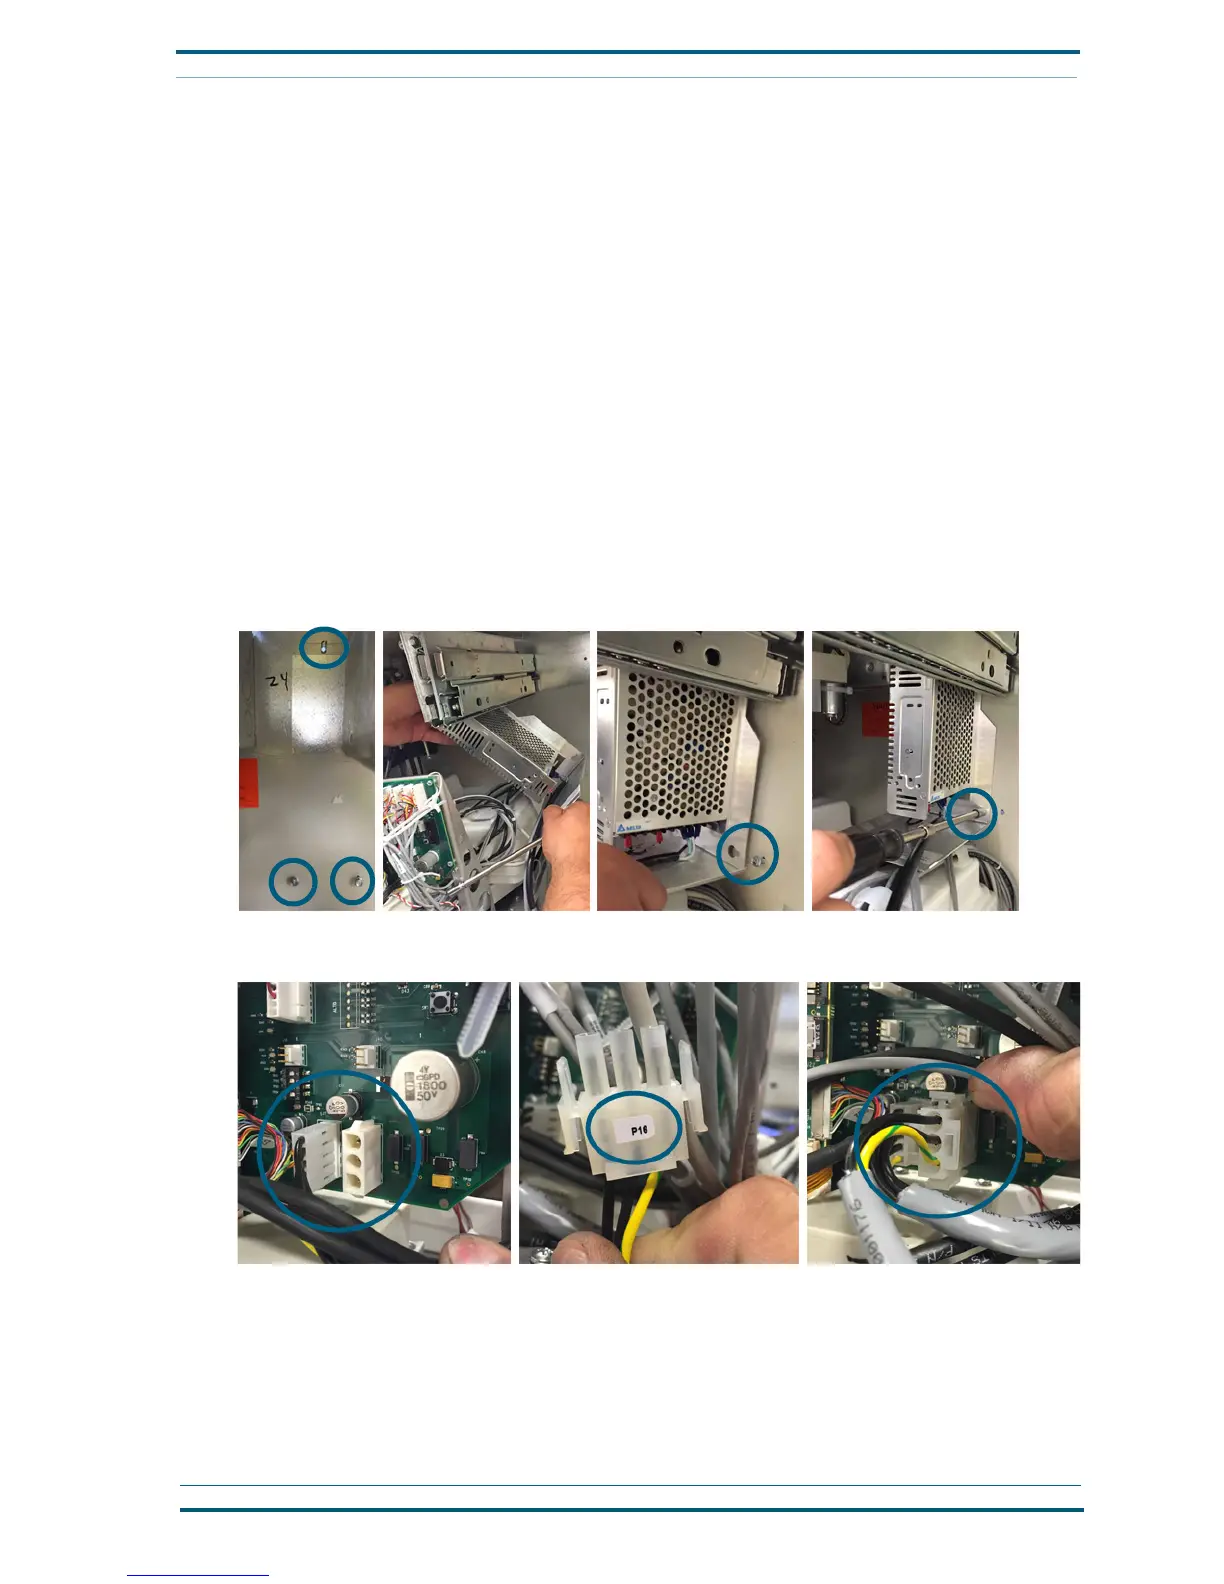
Follow these steps to reinstall the power supply at the back of the station.
1 Place the power-supply and attached mounting bracket into the back of the station, sliding the key-
hole openings over the three screws at the back station wall. Then slide the unit to the left so the
screws rest in the smaller portion of the keyhole opening.
2 Hold the power supply and bracket assembly in place as you tighten the screws to attach the bracket
to the back wall using a driver with an extended hex attachment, as shown.
3 Connect the gray power harness (P16) to its position on the main circuit board, at the lower right-
hand corner, as shown, with the yellow wire facing downward.
4 Plug the power cord into the power box next to the power supply.
Follow these steps to remove the power supply from the station.
1
Unplug the power cord from the box outlet to the left of the power supply.
 Loading...