18
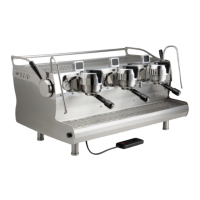
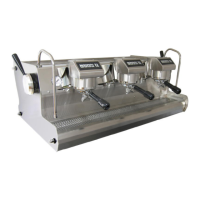
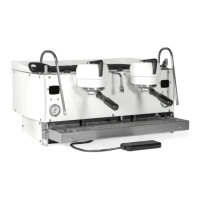
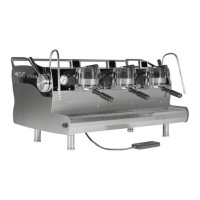
OPERATION
Milk Steaming
1. Fill the pitcher halfway with fresh, cold milk. Smaller pitchers are recommended for drink sizes less than
10 oz. steamed, unused milk should be discarded.
2. Condensaon can collect inside the wand. Acvate the steam handle to blow the wand clear before
steaming milk.
3. Insert the p of the steam wand deep into the milk pitcher. This will prevent milk from splashing once the
steam is turned on.
4. Open the steam valve by pulling the handle towards you.
5. Place one hand on the side of the steam pitcher to feel the rising temperature of the milk.
6. As the milk agitates and heats, lower the pitcher to keep the p of the steam wand closer to the surface.
Allow the steam jets to push some air beneath the surface, then raise the pitcher to lower the p of the
wand deeper into the milk. This will connue the heang process and minimize further foaming. Do not
touch the steam wand to the boom of the milk pitcher; this can create an inaccurate temperature meas-
urement.
7. Heat milk to approximately 150F to 170F (65°C to 76°C). If you are using your hand to help determine the
temperature, it will feel about as hot as you can stand without burning yourself. Milk thermometers are also
an excellent way to determine the temperature of the milk.
Cauon: Do not overheat the milk and scald it. Scalded milk should not be used.
8. Remove the wand from the milk, purge with steam, and wipe clean immediately aer each use.
NOTE: Although Synesso™steam wands are made with a proprietary double-walled process that helps to
keep the outer wall cooler, the p and base can become very hot and cauon must be used.
NOTE: Whole Milk, 2%, 1%, Non-Fat, Soy Milk, Rice Milk and other milk type products may require dierent
techniques to foam properly. In general, the higher the fat content, the easier it is to steam.
 Loading...