14
START UP
Start-Up Instrucons
1. To ll the machine, connect the water lines, connect the drain hose and turn the water ON.
2. Switch the red electronics On/O switch to ON. This acvates the machine’s water auto-ll feature for
the steam tank and the electronics, but NOT the heang elements.
3. The water level sight glass for the steam tank is located on the right side of the machine. As the tank lls,
the water level will rise in the sight glass and will automacally stop when the preset level is reached.
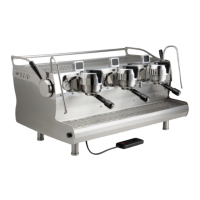
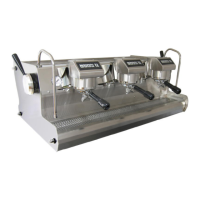
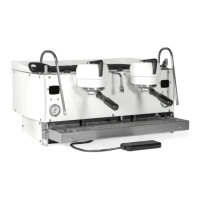
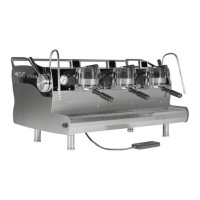
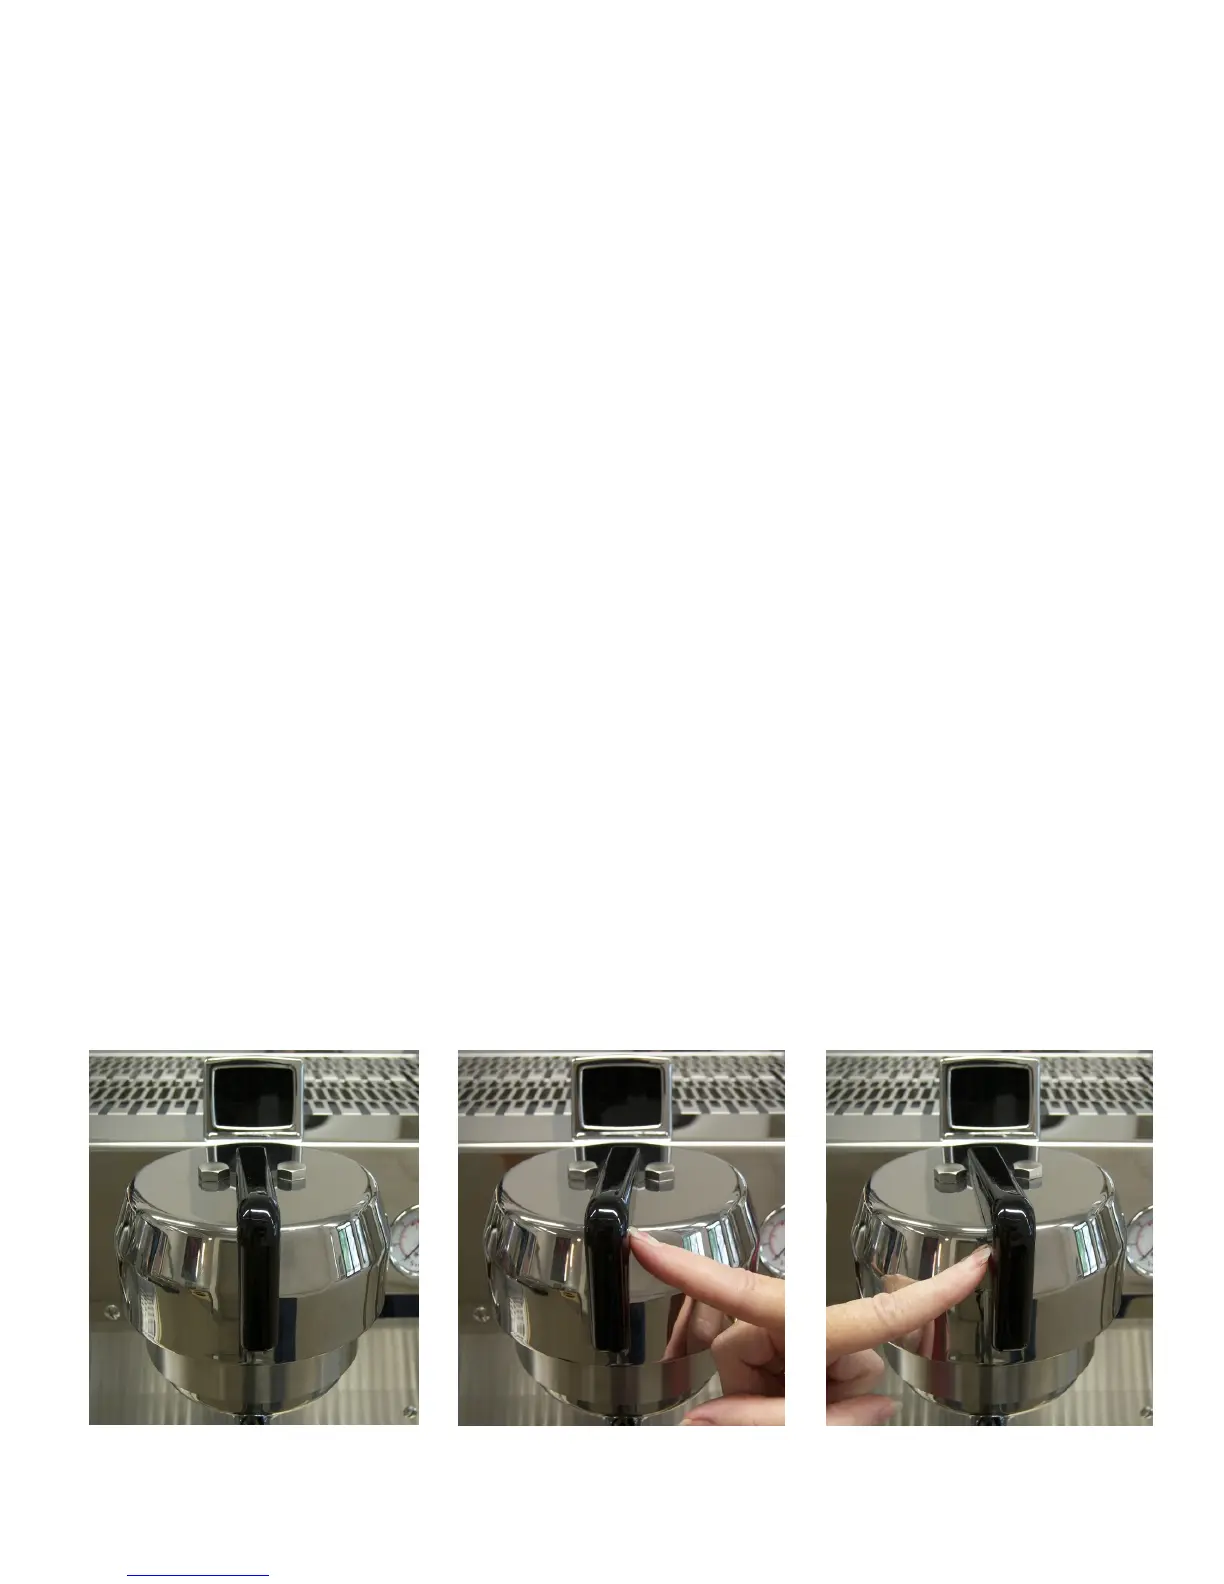
4. Bleed the group heads of air:
Hold each brew group handle le unl the corresponding display reads M: shi each group head handle
le momentarily, (see pictures below) allow the group to run unl there is a steady ow of water. Shi
each group head right to turn o.
5. Wait unl the steam tank has stopped lling and the level in the sight glass reads at least ½ full. Turn the
heang element breaker to the ON or (1) posion. All the heang elements (brew and steam) are now ac-
vated.
6. To adjust the pump pressure, acvate the pump by shiing the brew group handle momentarily le two
mes on MVP and three mes on MVP Hydra.
7. Locate and read the pump pressure / brew gauge located to the right of the rightmost group on MVPs
and to the right of each group on MVP Hydras.
8. Set the pump pressure to 9 Bar:
Locate the pump adjusng screw on the right side of the brass pump housing.
Loosen the lock nut and turn the screw with a screwdriver:
Clockwise to INCREASE pressure
Counterclockwise to DECREASE pressure
Once the desired pressure is reached, reghten the lock nut.
9. Please allow at least 30 minutes of “warm up” me before using your Synesso™espresso machine to
brew shots or steam milk. The steam gauge (the le hand gauge) should read a minimum of 1.1 Bar.
Center Posion - At Rest Shi Le - Start or Advance Shi Right - O or
Hold Le - changes M to MP to VP Select Brew Program
 Loading...