130 Replacing Modules TB9400/TN9275 Installation and Operation
© Tait International Limited May 2023
.
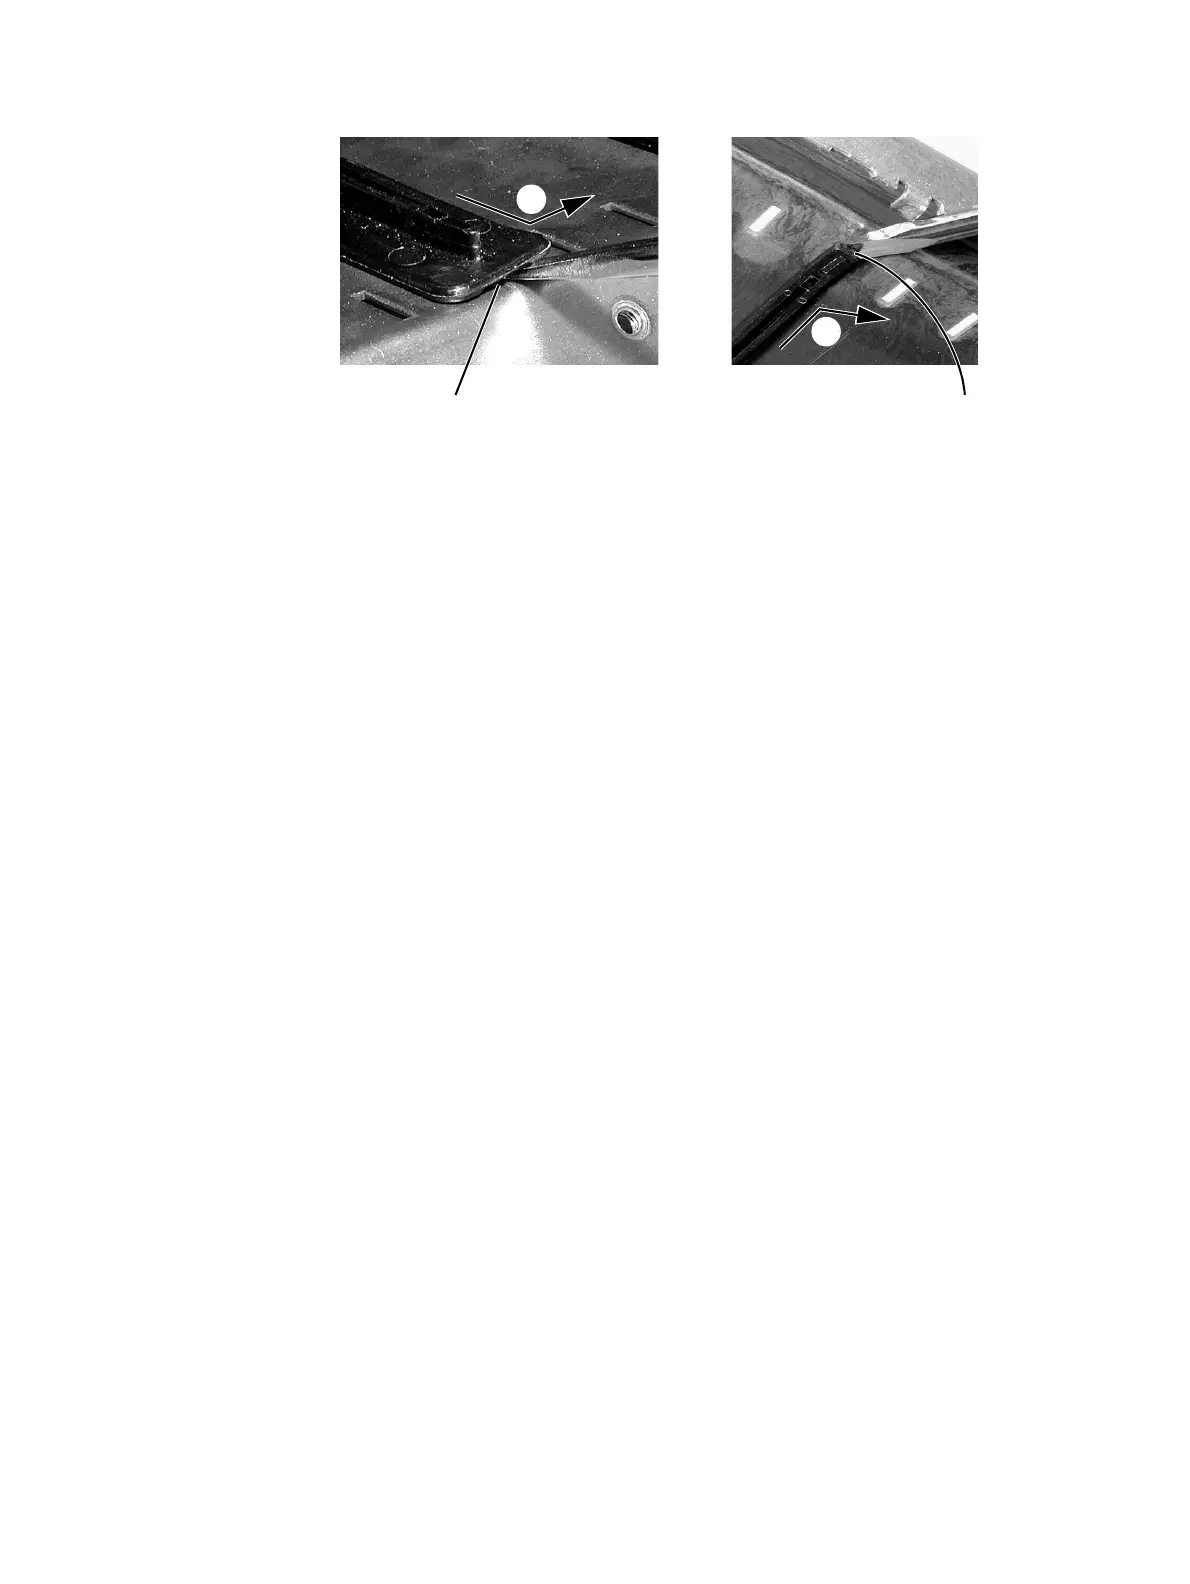
Refitting 1. Bottom Guide Rails
a. With the locating hooks pointing towards the rear of the subrack,
insert the hooks into the slots in the subrack.
b. Push the guide rail towards the rear of the subrack until you hear
the locking tab “click” into place.
2.
Top Guide Rails
a. With the locating hooks pointing towards the front of the subrack,
insert the hooks into the slots in the subrack.
b. Push the guide rail towards the front of the subrack until you hear
the locking tab “click” into place.
9.7 Replacing the Subrack Interconnect Board
Removal 1. If you have not already done so, carry out the instructions in “Pre-
liminary Disassembly” on page 124.
2. Disconnect any system control bus cables and DC power cables
from the subrack board.
3. Remove the three M3 nuts and spring washers
b securing the right
end of the board to the subrack.
4. Remove the D-range cover
c.
5. Remove the two retaining clamps
d securing the left end and centre
of the board.
6. Remove the board.
Refitting 1. If previously removed, replace the insulator e.
2. Refit the board and D-range cover, and secure with the M3 nuts and
spring washers. Replace the two retaining clamps.
bottom guide rail top guide rail
b
c
e
d

 Loading...


