ADDING IP PHONES TO TALKSWITCH 44
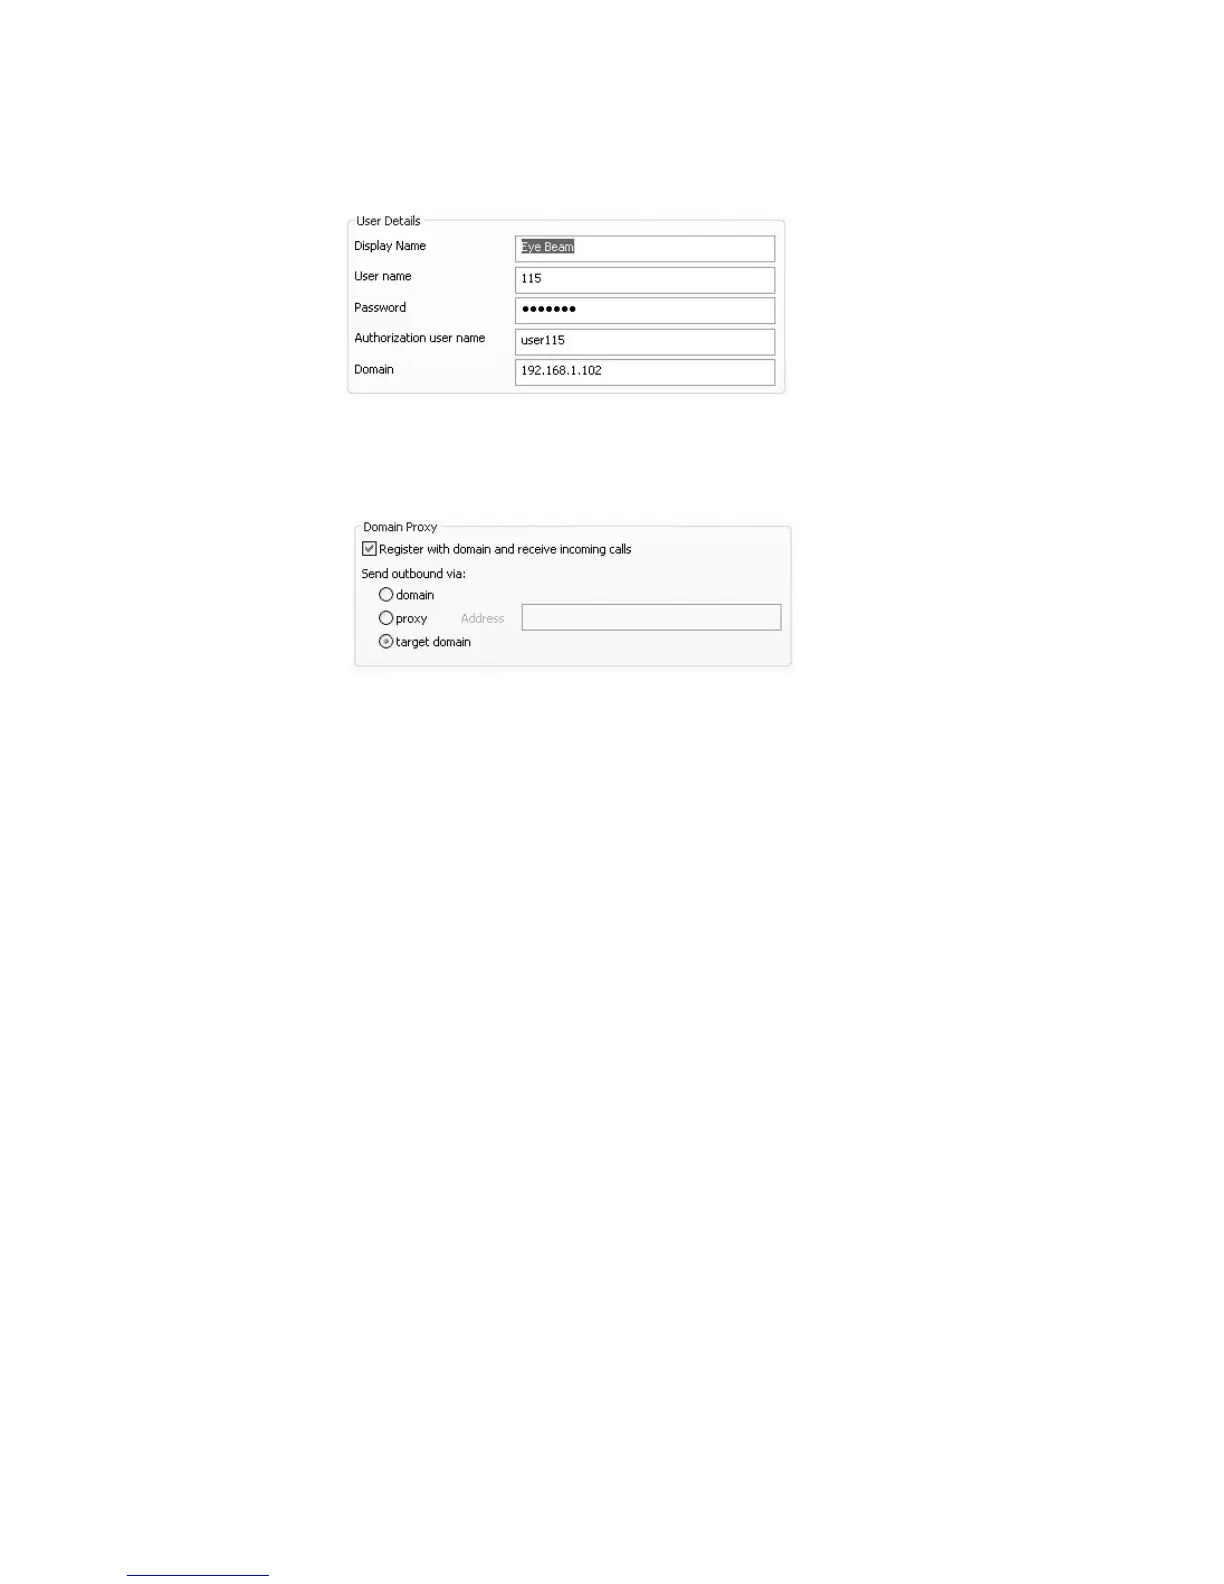
e) If setting up an internal IP extension, set Domain to the IP address of the TalkSwitch
unit acting as local proxy. If setting up an external IP extension, set Domain to the
public IP address or FQDN (Fully Qualified Domain Name) of the TalkSwitch system.
4. Set up the Domain Proxy area in the Account tab.
a) Select the Register with domain and receive incoming calls check box.
b) Select the target domain option.
5. Set up the Voicemail tab.
a) Select Check for voice mail.
b) Enter ** in the Number to dial for checking voicemail field.
c) Enter *<voicemail number> in the Number for sending calls to voicemail field.
6. Click OK to save settings and close the Properties of Account1 window.
7. Click Close to close the SIP Accounts window and enable the newly configured SIP account.
Once closed, the phone display will show:
• Discovering network…
•Registering…
• Ready, Your username is: [local extension number].
Further configuration
The steps above will configure your Counterpath phone as a local extension.
See Local Extension/Fax in Chapter 2 of the TalkSwitch User Guide for instructions on configuring
direct line access, hunt group permissions, Caller ID settings (VoIP only), call handling, and
voicemail.
Updating eyeBeam software
The latest release of eyeBeam can be found at www.counterpath.net/eyebeam.html