3 6 7
3 7 3
0 1 3
3 7 3
3 6 7
SAFETY STRAP
HOLDER
0 0 2
13
2.3 Assembly
Before assembly, take a close look at the individual assembly steps shown and carry out the assembly
in the order given.
L NOTICE
First loosely screw all parts together and check that they t properly. Then tighten the screws
using the tool only when you are instructed to do so.
ATTENTION
Before unpacking the RX7 rowing machine, make sure that you have a free space of 2 x 2.5
metres for assembly.
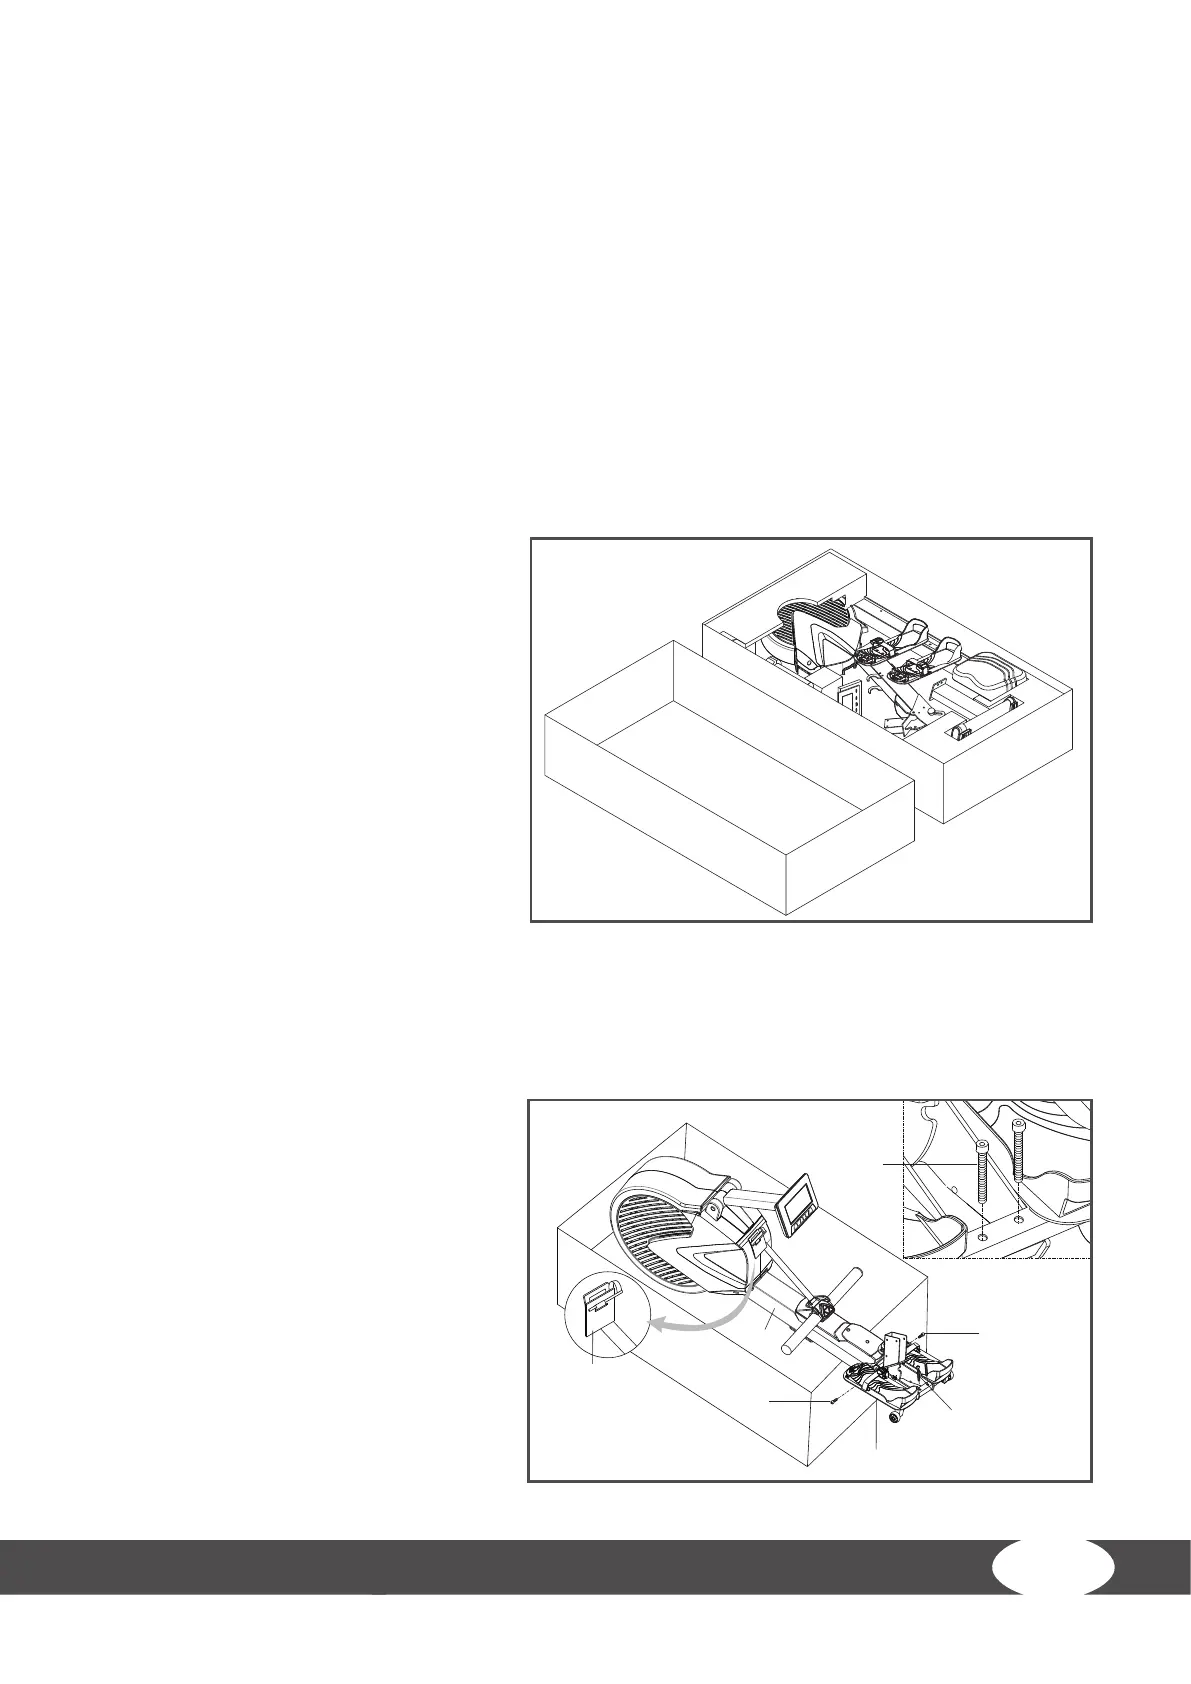
Step 1: Unpacking
Open the packaging, see illustration
below.
L NOTICE
Do not remove the protective
packaging material before it‘s
absolutely necessary.
Step 2: Preparing the assembly
1. Take the partially assembled
rowing machine out of the box and
set it up, see illustration below.
2. Remove and dispose of the safety
strap holders. Put the rowing
handle in the given support.
3. Remove two screws (367) from
the main frame (2) and two screws
(373) with the provided tools.
4. Mount the footrests (013) with
both screws (367) and (373).
Tighten the screws.