3 0 4
3 0 4
1 1 7
C A R R IA G E
RX7
16
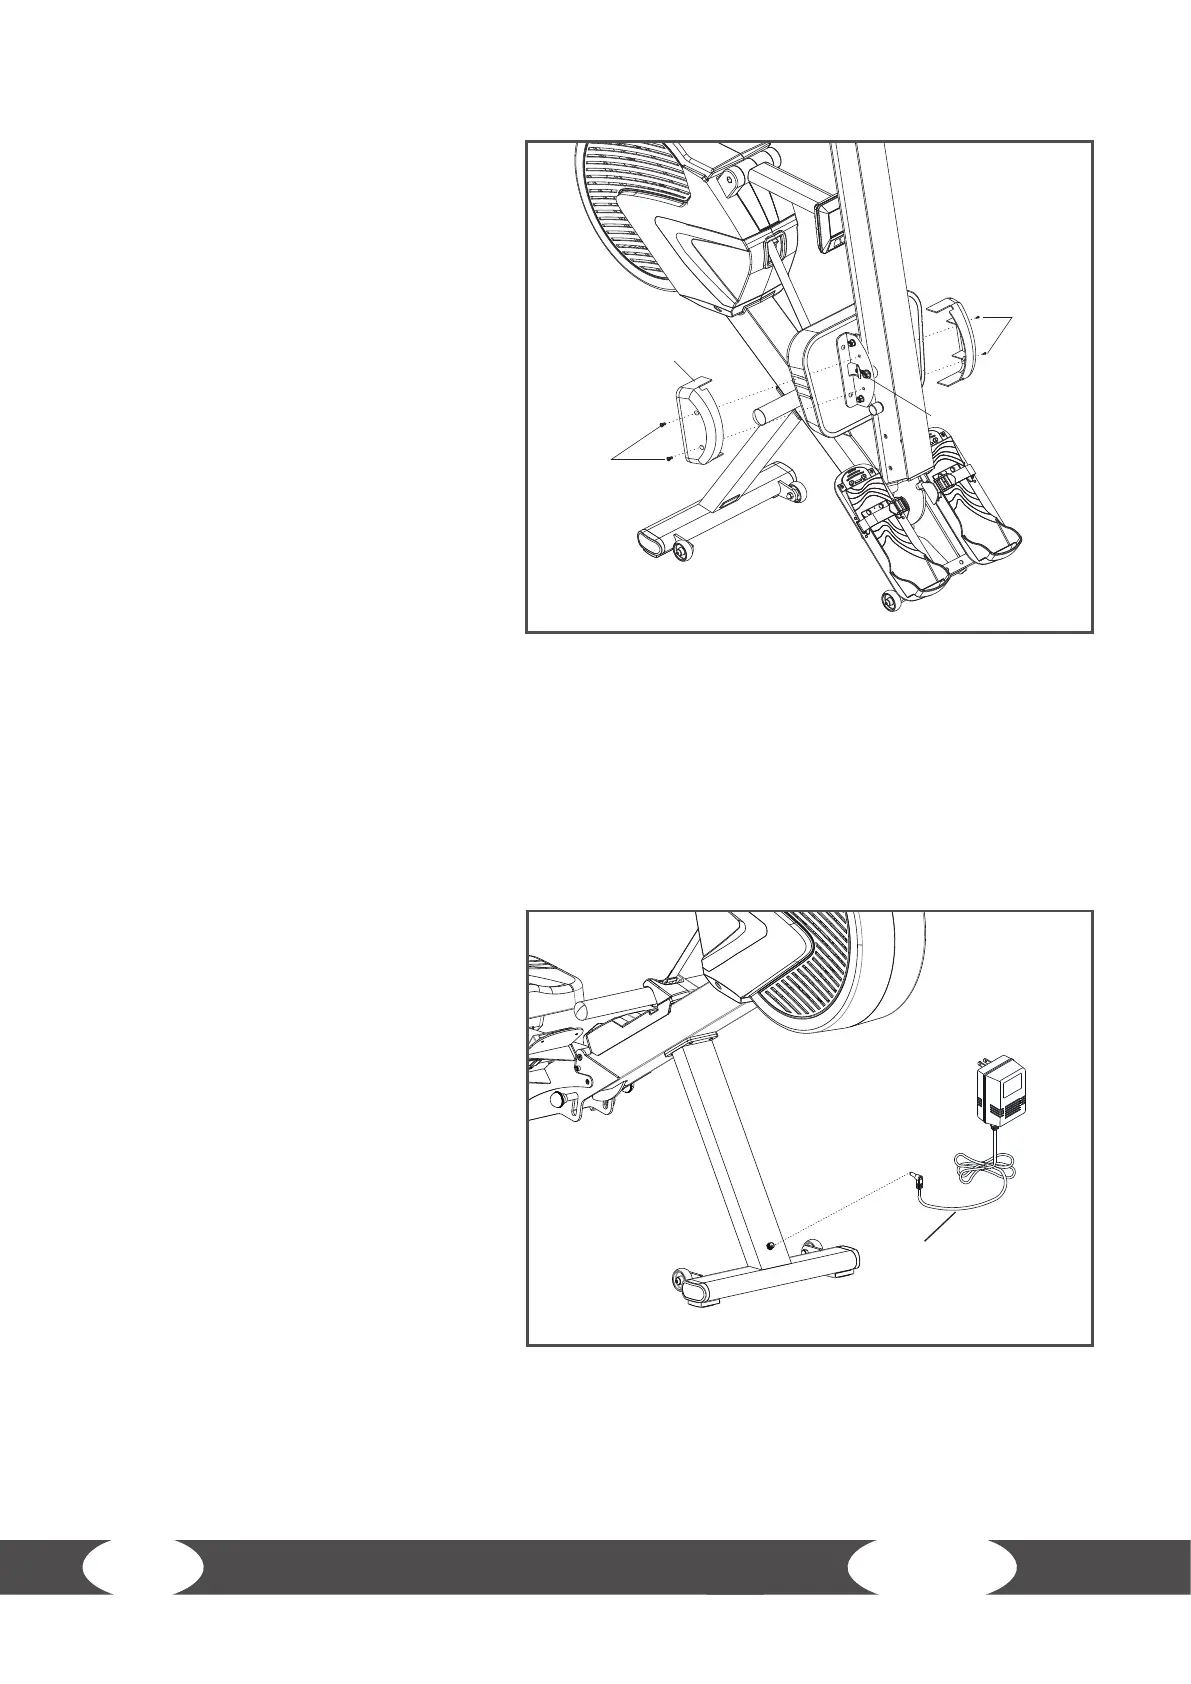
Step 7: Assembly of the covers
1. Remove the four pre-mounted
screws (304) from the wheel
carrier (CARRIAGE).
2. Mount the two small covers (117)
with the four screws (304). Tighten
the screws.
ATTENTION
Pay attention to correctly connect
the two small covers (117) with
each other, see illustration.
Step 8: Connecting the equipment to the mains supply
ATTENTION
The equipment must not be
connected to a multiple socket,
otherwise it cannot be guaranteed
that the equipment will be
supplied with sucient power.
Technical errors can result.
Plug the power plug (715) into a
wall outlet that complies with the
instructions in the chapter on electrical
safety.