EasyManua.ls Logo

TDK-Lambda GENESYS 1500W - SW1 Position Function

TDK-Lambda GENESYS 1500W
80 pages
Print Icon
To Next Page IconTo Next Page
To Previous Page IconTo Previous Page
Loading...
83
-
507
-
013 Rev. D
31
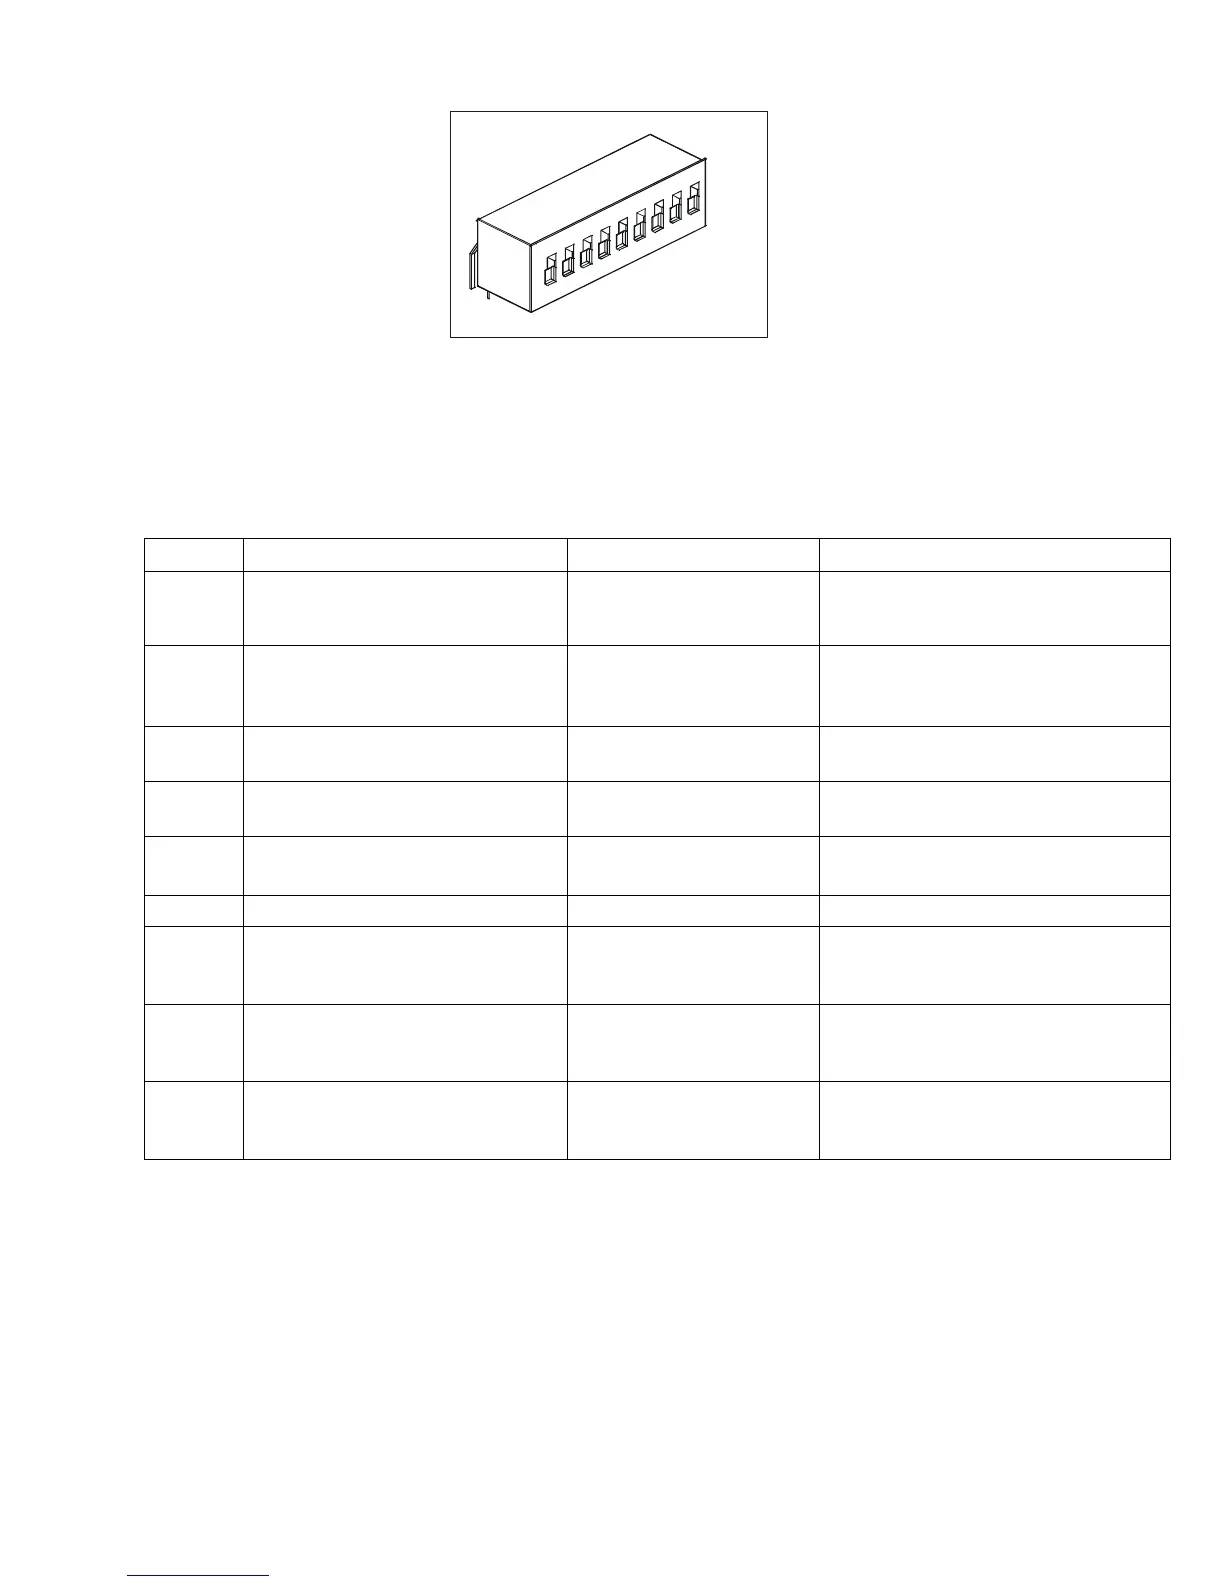
Fig.4-3: SW1 setup DIP-switch
1
2
3
4
5
6
7
8
9
4.4.1 SW1 position function
Refer to Table 4
-
3 for description of SW1 position functions. The factory default setting is
Down
for all positions.
Table 4
-
3: SW1 Positions Functions
Position
Function
DOWN
(Factory default)
UP
SW1
-
1
Output Voltage
Remote Analog Programming
Output Voltage
programmed by
Front Panel
Output Voltage programmed
by remote an
a
l
og
External Voltage or External Resi
s
tor
SW1
-
2
Output Current
Remote An
a
log programming
Output Current
programmed by
Front Panel
Output Current pr
o
grammed
by remote an
a
log
External Voltage or External
Resi
s
tor
SW1
-
3
Programming Range Select
(R
e
mote voltage/resistive)
0
-
5V/(0
-
5Kohm)
0
-
10V/(0
-
10Kohm)
SW1
-
4
Output Voltage and
Current Monitoring Range
0
-
5V
0
-
10V
SW1
-
5
Shut
-
Off Logic select
Off: Low (0
-
0.6V) or Short
On: High (2
-
15V)
or Open
Off: Low (2
-
15V) or Open
On: High (0
-
0.6V) or Short
SW1
-
6
RS232/485 select
RS232 interface
RS485 interface
SW1
-
7
Output Voltage
Resistive Pr
o
gramming
Output Voltage
programmed by
Front Panel
Output Vol
tage
programmed by
External resi
s
tor
SW1
-
8
Output Current
Resistive Pr
o
gramming
Output Current
Programmed by
Front Panel
Output Current
Programmed by
External Resi
s
tor
SW1
-
9
Enable/Disable control
Rear panel
E
n
able/Disable control is
not Active
Rear panel
Enable/Disable co
n
trol
i
s A
c
tive
4.4.2
Resetting the SW1 switch
Before making any changes to the SW1 switch setting, disable the power supply output by pres
s-
ing the front panel OUT button. Ensure that the Output Voltage falls to zero and the OUT LED is
Off. Then use any small flat
-
bl
aded screwdriver to change the SW1 switch setting.

Table of Contents

Related product manuals