70
FRANÇAIS
Division de piste (2)
ENGLISH
Track Divide (2)
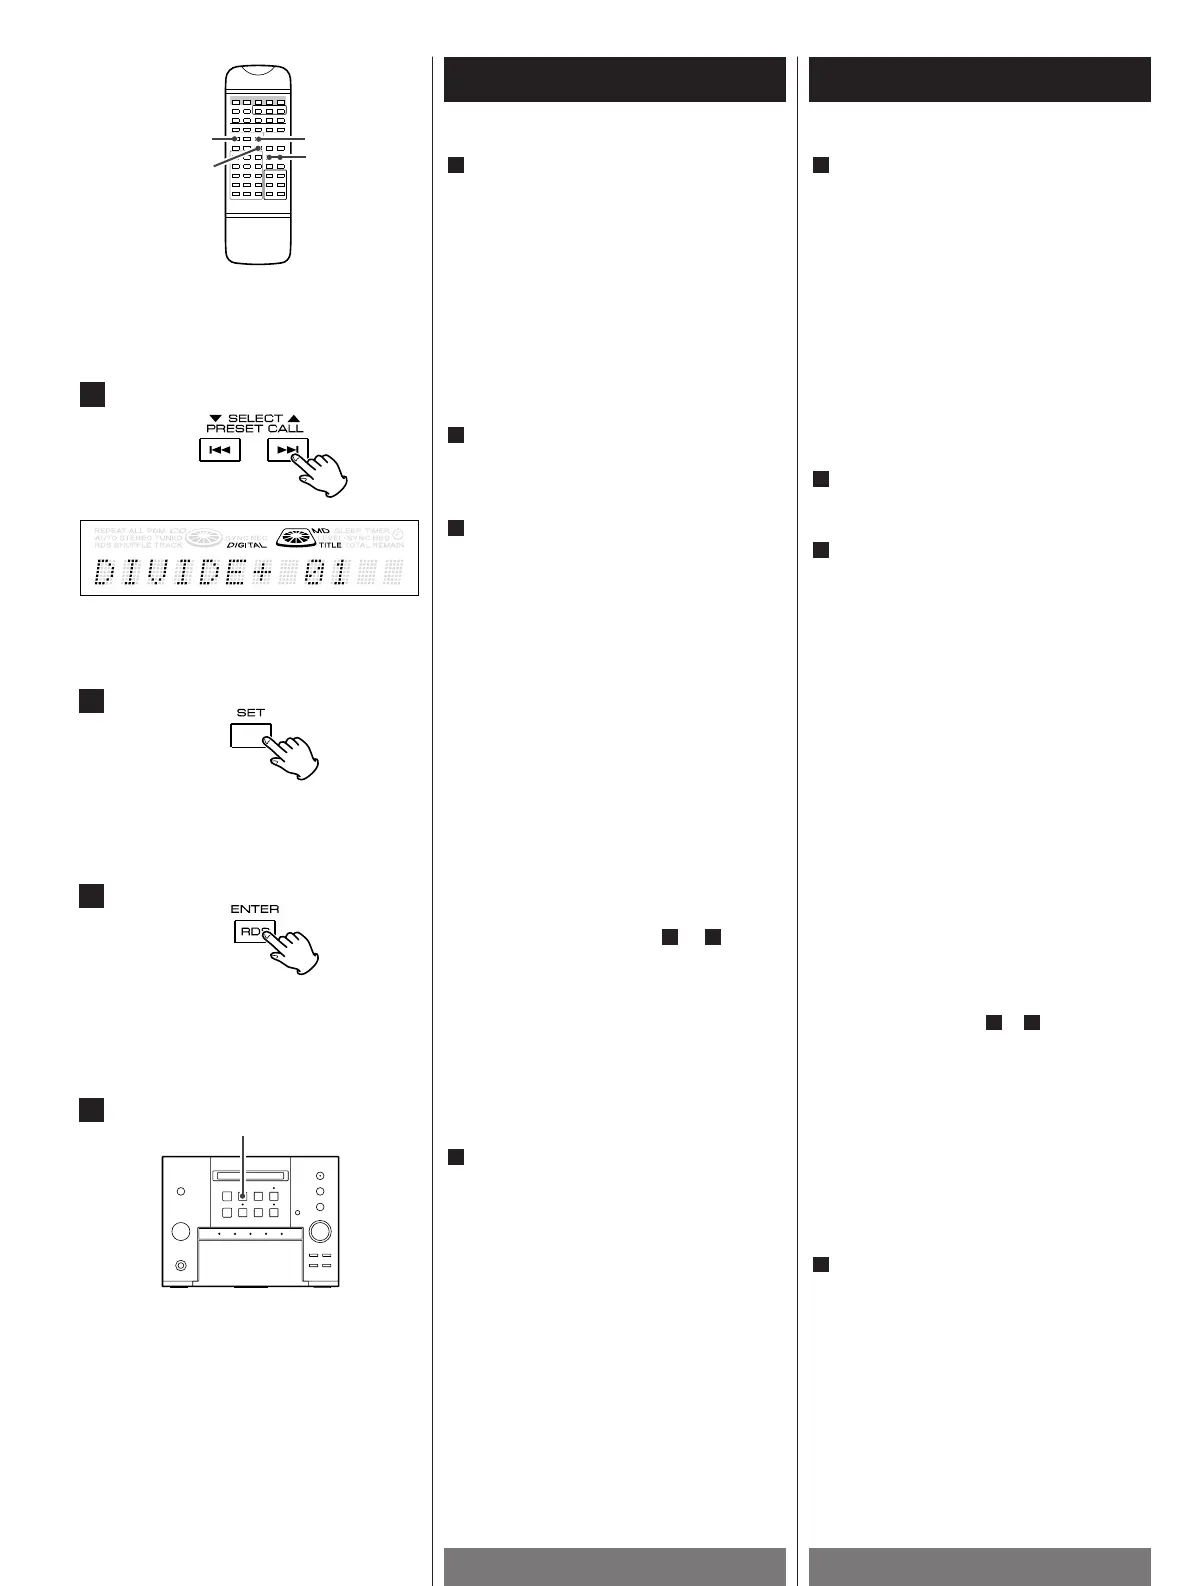
Fine-adjust the division point by
pressing the SELECT button.
<
Fine adjustment is possible while
monitoring the sound.
<
A dividing point can be fine-adjusted only
in the forward direction from the point
where the EDIT button was pressed
initially, in 32 steps and for about 60 ms
(6/100 sec.) per step. So it is
recommended to press the EDIT button
slightly before the initial division point.
Press the SET button at the point to be
divided.
"ok?" is displayed.
Press the ENTER button to execute the
track divide operation.
The display after execution:
7
6
5
< It takes a while until the execution
completes.
<
If you execute an editing operation by
mistake, the condition before editing can
be recovered by performing the "EDIT
CANCEL" operation.
<
Up to 255 track numbers can be inserted
additionally by repeating to .
<
The track is divided into two tracks, and
the unit enters pause mode at the second
track.
<
No blank space is left between the two
tracks.
<
Track division may sometimes be
impossible due to the limitations of the
MD standard.
Press the EJECT button(L) to unload the
disc.
<
While "WRITING" is displayed, do not
apply shock or vibration to the unit
because information is being written on
the Mini Disc.
8
71
"EDIT NOW!" : When editing is in progress.
"COMPLETE!": When editing is completed
successfully.
"CAN’T EDIT!": When editing is impossible.
Effectuez un réglage fin du point de
division en appuyant sur le bouton
SELECT.
<
Le réglage est possible en surveillant le
son.
<
Le réglage fin d’un point de division n’est
possible que vers l’avant, à partir du
moment où vous avez appuyé sur le
bouton EDIT, en 32 pas et pendant
environ 60 ms (6/100s) par pas. Il est
donc recommandé d’appuyer sur le
bouton EDIT un peu avant le point de
division initial.
Appuyez sur le bouton SET au point de
division souhaité.
"ok ?" s’affiche.
Appuyez sur ENTER pour exécuter
l’opération de division de piste.
Affichage après l’exécution :
7
6
5
< L’exécution de la modification prend un
certain temps.
<
Si vous exécutez par erreur une
opération de modification, vous pouvez
revenir à l’état qui précédait cette
opération en exécutant l’opération "EDIT
CANCEL".
<
Vous pouvez ainsi insérer jusqu’à 255
numéros de piste supplémentaires en
répétant les étapes à .
<
La piste est divisée en deux nouvelles
pistes et l’appareil passe en mode
PAUSE à la seconde piste.
<
Aucun espace vide n’est laissé entre les
deux pistes.
<
La division de la piste peut parfois être
impossible en raison des
caractéristiques propres du mini-disc.
Appuyez sur le bouton EJECT(L) pour
sortir le disque.
<
Lorsque le message "WRITING" est
affiché, ne pas heurter ni secouer
l’appareil car des informations sont en
cours de gravure sur le mini-disc.
8
71
"EDIT NOW!" :
lorsque la modification est en cours.
"COMPLETE!":
lorsque la modification est exécutée
vec succès.
"CAN’T EDIT!":
lorsque la modification est impossible.
7
8