14
6.3 Lighting Tips
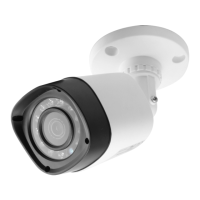
For best results do not point the camera towards a light source. Pointing the camera
towards a glass window intending to see outside may result in a poor image because of
glare and lighting conditions inside and outside. Do not place the camera in a shaded area
that is looking into a well lit area as this will result in a poor display. The light to the sensor
located at the front of the camera needs to be the same as the light at the focal target for
best results. It is recommended to clean the lens from time to time if the picture degrades.
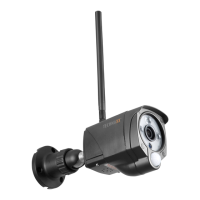
Environment Tips
Make sure the power connections are not directly exposed to water or moisture and
shielded from other outdoor elements. Weatherproof only means that the camera can be
exposed to weather such as rain and snow. Weatherproof cameras cannot be submerged
under water. Do not expose the camera where rain and snow will hit the lens directly.
Cameras geared for cold weather may work in extreme conditions as low as -25°.
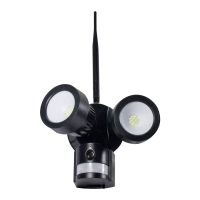
6.4 Tools* required for installation (*not included in delivery)
Electric power drill, screwdriver, rubber hammer, level, pencil, eye protector ladder
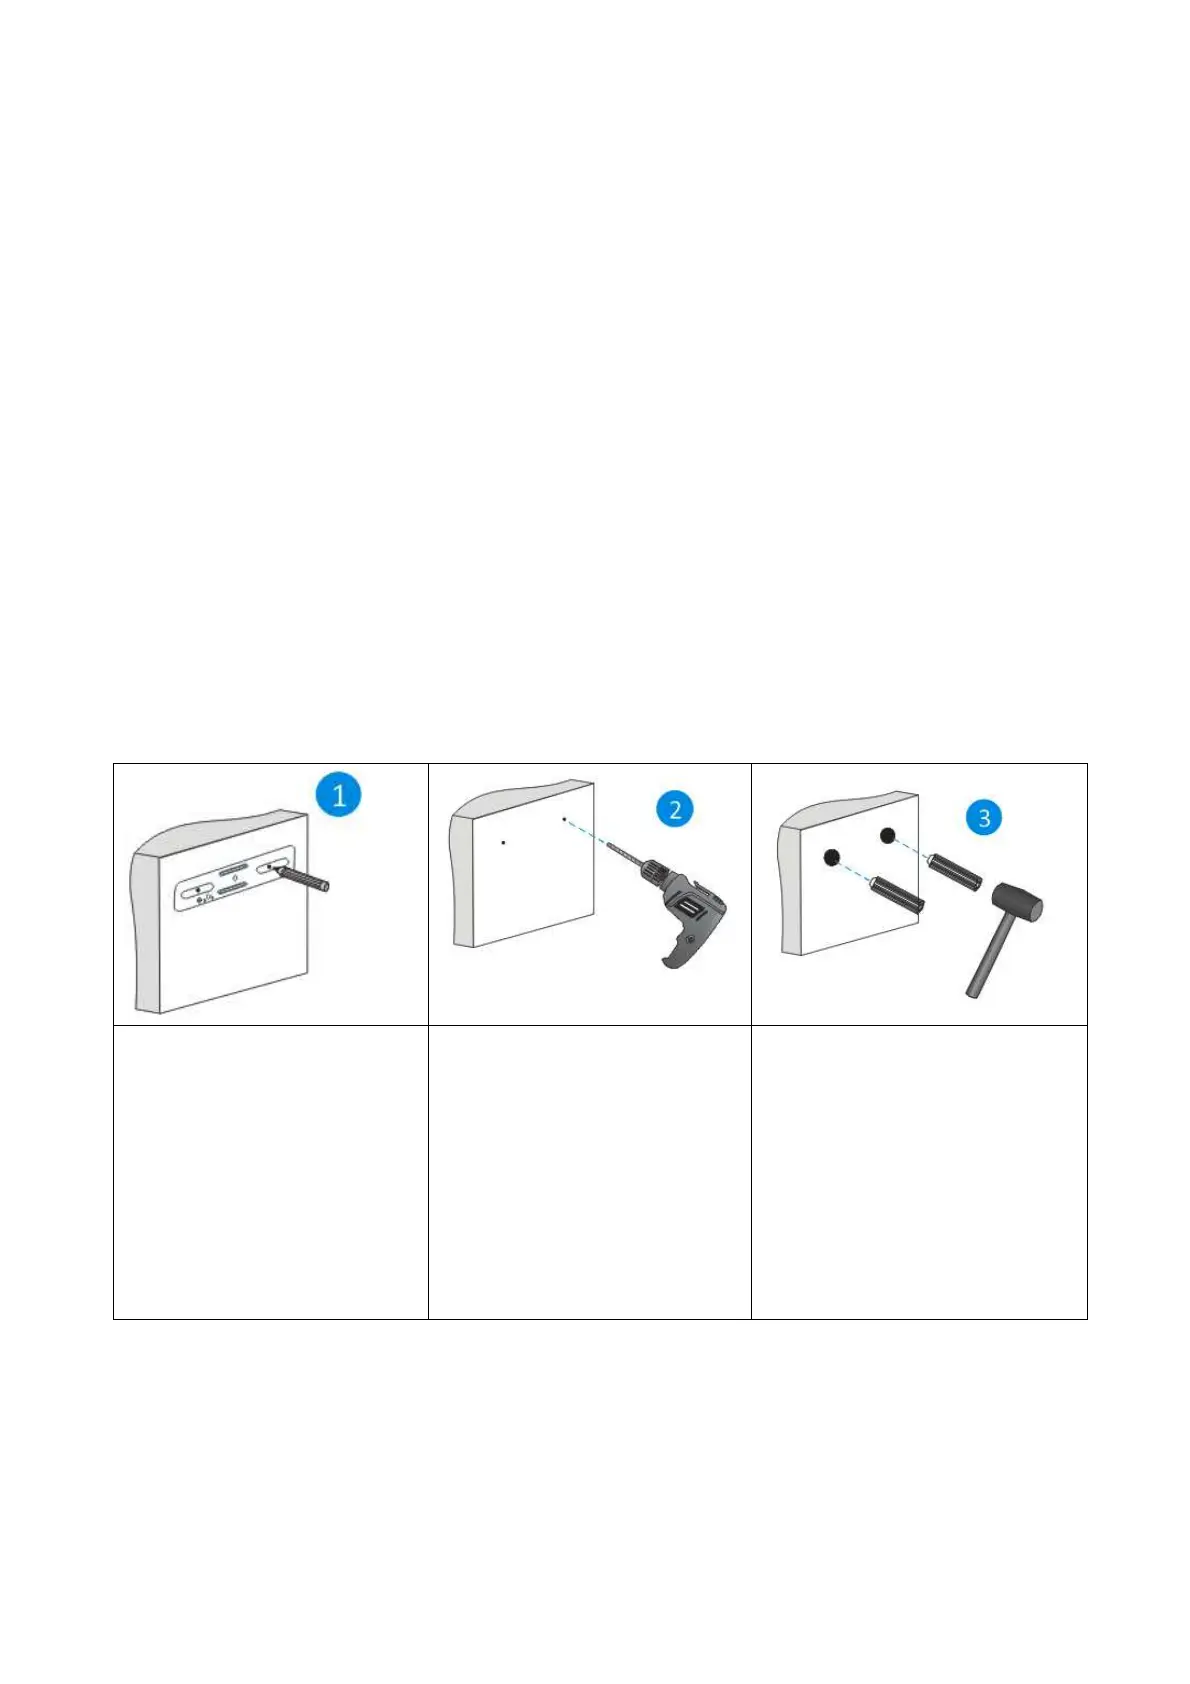
6.5 Installation Steps
Choose the place you
would like to set this fixture.
Use a pencil to mark the 2
screw holes on the chosen
surface.
A level may be required.
Use an electric power drill to
drill the holes in the chosen
mounting surface according
to the mark.
Use a rubber hammer to hit
the included plastic plugs into
the holes.
Ensure the plastic plugs be
fixed into the wall without
loose.