13
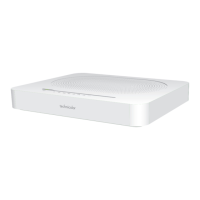
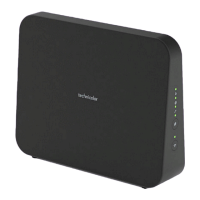
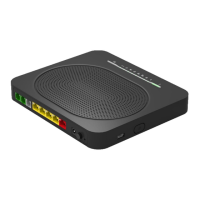
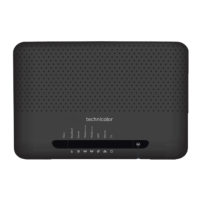
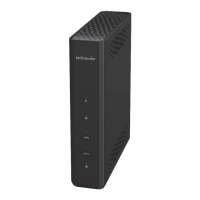
2 Setting up your DGA4130
DMS3-CTC-25-420 v1.0. Copyright © 2017 Technicolor. All rights reserved.
This document contains Technicolor proprietary and confidential information. Passing on and copying of this document, use, extraction and
communication of its contents, is not permitted without written authorization from Technicolor.
2 Setting up your DGA4130
Setting up your main services
Proceed as follows:
1 Connect your DGA4130 to your service provider’s network.
For more information, see “2.1 Connecting your DGA4130 to your service provider’s network” on page 14.
2 Power on your DGA4130.
For more information, see “2.2 Powering on your DGA4130” on page 17.
3 Connect your network devices. To do this using:
A wireless connection, see “3 Wireless networking” on page 25.
A wired connection, see “2.3 Connecting your wired devices” on page 18.
4 Configure your DGA4130 using the built-in web interface.
For more information, see “2.5 Configure your DGA4130 services” on page 20.
Setting up additional services
When you subscribed you may have purchased additional services or items.
For more information on how to:
• Connect your phones, see “2.4 Setting up your telephone network” on page 19.
• Set up a mobile data fallback connection using a mobile Internet dongle, see “2.7 Set up a mobile fallback connection” on
page 23 for more information.
• Set up a wireless video bridge to your set-top box, see “2.6 Set up a wireless video bridge to your set-top box” on page 21.
Always follow the specific instructions of the service provider if provided.
We recommended you to first connect one computer/tablet (if possible via a wired connection), then complete
the rest of the procedure and as a final step connect the other (wired and/or wireless) devices.