EasyManuals Logo

Technika SH-A366 User Manual

Technika SH-A366
65 pages
To Next Page IconTo Next Page
To Previous Page IconTo Previous Page
Page #46 background imageLoading...
Page #46 background image
EN-46
4. Use
v or w to select by your preference, then
press the
e button.
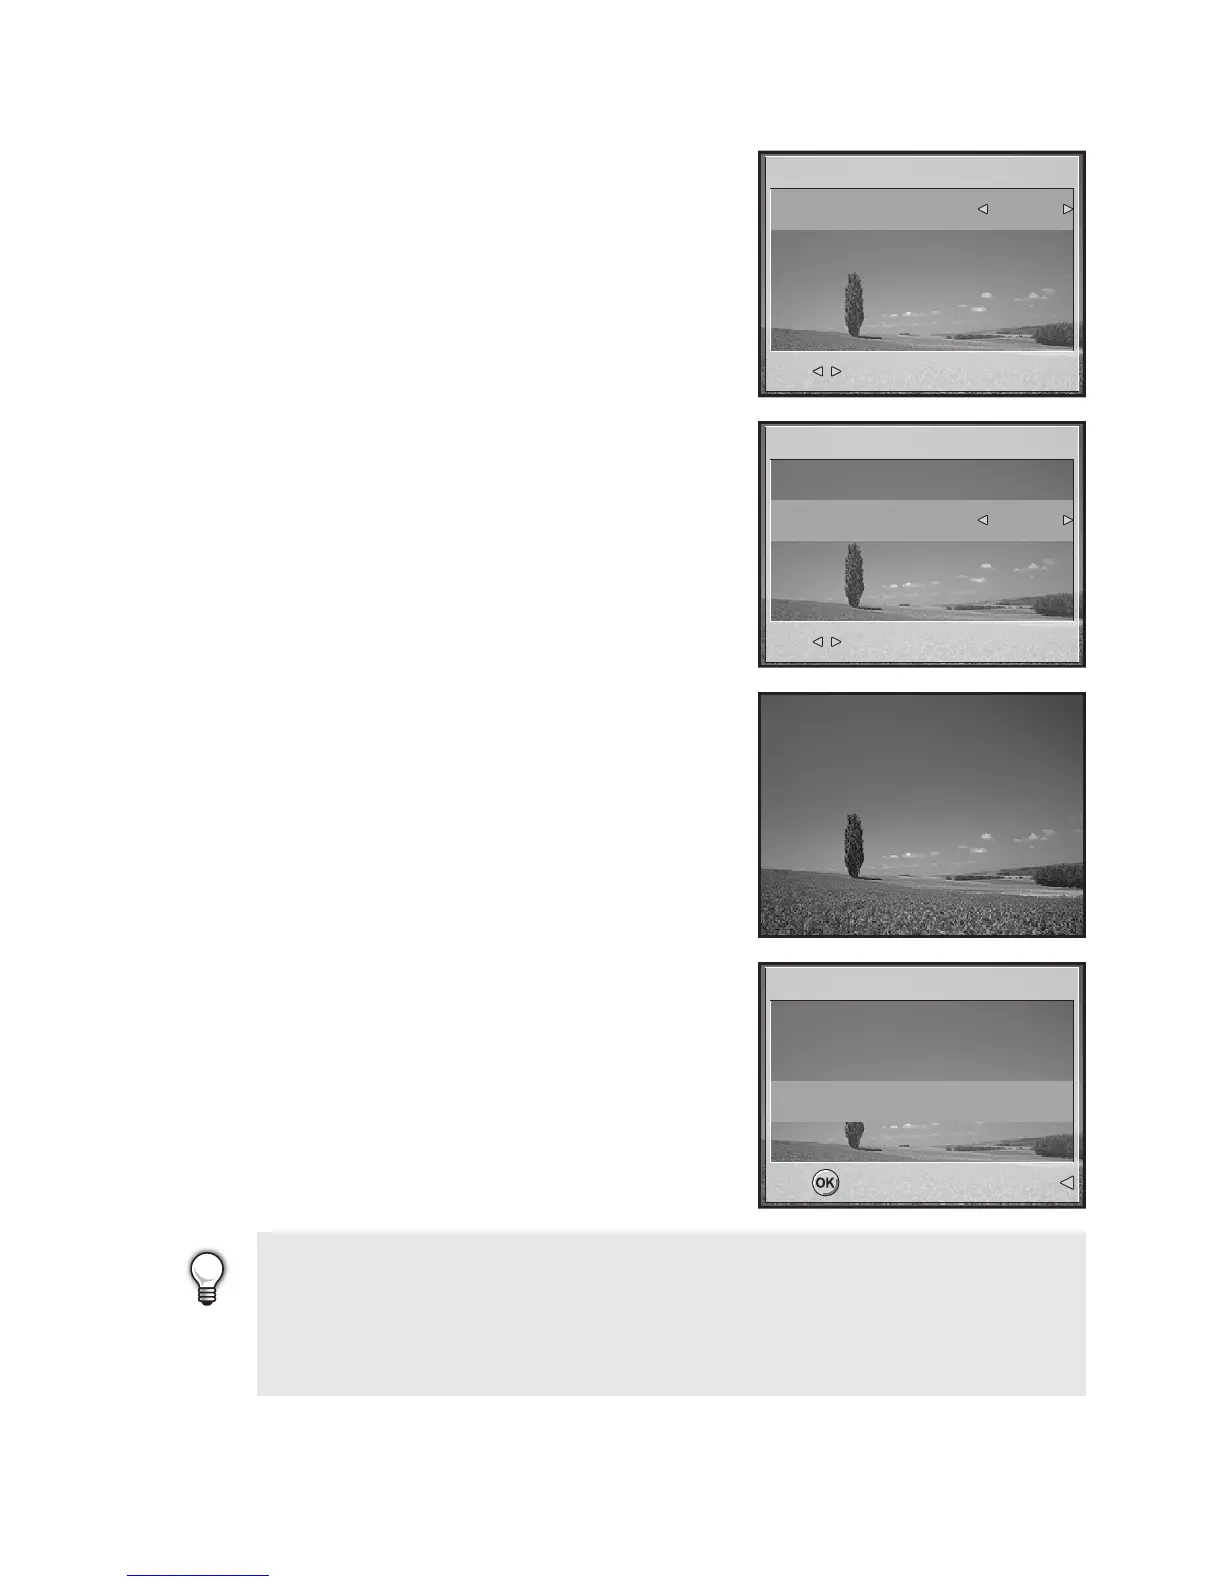
[Quantity]: Allows you to select image quantity
(0~10). Use
x or y to set the image
quantity.
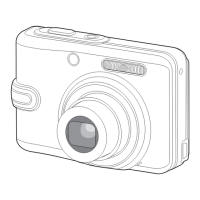
[Date]: The date of recording can be printed
directly on the images. Press the e
button to choose [Yes] or [No] with
x or y.
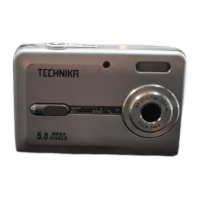
[Cancel]: To exit the mark function, use v or
w to select [Cancel], then press the e
button.
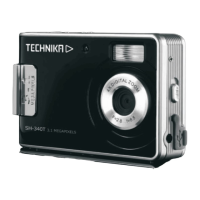
5. Press W to return to the image playback
mode.
The P is marked on the displayed image.
To unmark the P mark, go back to step 3
to select [Reset All] with v or w.
Before you perform the DPOF settings on your camera, always remember
to copy your images from the internal memory to an SD memory card first.
The print icon will appear on the monitor indicating images selected for
printing.
You cannot print movies.
One Image
One Image
One Image
Quantity
Quantity
Date
Date
Cancel
Cancel
Set:
Set:
Set:
1
On
On
Quantity
Date
Cancel
1
On
One Image
One Image
One Image
Quantity
Quantity
Date
Date
Cancel
Cancel
Quantity
Date
Cancel
Set:
Set:
Set:
1
On
On
1
On
{D
{D
P
{D
P
100-0001
100-0001
100-0001
1
1
??
x
x
DPOF
DPOF
DPOF
One Image
One Image
All Images
All Images
Reset All
Reset All
One Image
All Images
Reset All
Return:
Return:
Return:Set:
Set:
Set:

Table of Contents

Questions and Answers:

Question and Answer IconNeed help?

Do you have a question about the Technika SH-A366 and is the answer not in the manual?

Technika SH-A366 Specifications

General IconGeneral
BrandTechnika
ModelSH-A366
CategoryDigital Camera
LanguageEnglish

Related product manuals