To remove the shaft, align the two keys in the shaft with the holes on the pulleys.
5. Remove the shaft by sliding the two pulleys on the right and left.
The shaft must be removed from the right side, so work on the left side using a rubber mallet.
6. Check the state of wear of the key.
To reassemble the shaft, follow the disassembly instructions in reverse order. Make sure the keys in the shaft
are aligned with the holes in the pulleys.
Before tightening the grub screws locking the bearings, check there is no noise. If necessary,
move the shaft to the right or left to change the position slightly.
7.11 DISASSEMBLING THE ROLLER BEARINGS (REAR ZONE)
The procedure for removing the right-hand rear bearing from the equipment is explained below.
1. Remove the rear tread belt footboard.
Mark the screws according to their size.
2. Remove the guard next to the upright, on the inner side of the equipment.
3. Remove the (interlocked) side covering from the lower part of the upright, on the outer side
of the equipment.
4. Remove the guard located under the side covering.
5. Remove the rear side guard.
6. Mark the position of the ange.
7. Use a gauge to measure the tensioning device.
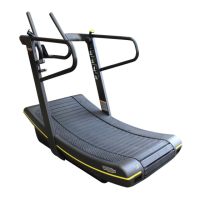
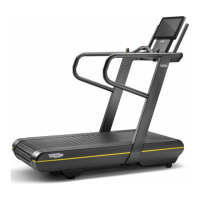
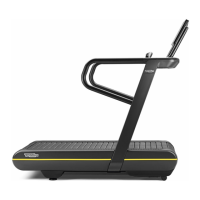
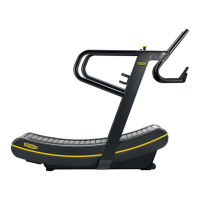
Skillmill
Technical Service Guide - Rev. 3.5
Page 108
email: support@technogym.com