- 10 -
Set up display
Note: Because of the default settings already determined by the manufacturer it
may not be necessary for the majority of users to perform – except the
Relative Air Pressure (see further down) - any further basic settings.
Changes, however, can be easily made.
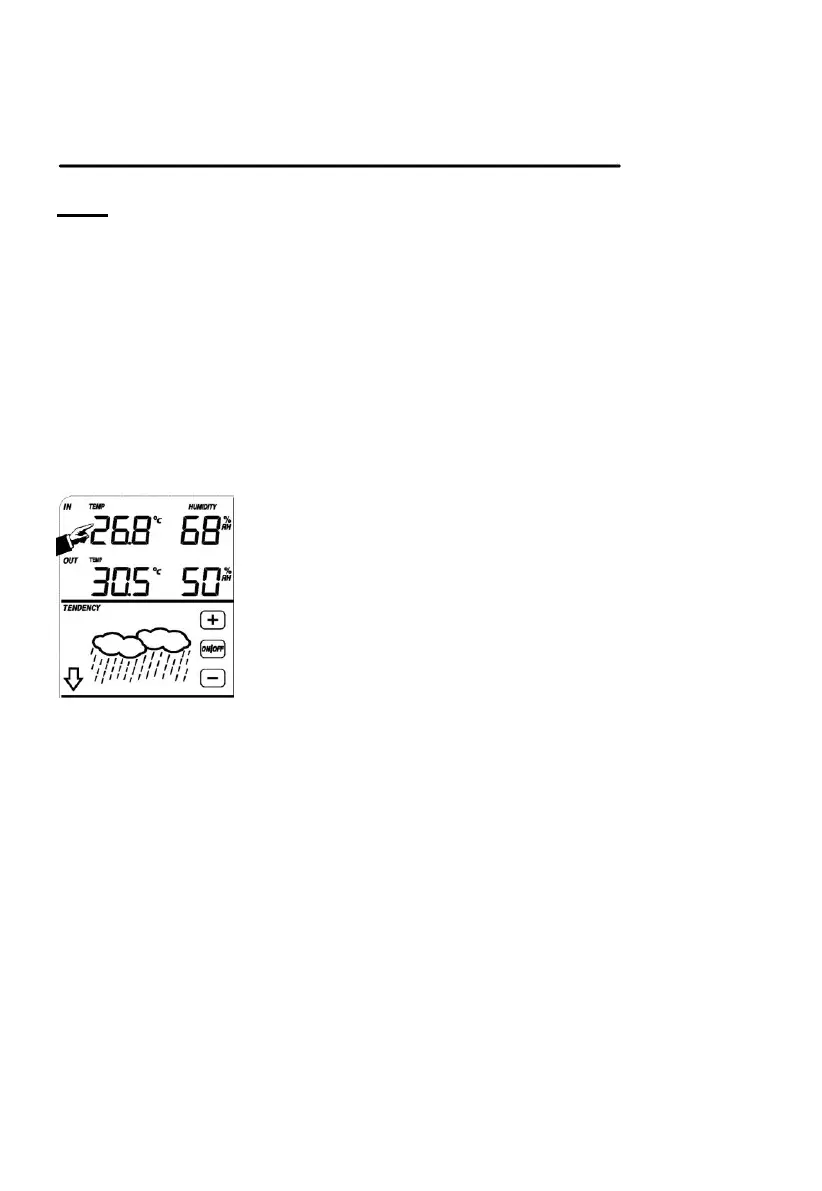
For basic settings, the following menu is started by touching the Touch Screen in
the desired display area.
The basic settings can now be performed in the following successive order:
Note: setting procedure can be exited at any time by touching any other function
area (except “+”, “-” or “ON/OFF”).
Indoor temperature
Activate the indoor temperature related setting by
1)Touch the INDOOR TEMPERATURE section, + button and – button will be
flashing. Touch the + button or – button to Shift the display unit between ℃ and
℉
2)Touch the INDOOR TEMPERATURE section again to set the indoor
temperature high alarm function, the +, ON/OFF and – button will be flashing,
HI AL icon will light up. Touch the+ button or – button to change the value, hold
the+ button or – button for 3s to change the number in greater steps. Touch
the ON/OFF button to choose the alarm on or off (if alarm is enabled, the
speaker icon will be turned on indicating the alarm function has been
enabled).
3)Touch the INDOOR TEMPERATURE section the third time to set the indoor
temperature low alarm function, the +, ON/OFF and – button will be flashing,
LO AL icon will light up. Touch the + button or – button to change the value,
hold the + button or – button for 3s to change the number in greater steps.
Touch the ON/OFF button to choose the alarm on or off (if alarm is enabled,
the speaker icon will be turned on indicating the alarm function has been