- 23 -
6. Click next and select the additional tasks.
7. Click next and setup is now ready to begin installing Easyweather on
your computer.
8. Click install, software will be installed automatically
9. Press Finish to finish the installation process and exit. If you tick “Launch
Easyweather” the software will start to run.
10. From “Start—All Programs—EasyWeather” path and double click the
“EasyWeather” icon to start application.
Note: The graphic function needs the software to be installed under the
administrator account. If it is installed under limited user accounts, the graphic
function of the software might not work correctly.
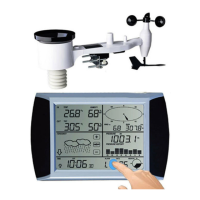
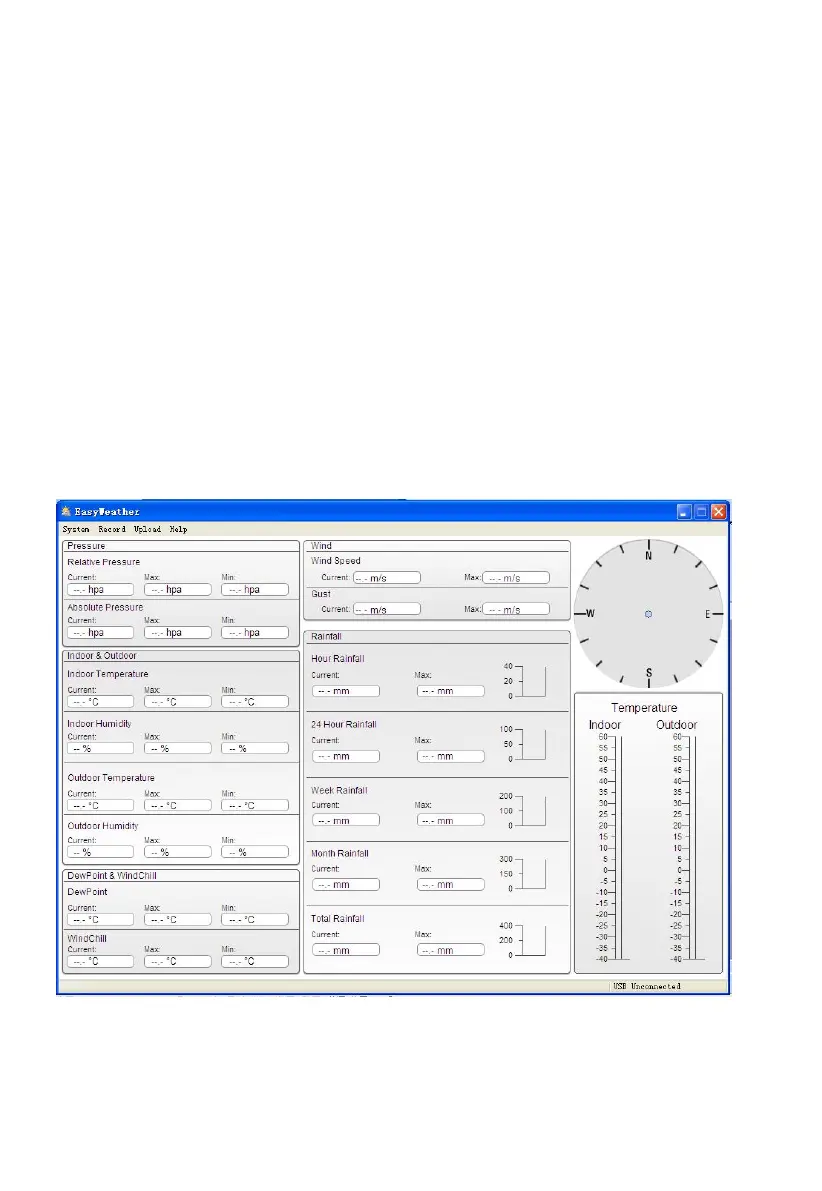
4.0 Basic Settings of the “EasyWeather” Software
After the “EasyWeather.exe” program has been started; the following main
window will appear on the PC screen:
All the settings from the base unit is mirrored into the PC software, so once you
have completed your required settings on the base unit, you don’t need to make
any setting changes in the PC software. However, you can still easily make any
setting changes you want through the PC and download the changes into the