cutmaster a60
Manual 0-4981 4-3 OPERATION
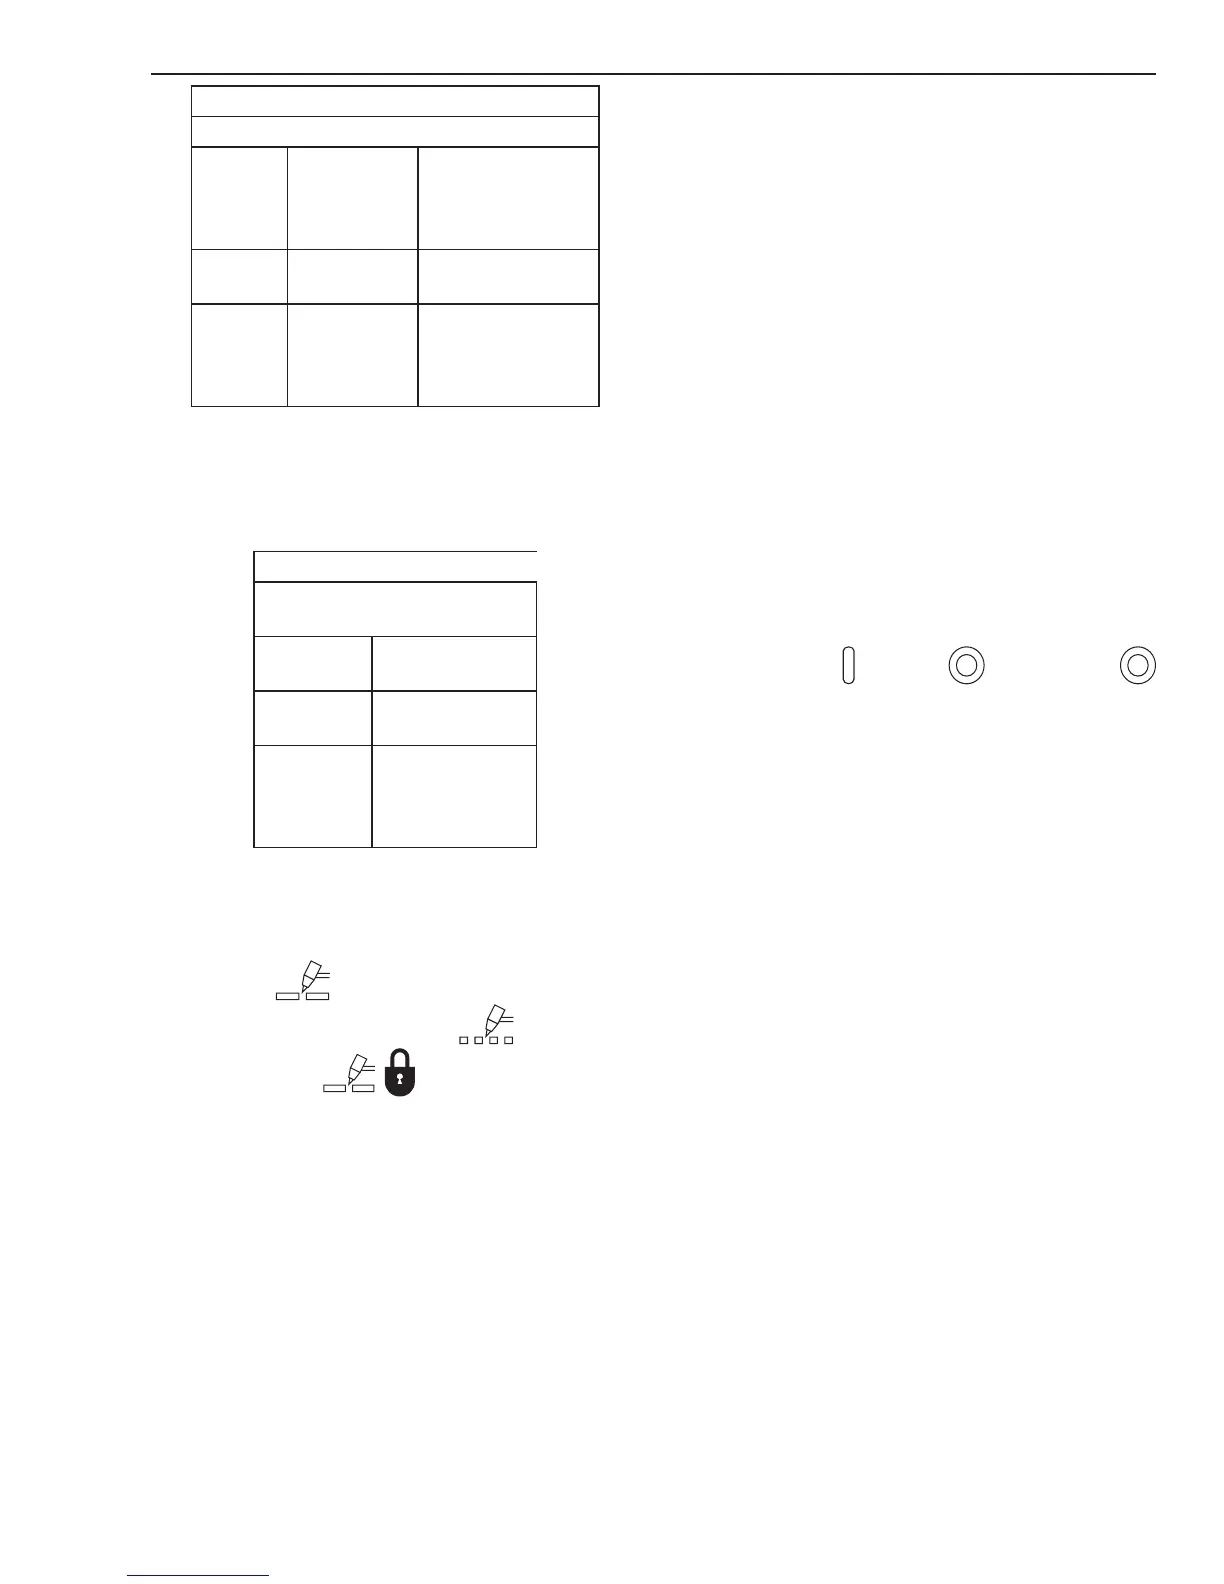
STANDOFF
CutMaster A60 Gas Pressure Settings
Leads
Length
SL60
(Hand Torch)
SL100
(Mechanized Torch)
SL 100 SV
(Automation Torch)
Up to 25'
(7.6 m)
75 psi
5.2 bar
75 psi
5.2 bar
Each
additional
25'
(7.6 m)
Add 5 psi
0.4 bar
Add 5 psi
0.4 bar
3. For Drag cutting, adjust gas pressure from
75 - 95 psi / 5.2 - 6.5 bar (LED's in center
of control panel). Refer to the Drag Cutting
chart for pressure setting details.
DRAG
CutMaster A60 Gas Pressure
Settings
Leads
Length
SL60
(Hand Torch)
Up to 25'
(7.6 m)
80 psi
5.5 bar
Each
additional 25'
(7.6 m)
Add 5 psi
0.4 bar
Select Current Output Level
1. Place the Function Control Knob in one of
the three operating positions available:
RUN ,
RAPID AUTO RESTART
or LATCH . Gas ow stops.
2. Set the output current to desired amperage
with the Output Current Control Knob.
Cutting Operation
When the torch leaves the workpiece during cutting
operations with the Function Control Knob in the
RUN position, there is a brief delay in restarting
the pilot arc. With the knob in the RAPID AUTO
RESTART position, when the torch leaves the work-
piece the pilot arc restarts instantly, and the cutting
arc restarts instantly when the pilot arc contacts the
workpiece. (Use the 'Rapid Auto Restart' position
when cutting expanded metal or gratings, or in
gouging or trimming operations when an uninter-
rupted restart is desired). And with the knob in the
LATCH position the main cutting arc will be main-
tained after the torch switch is released.
Typical Cutting Speeds
Cutting speeds vary according to torch output am-
perage, the type of material being cut, and opera-
tor skill. Refer to Section 4T.08 and following for
greater details.
Output current setting or cutting speeds may be
reduced to allow slower cutting when following a
line, or using a template or cutting guide while still
producing cuts of excellent quality.
Postflow
Release the trigger to stop the cutting arc. Gas con-
tinues to flow for approximately 20 seconds. During
post - flow, if the user moves the trigger release to
the rear and presses the trigger, the pilot arc starts.
The main arc transfers to the workpiece if the torch
tip is within transfer distance to the workpiece.
Shutdown
Turn the ON / OFF switch to OFF
(down). All Power Supply indicators shut off.
Unplug the input power cord or disconnect input
power. Power is removed from the system.