Wiring
Optional Wiring
Note The transmitter is used in duty cycle mode unless it is wired to a D
series scintillation detector. The duty cycle mode is set by connecting
jumper P3 pin 1 and 2 on the scintillation adapter board and shorting JP3
on the VPI board. ▲
Note Install two jumpers on P2. Jumper pin 1 to pin 3 and pin 2 to pin
4. ▲
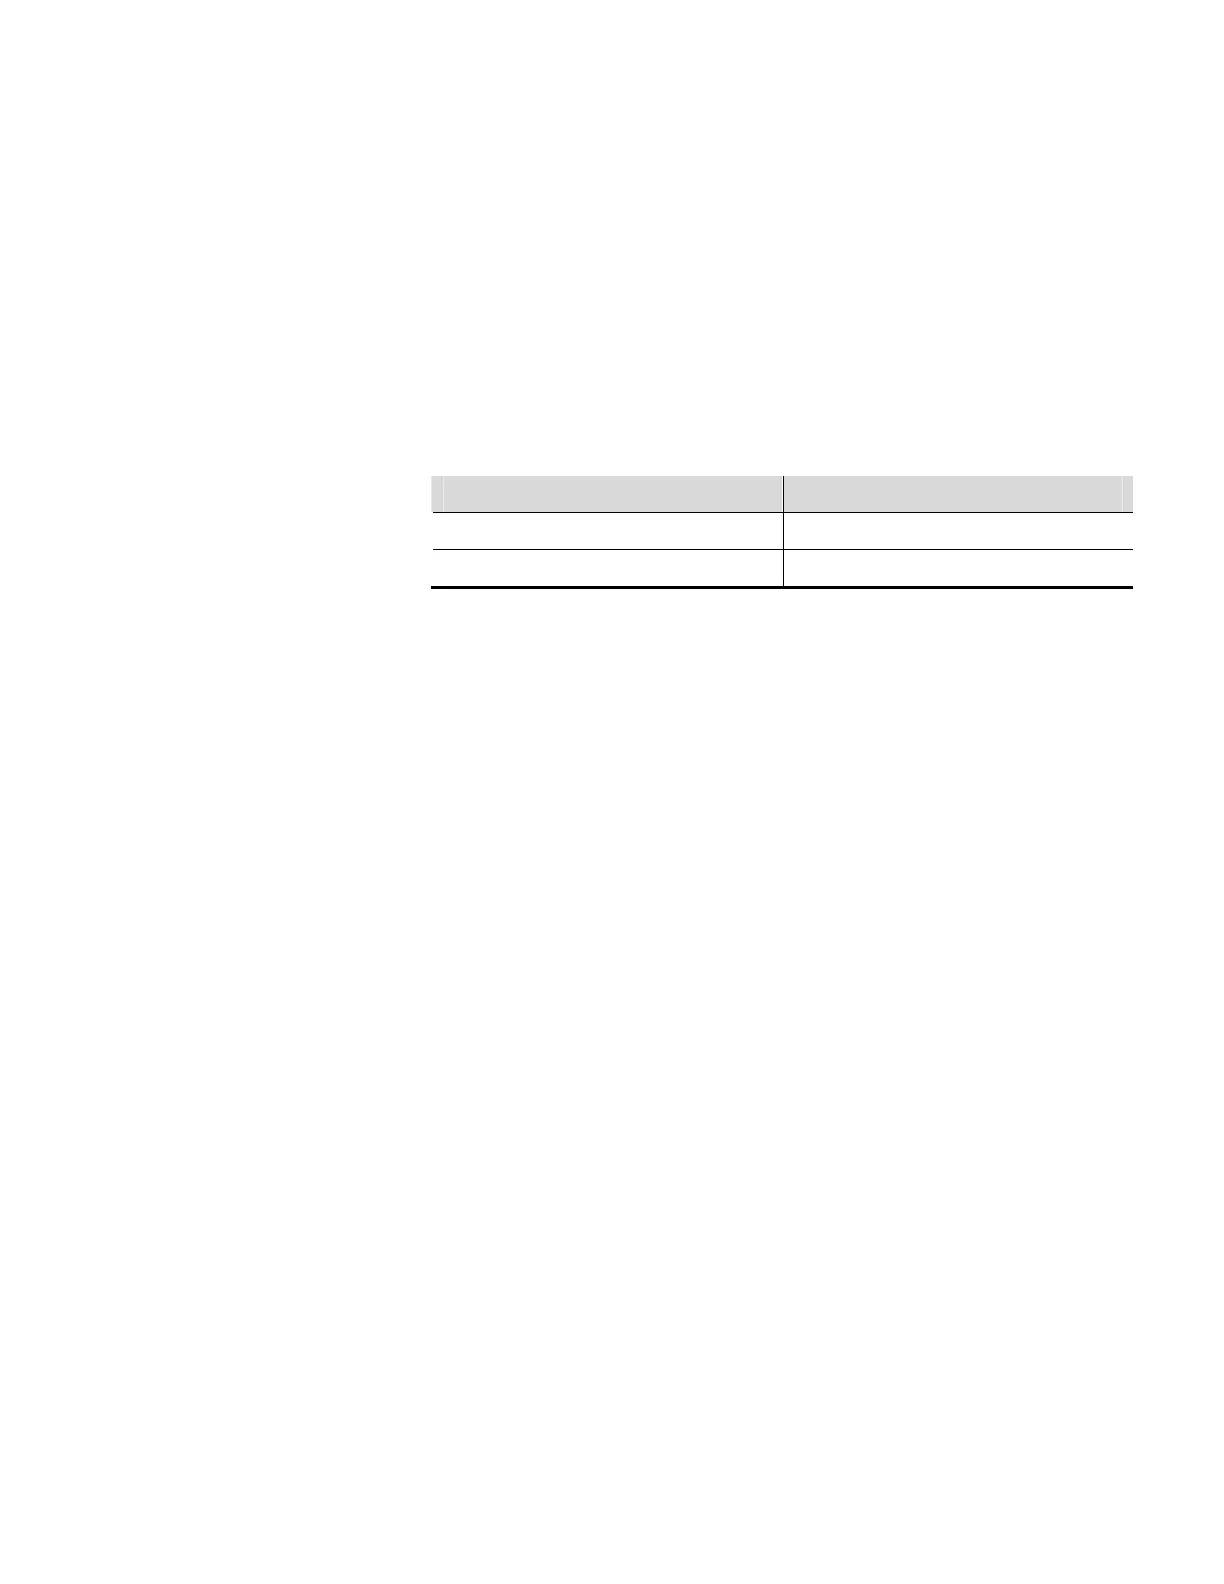
Signal wiring for the 9701/9702 ion chamber detectors is shown below.
Table 4–7. Wiring for ion chamber detector signal
9701/9702 Ion Chamber VPI Board in 1400A/1400S Transmitter
J2-3 (+) J1A-8 (+ION CHAMBER)
J2-4 (-) J1A-0 (-ION CHAMBER)
Optional Wiring
For optional wiring, refer to installation wiring drawing 868680-2.
Relays
I/O boards installed in transmitter slots PCB 1 through PCB 3 can have
two relays each, allowing for a maximum of six relays. Connector J1 is for
relays and is only installed on the PCB if relays were specified in the order.
Relay contacts are Form C SPDT, isolated 8 A, 22 Vac. You can assign
process alarms to control the relays. Refer to the DensityPRO+ user guide
for details.
Current Output
One current output (I/O) board is supplied as standard and installed in the
PCB 1 slot. Two additional I/O boards are optionally available are installed
the transmitter’s PCB 2 and PCB 3 slots.
The current output is normally shipped from the factory configured as an
isolated self-powered output. You can reconfigure the current output as
isolated loop-powered by removing the jumper from pins 3 and 4 of the J5
connector. In the loop-powered configuration, the user must supply +24
Vdc loop power to pin 3 of J5. Pin 2 of J5 is Iout+.
The current output is programmable between 3.8 and 20.5 mA. Refer to
the DensityPRO+ user guide for details. The minimum output in the self-
powered configurations is approximately 0.4 mA. The minimum output
current in the loop-powered configuration is approximately 3 mA.
Maximum load is 800 ohms.
4-12 DensityPRO+ Installation Guide Thermo Fisher Scientific