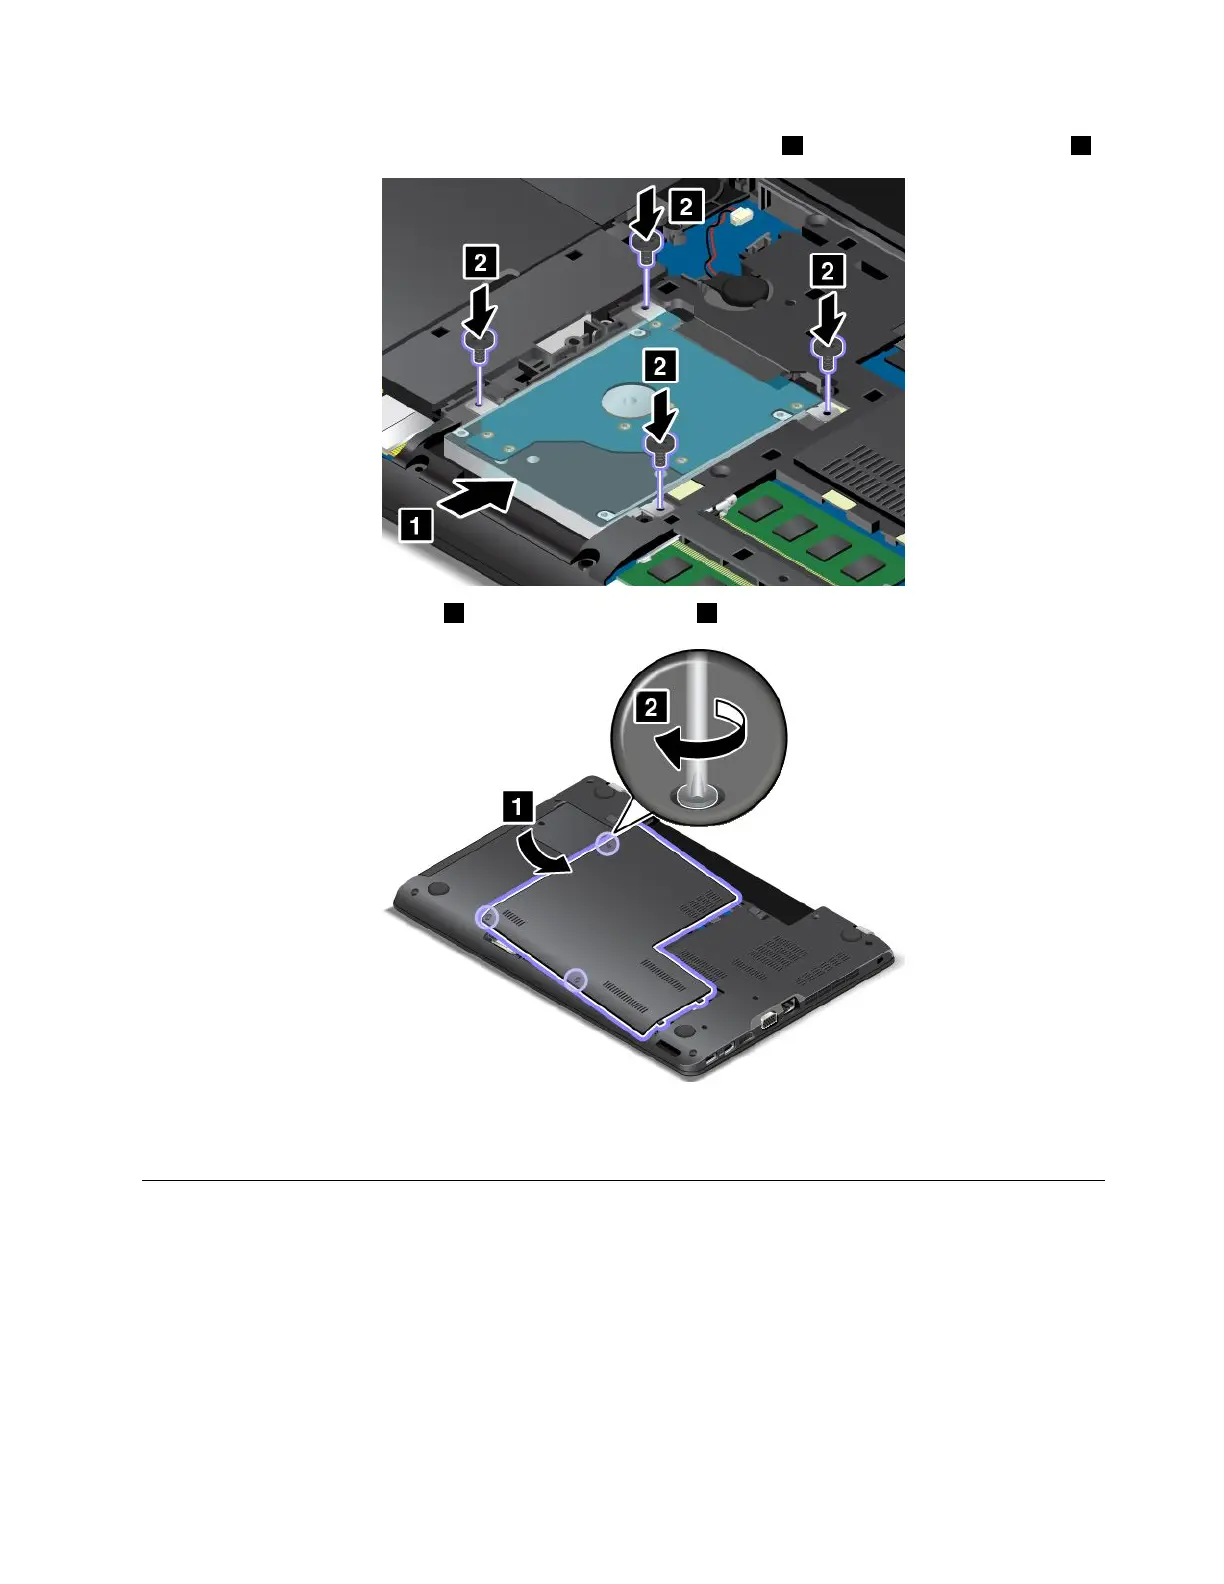
8.Slidethestoragedrivefirmlyintothebayuntilitisfirmlyconnected1,andthenreinstallthescrews2.
9.Reinstallthecomputercover1.Thentightenthescrews2.
10.Reinstallthebattery.See“Replacingthebattery”onpage113.
11.Turnthecomputeroveragain.Connecttheacpoweradapterandallcables.
Replacingtheopticaldrive
Beforeyoustart,printtheseinstructionsandread“Importantsafetyinformation”onpagevi.
Youcomputerisshippedwithanopticaldriveinstalled.Ifitneedstoberepaired,removeitbydoing
thefollowing:
Toreplacetheopticaldrive,dothefollowing:
1.Turnoffthecomputer;thendisconnecttheacpoweradapterandallcablesfromthecomputer.Wait
severalminutestoletthecomputercool.
2.Removethebattery.See“Replacingthebattery”onpage113.
Chapter10.Replacingdevices123