Tinius Olsen MP1200 Extrusion Plastometer Page 10-3
Operation Manual # 02002215
10.3.6 Insert an orifice and the piston rod assembly
in the bore, and then move the WLD down
to its lowest position if not already there.
10.3.7 Locate the PPC Attachment with the
pneumatic cylinder(s) already mounted.
The attachment is mounted on top of the
WLD weight support platform. Remove the
two socket head cap mounting screws and
position the attachment as shown in Photo
#1 and replace the screws.
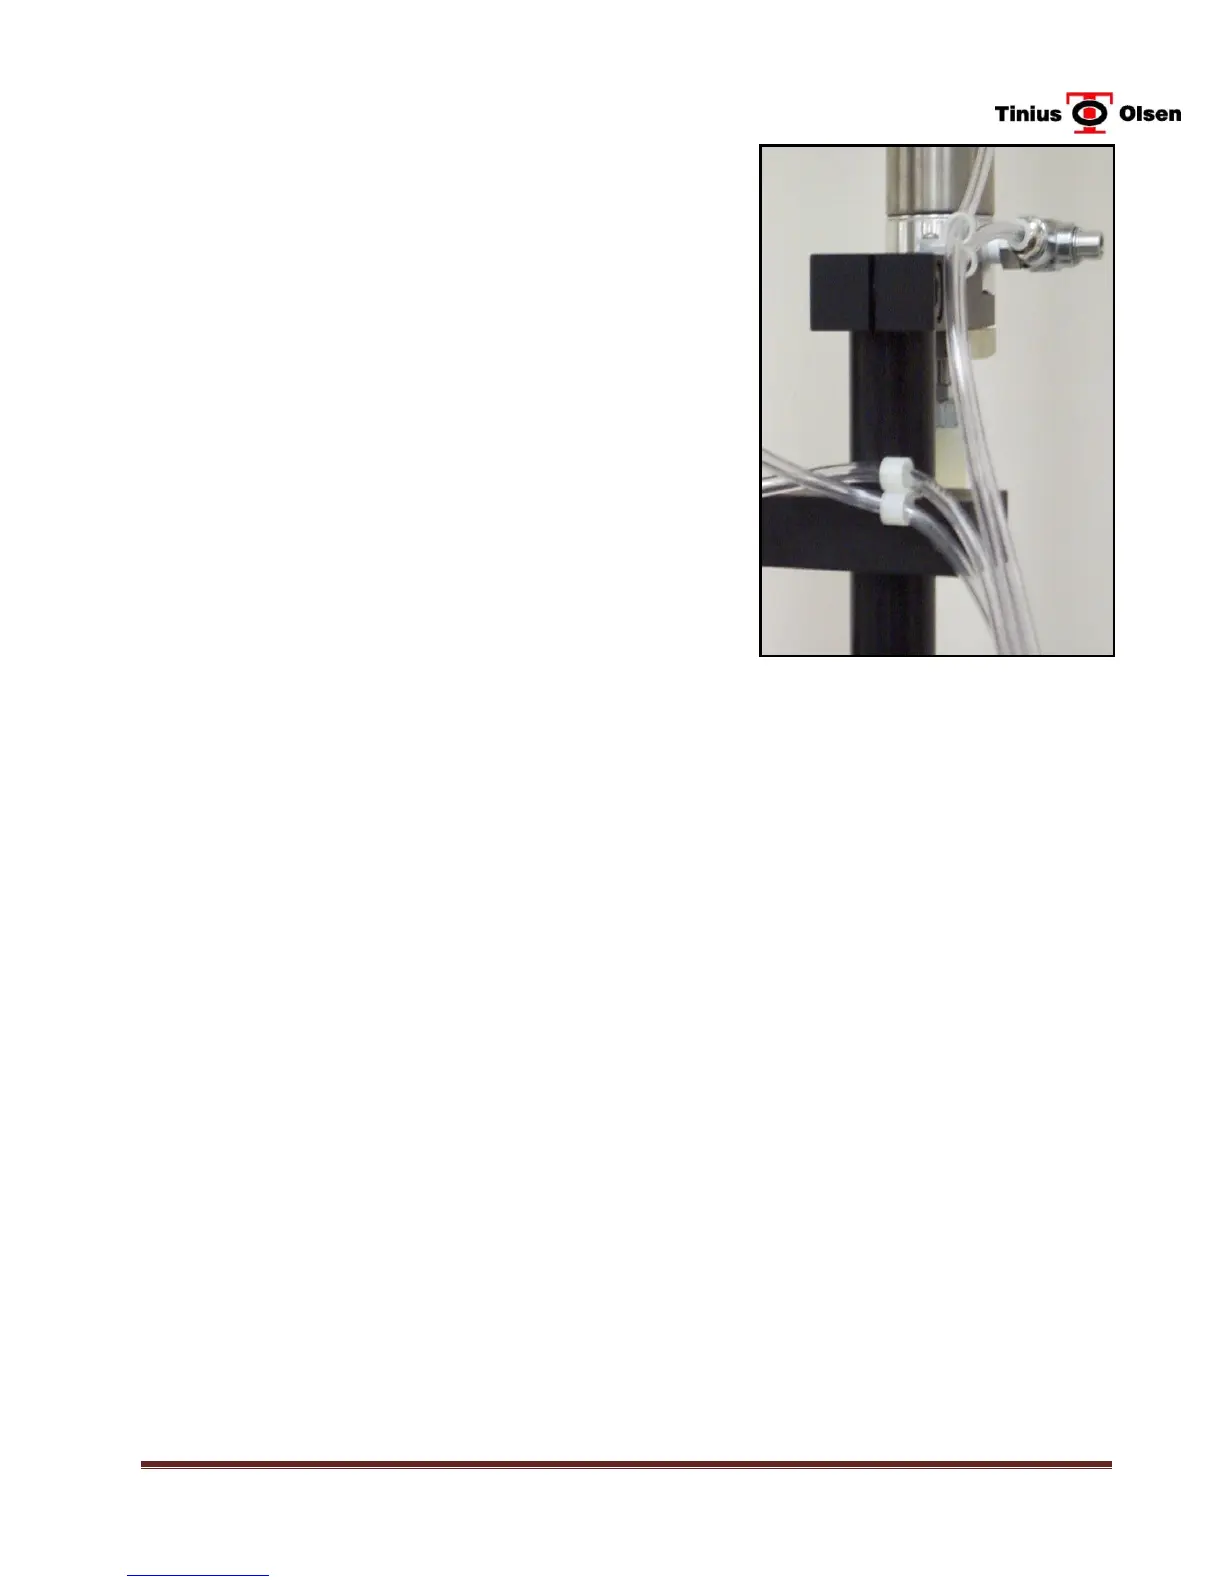
10.3.8 Route the four long hoses to the
appropriate flow control valves on the air
cylinders through the cable clamps
mounted on the cylinder mounting
brackets. (Refer to Photo #3) These hoses
and valves will be match-marked (1 to 4).
The #1 hose should go to the top and the
#3 hose to the bottom of the purge
cylinder, and the #2 hose to the top and the #4 hose to the bottom of the
cleaning cylinder, if present. To connect simply press the hose end into the
quick-connect on each flow valve. To remove, press in the hose and then pull
out.
10.3.9 Using the top of the piston rod assembly as a reference, align the platform so
that the piston is centered in the platform opening. Check the platform
alignment by placing a weight on the piston rod, then running the WLD fully
up and then fully down. The weight should cleanly engage the end of the
piston rod assembly when fully lowered. If not, readjust the platform.
10.3.10 At this point, the main air supply (50 psi minimum) should be connected to the
open end of the regulator. The suggested air pressure setting is 20 psi (140
kPa) and this setting will apply approximately 60 lbs. (27 kgs.) of force to the
purge and cleaning cylinders. DO NOT EXCEED 30 PSI (200 kPa) ON THE
REGULATOR.
10.3.11 Check the operation of the Purge Cylinder as follows:
Power up the MP1200. If the air supply is properly connected, the cylinder(s)
should be retracted at this time if all the hoses were connected correctly.
Follow the on-screen instructions for positioning the WLD in the “HOME”
position. (NOTE: Pressing CANCEL will disable the WLD.) Press the
NAVIGATION key followed by the CONFIGURATION key. Then enter “835”
and press DONE to enter the Machine Settings mode. Verify that the Purge
(and Clean if ordered) settings are set to ON (light green highlighted). Press
the DONE key followed by the NAVIGATION key when finished.
 Loading...