Tinius Olsen MP1200 Extrusion Plastometer Page 14-8
Operation Manual # 02002215
14.3 Test Procedure
14.3.1 Thoroughly clean the inside of the cylinder and orifice (see Section 16 for
Cleaning Instructions), then drop the orifice into the cylinder. The orifice
should fall freely to the bottom of the cylinder with an audible click. If not,
remove the orifice and visually inspect the orifice and cylinder for any defects
or obstructions. Clean the cylinder and orifice again if necessary. It is
imperative that the cylinder has a mirror finish and that no residue remains on
the outside or the inside diameter of the orifice.
14.3.2 Check that the piston rod assembly is clean and that the guide collar slides
freely along the piston rod. Clean as needed and insert the piston into the
cylinder. Allow it to remain there at least 15 minutes.
14.3.3 Once the machine has stabilized at the set temperature (+/- 0.2°C), remove
the preheated piston and place it in the tool rack. Verify that the orifice is at
the bottom of the cylinder.
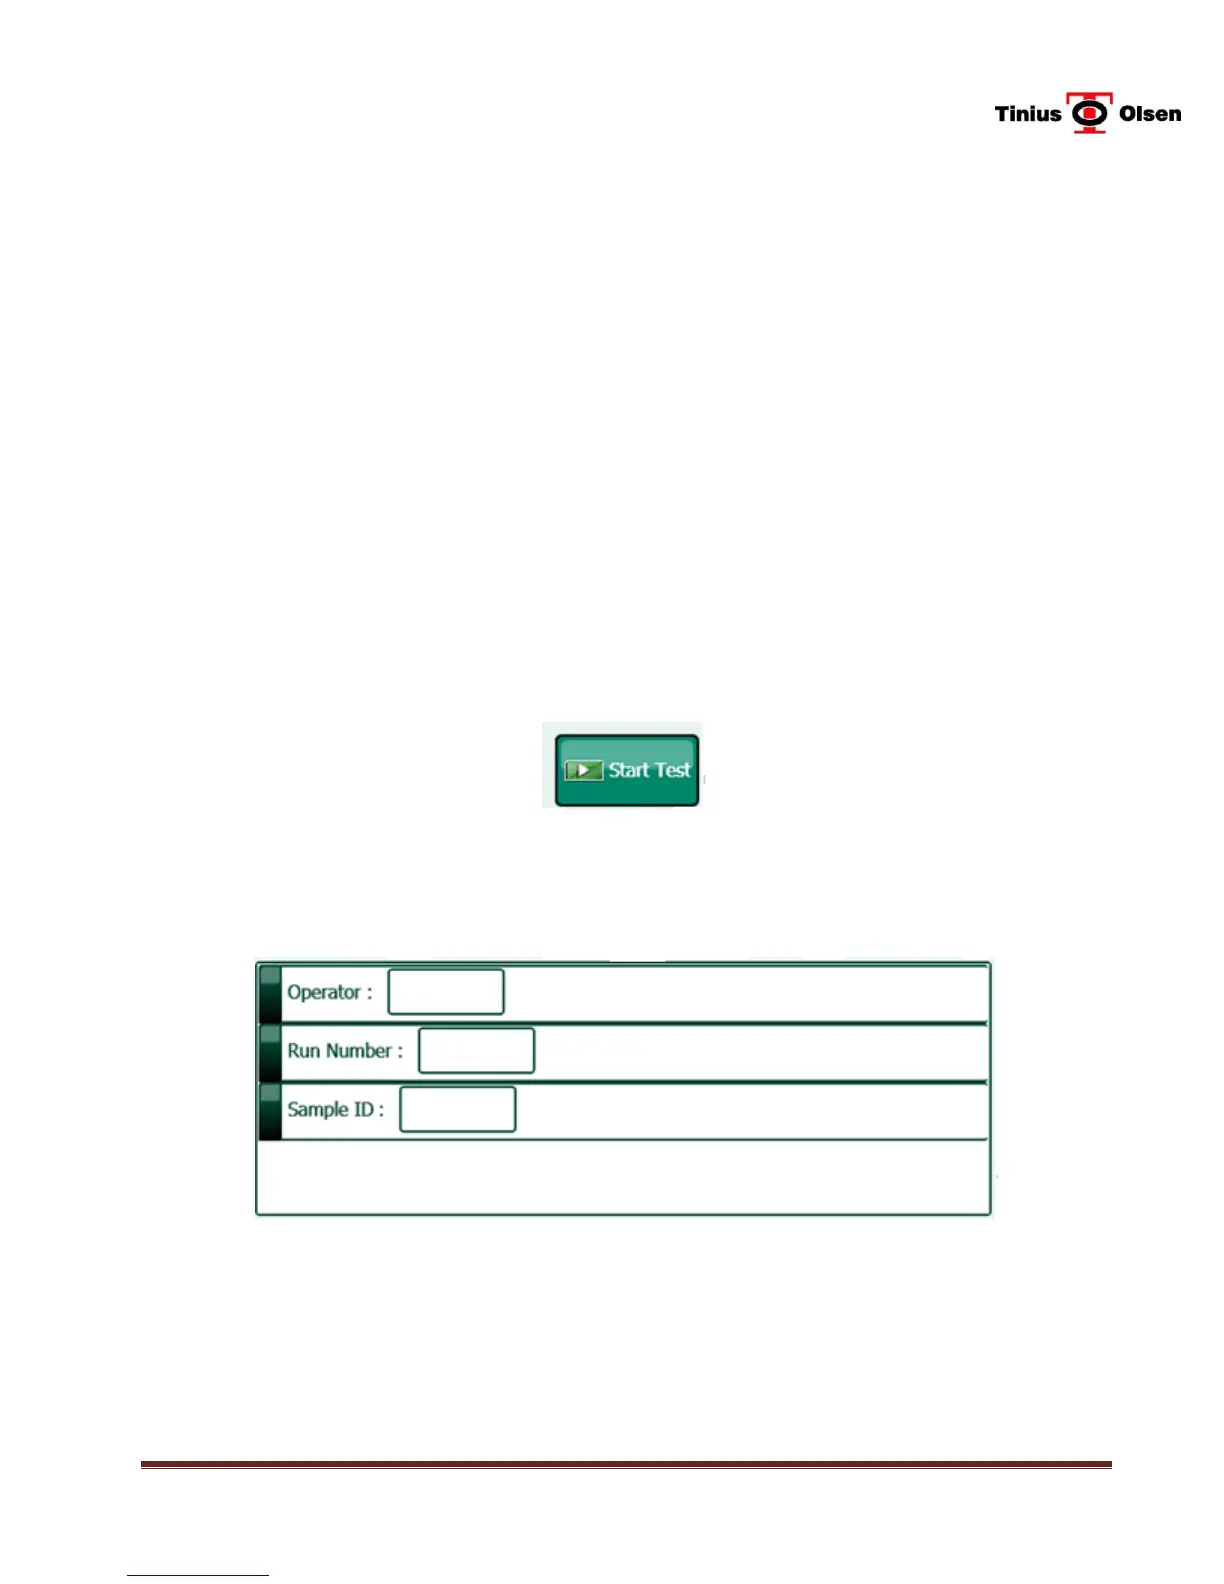
14.3.4 From the main screen, press the Start Test button.
14.3.5 If Sample Identifiers are used, the next screen (Pre Test) allows you to enter
the data. Also, if the operator elected to enter Pre-Test Comments, a box will
appear that allows the operator to put them in the test results. Press
Continue, when finished, to move to the next screen.
14.3.6 The display will prompt the user to Charge Cylinder Now while indicating the
Elapsed Time. Charge the cylinder with the material that is to be tested.
Refer to ASTM D 1238, Table 1 (Table 2 in earlier versions) for suggestions
on the amount of polymer to use for a test. It may require some trial and error
to determine the correct amount of material. It is important that the test does
not start until after the minimum preheat time has expired. To charge the
cylinder, insert the funnel into the cylinder, and then slowly pour the material
 Loading...