TMQ AP9 Autopilot (V6.0 - 965) Page 30 of 51 31/1/2017
Remotes Terminal Strip T5 Connections
Wiring colour code for Remote 1 input:
Blue NEG Negative
Red 5V + 5 Volts
--------- SEL2 Remote 2 Logic Select Signal
--------- WIP2 Remote 2 Trim Signal Input
Yellow SEL1 Remote 1 Logic Select Signal
Green WIP1 Remote 1 Trim Signal Input
Alternatively for Remote 2 input:
Blue NEG Negative
Red 5V + 5 Volts
Yellow SEL2 Remote 2 Logic Select Signal
Green WIP2 Remote 2 Trim Signal Input
-------- SEL1 Remote 1 Logic Select Signal
-------- WIP1 Remote 1 Trim Signal Input
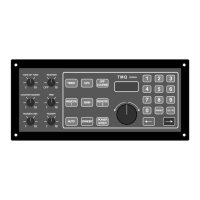
Remote Calibration.
The remotes can be calibrated if required; this allows the full range of the steering input to
be used. Each remote fitted has to be calibrated
Calibration Procedure
· Switch AP9 to STANDBY
· Enter 911 via keypad
· Press and hold pressed the STANDBY button
· Press GOTO button
· REMOTE 1 and MAIN lights flash
· Display flashes rCL
· Rotate remote control knob fully clockwise and anticlockwise
· Press REMOTE 2 button
· REMOTE 2 and MAIN lights flash
· Rotate second remote control * knob fully in both directions
· Press MAIN button to exit calibration and save the setting
Note: If the boat does not steer straight ahead when the remote control course knob is
centred, the rudder feedback may need realignment.