■
3-6
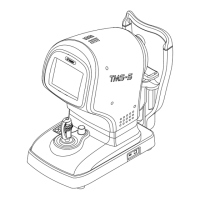
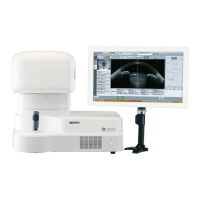
Have the patient place their chin on the chin rest. Adjust the chin rest height so that the
height of the corner of the eye is aligned with the eye level mark.
Press the "UP" button on the side of the joystick to raise the chin rest; or the "DOWN"
button to lower the chin rest.
When the patient's eye height is adjusted, lightly press the patient's forehead against
the forehead pad to secure the patient's position.
(4) Selecting an eye
Tap the eye selection button to move the head to the position of the patient’s eye.
(5) Fixation target instructions
Ask the patient to look at the fixation target. The type of fixation target can be changed
in the fixation setting field. Settings may not be changed for some scan types.
(6) Alignment
■
Do not allow any person to place their hands or
fingers in the clearance between the head and
neck or neck and base, or the section under the
chin rest.
Their hands or fingers may be caught
and injured.
■
The Auto Alignment function may not work
correctly when eyelids and eyelashes cover the
pupils.
Ask the patient to open their eyes wide or
have the physician lightly hold the patient's upper
eyelid with their fingers.
■
Auto Alignment may not work correctly when the
patient blinks frequently. Ask the patient to stop
blinking while capturing images.
■
Ask the patient to look at the fixation target. If the
patient looks in a different direction or moves,
alignment may not be conducted correctly.
■
Auto Alignment is set as the standard setting to
capture better images. In some rare cases auto
alignment cannot be performed because of a
 Loading...