H
Hannah CamposAug 1, 2025
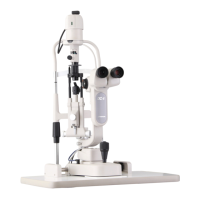
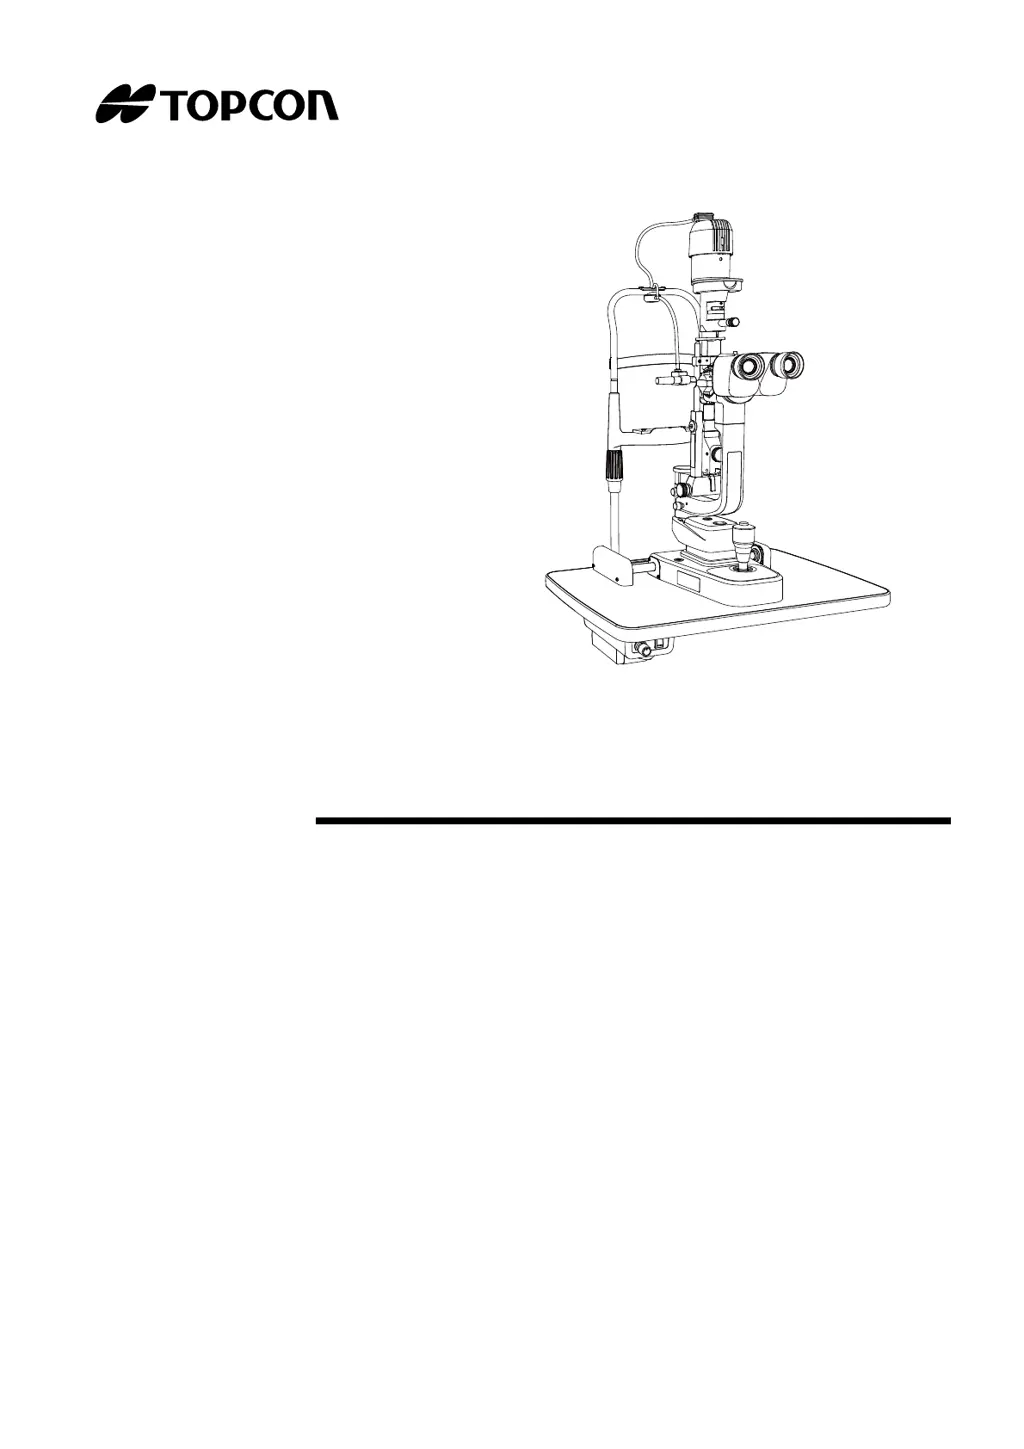
Why is the illumination lamp not working on my Topcon SL-D301?
- HHolly CamachoAug 1, 2025
If the illumination lamp on your Topcon Microscope isn't working, there are several potential causes: 1. Ensure the lamp house cover plug is properly inserted. 2. Check the cable connection to make sure it's secure. 3. Verify the POWER switch is turned ON. 4. Adjust the brightness knob, as it may be set to the minimum. 5. The illumination lamp might be broken and require replacement. 6. The socket may have deteriorated, requiring replacement. 7. Ensure the slit width isn't at its minimum by rotating the slit width controls.