20
PREPARATIONS
PREPARATIONS
POWERING ON
1 Connect the power cord.
2 Turn ON the POWER switch.
ADJUSTING THE DIOPTER AND PUPILLARY DISTANCE (PD)
In case that no test rod is provided, set the diopter scale to your diopter by turning the diopter adjust-
ment ring.
1 Insert the test rod into the rotation shaft cavity, and set the black face square with the micro-
scope.
2 Place the brightness adjustment knob (see page 25) in at the 2/3.
3 Adjust the illumination to φ9mm by adjusting the slit width control knob and aperture/slit length
control knob.
4 Turn the diopter adjusting ring of the eyepiece at one side fully counter-clockwise.
5 Turn the diopter adjusting ring clockwise and stop when the test rod can be clearly seen.
6 Adjust the diopter of another eyepiece in the same way as above.
WARNING
To avoid fire and electric shock in case of leakage, be sure to use a
grounded outlet. Do not connect to outlets that are not grounded.
CAUTION
• Use the power cord applicable to the voltage of the commercial power
supply being used. Using a power cord improper to the commercial
power supplymay cause the instrument to malfunction.
• The power cable in standard accessories for this instrument cannot
use besides this instrument.
NOTE
To ensure sharp observation of slit images, always carry out the diopter and PD
adjustments.
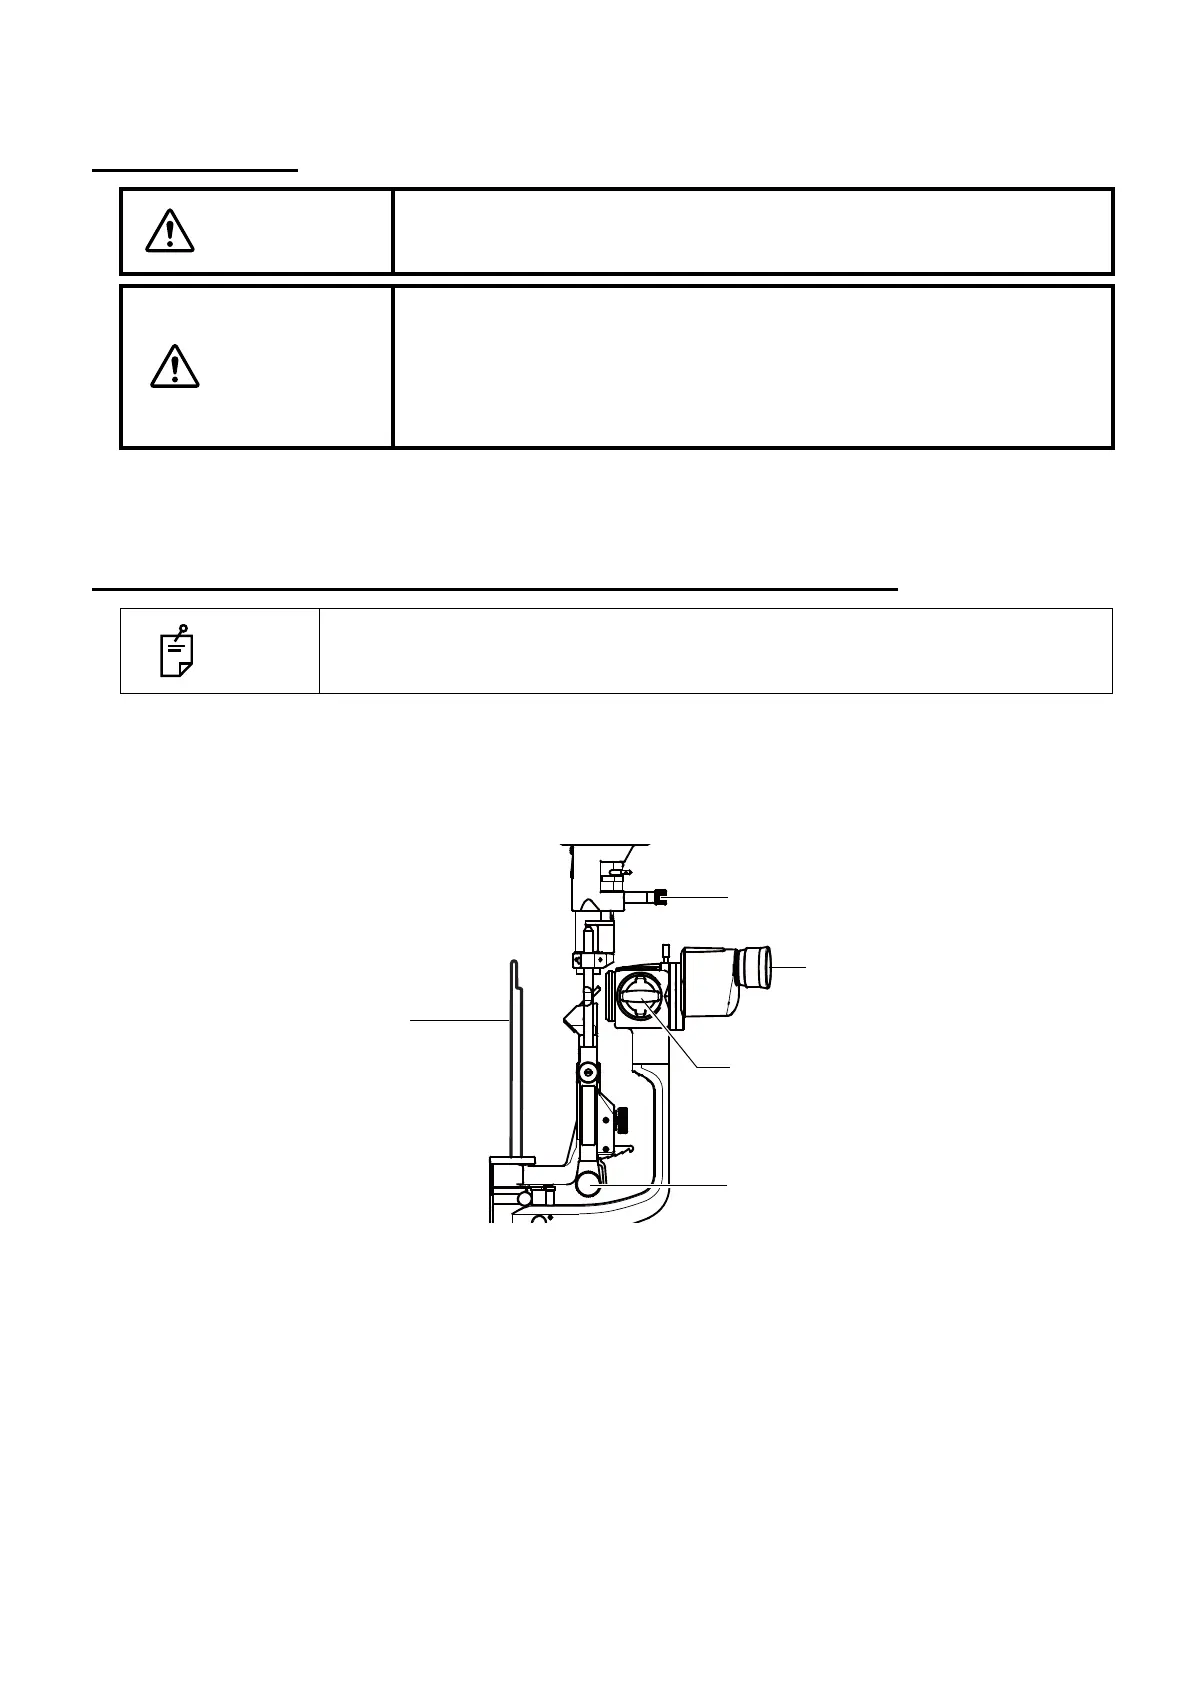
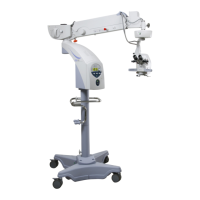
Test rod
Magnification selector handle
Slit adjustment knob
Aperture/slit-length selector knob
Eyepiece