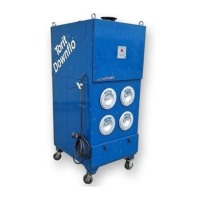
44
Donaldson Company, Inc. © 1995
*Note: The dust container and its contents may
be sealed by placing the top cover on the
container and then disposing of the entire
container completely. Another dust
container may then be placed in the
Downsized Downflo.
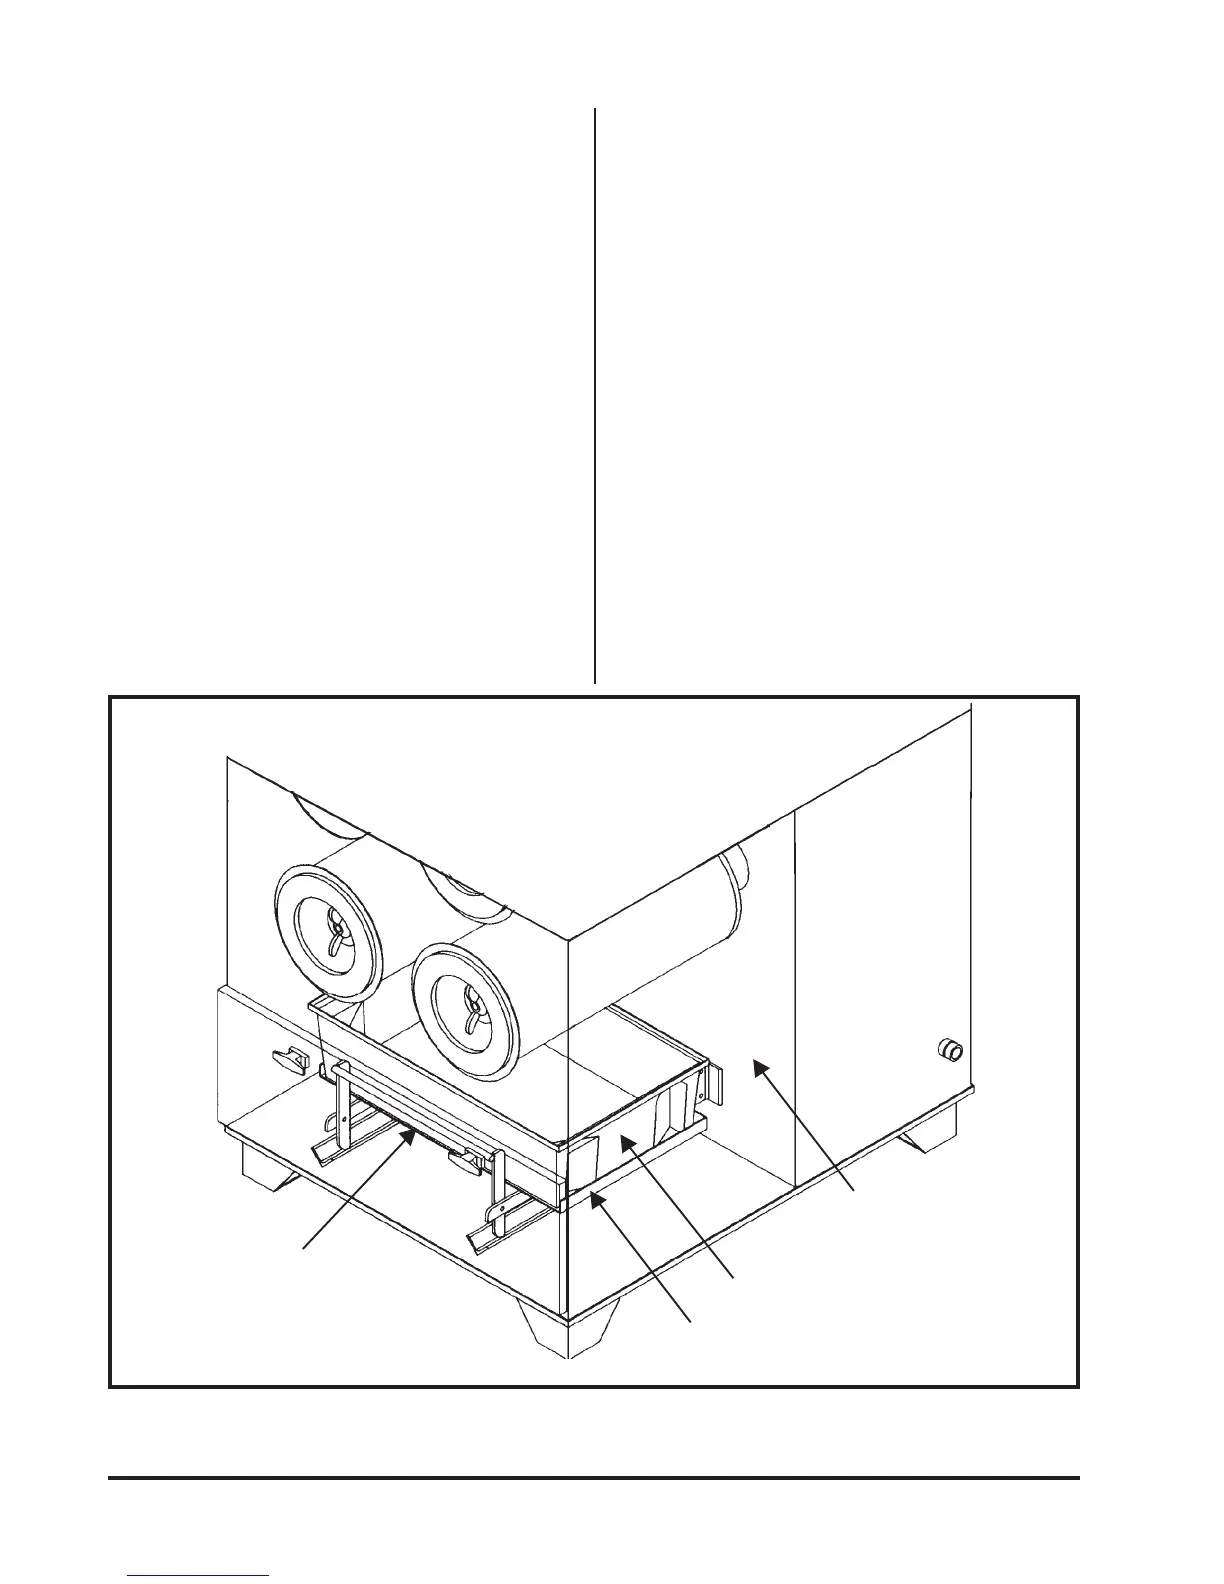
Figure 40
Dust Container Support System
Handle
Dust Container
Top cover is stored
under dust container.
Interior hopper not
shown for clarity.
~
1. Open the hinged access door on the front by
turning the two latches counterclockwise
(see Figure 1 SDF-4 Phantom View).
2. Reach inside the model SDF and grasp the
handle on the dust container support system
(see Figure 40 Dust Container Support
System). Pull the handle down to loosen the
dust container from the gasketed flange.
Remove the dust container by grasping the
hand holds on the sides and pulling the
container forward. Lift the container and
dispose of the contents into the proper
receptacle.* Replace the dust container and
seal it against the gasketed flange by pulling
the handle on the dust container up and in.
Close the hinged access door and turn the
two latches clockwise to seal the door.
6.4.1 Dust Removal—Hopper Model
1. The hopper, with or without gate, is not for
storage. Empty the dust container
periodically as necessary to keep dust in the
hopper at a minimum. If a drum or pail is
used, empty it when 2/3 full. Shut off the
collector fan before emptying the drum or
pail.
2. When using the hopper with gate, close the
gate and empty the drum/pail. Reinstall the
drum/pail and open the gate. The collector
fan does not need to be shut down if this
procedure is followed.