itisnecessaryonlyincreasesthechanceofdirtentering
theenginewhenthelterisremoved.
•Besurethecoverisseatedcorrectlyandsealswiththe
air-cleanerbody.
CheckingtheAir-CleanerIndicator
ServiceInterval:Beforeeachuseordaily
1.Starttheengine.
2.Checktherestricted,air-cleanerindicatoronthedisplay
screen;refertotheSoftwareGuideforthismachine.
3.Replacetheair-lterelement(s)asfollows:
A.Replacetheprimary,air-cleanerlter;referto
ServicingtheAir-CleanerFilter(page65).
B.Repeatsteps1and2;iftherestrictedair-cleaner
indicatorisstillshownonthedisplayscreen,
replacethesecondary,air-cleanerlter;referto
ServicingtheAir-CleanerFilter(page65).
CleaningtheDustValve
ServiceInterval:Every50hours
1.Parkthemachineonalevelsurface,stoptheengine,
andremovetheignitionkey.
2.Openthefronthood.
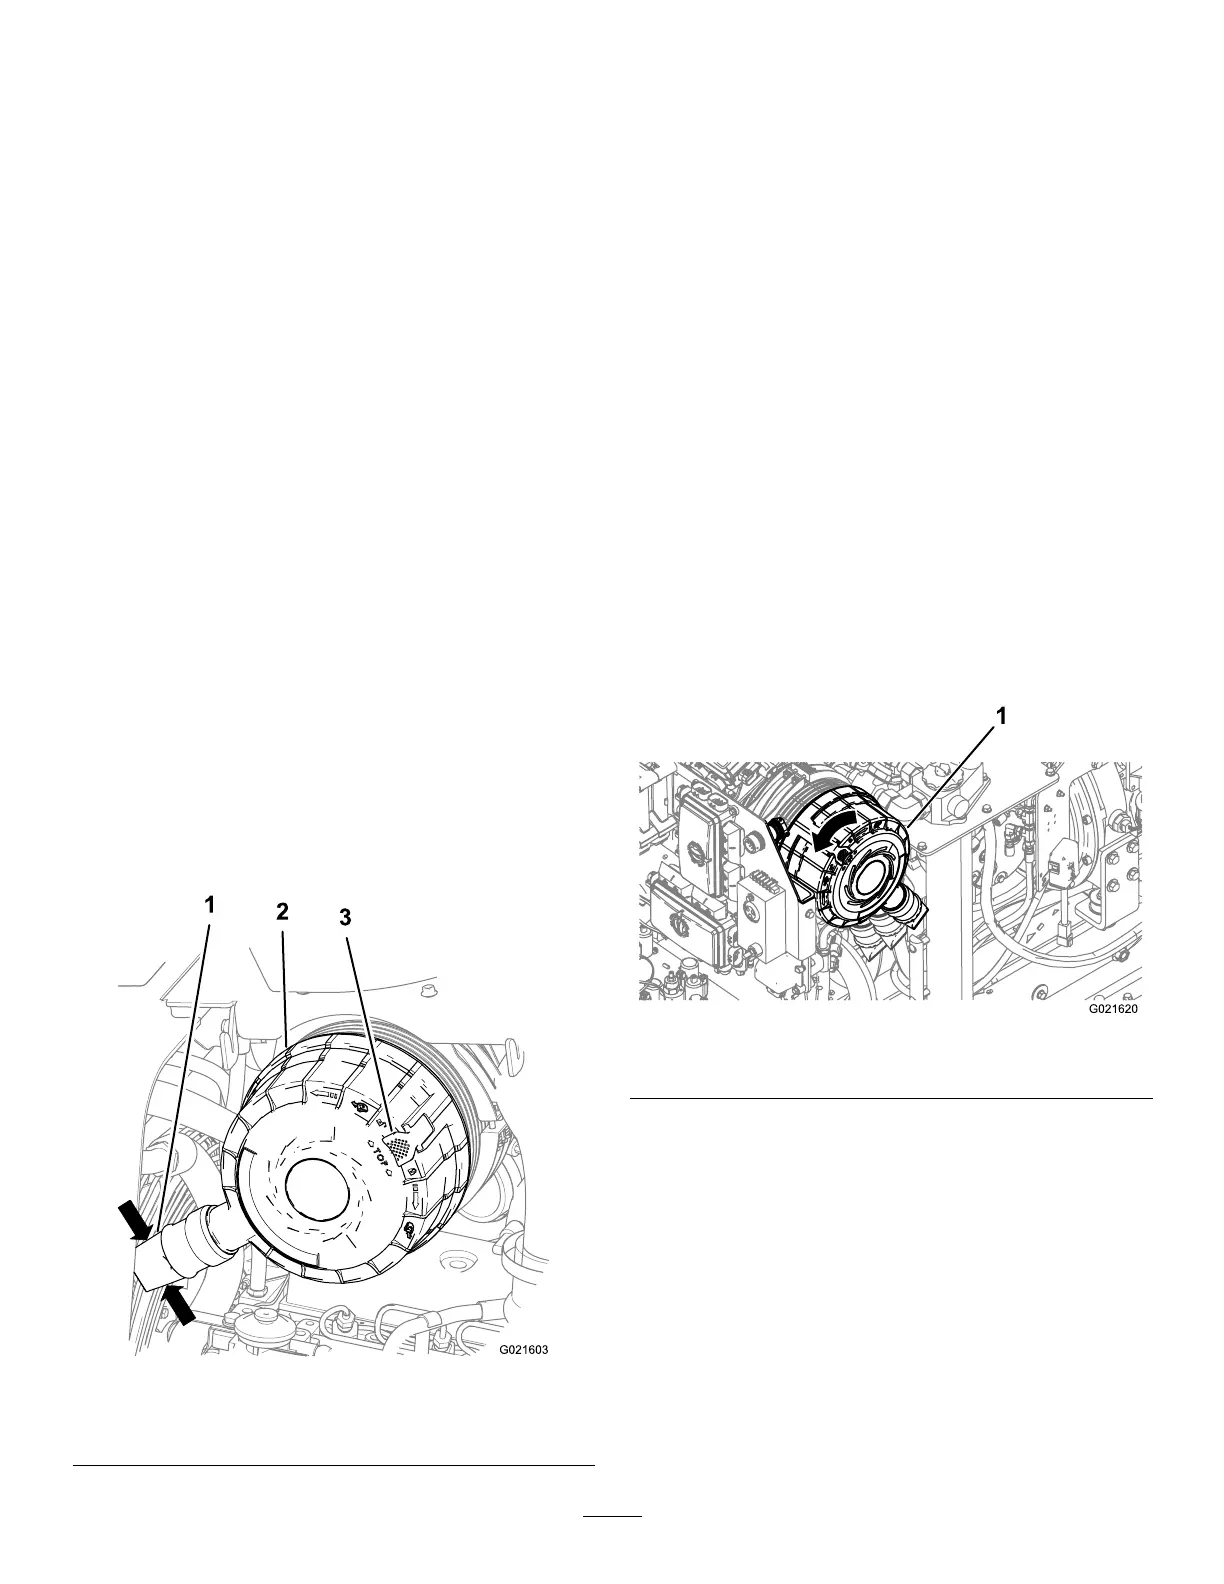
3.Squeezethesidesofthedustvalveontheair-cleaner
covertoreleaseanycollectedwater,dust,ordirtfrom
thevalve.(Figure78).
Note:Ensurethattherearenoobstructionsinside
thedustvalve.
Figure78
1.Dustvalve3.Air-cleanercover
2.Latch
ServicingtheAir-CleanerCover
ServiceInterval:Every50hours—Removeaircleanercover
andcleanoutdebris.Donotremovethe
lter.
RemovingtheAir-CleanerCover
1.Parkthemachineonalevelsurface,stoptheengine,
andremovetheignitionkey.
2.Openthefronthood.
3.Cleantheoutsideoftheair-cleanercanisterwitha
clean,dampcloth.
4.Checktheair-cleanercanisterfordamagewhichcould
causeanairleak.Replaceadamagedaircleanerbody.
Important:Servicetheair-cleanerlteronlywhen
“CheckAirFilter”isdisplayedonthescreen.
Changingtheairlterbeforeitisnecessaryonly
increasesthechanceofdirtenteringtheengine
whenthelterisremoved.
5.Pullthelatchfortheair-cleanercoveroutward(Figure
78).
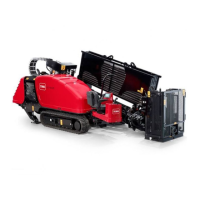
6.Rotatetheltercovercounterclockwisesothatthe
dustcapisatthe4o’clockposition(Figure79).
Figure79
1.Air-cleanercover
7.Pulltheair-cleanercoverawayfromthelterhousing
andremovethecover(Figure80).
64