Figure 68
1. Rod end 3. Neutral return spring
assembly
2. Traction rod
4. Jam nut
4. T ur n the k ey switc h to the r un position without
star ting the engine . Loosen the jam n ut and
adjust the neutral retur n spring assembly shaft
length until the audible alar m begins to sound.
Secure the jam n ut.
5. T ur n the k ey switc h off .
Hydraulic System
Maintenance
Changing the Hydraulic
Fluid
Chang e the h y draulic fluid after ev er y 800
operating hours , in nor mal conditions . If the fluid
becomes contaminated, contact y our local T oro
distributor because the system m ust be flushed.
Contaminated fluid looks milk y or blac k when
compared to clean oil.
1. T ur n the engine off and raise the hood.
2. Loosen the drain v alv e on the bottom of the
reser v oir and let the h y draulic fluid flo w into
larg e drain pan. Close the v alv e when the
h y draulic fluid stops draining .
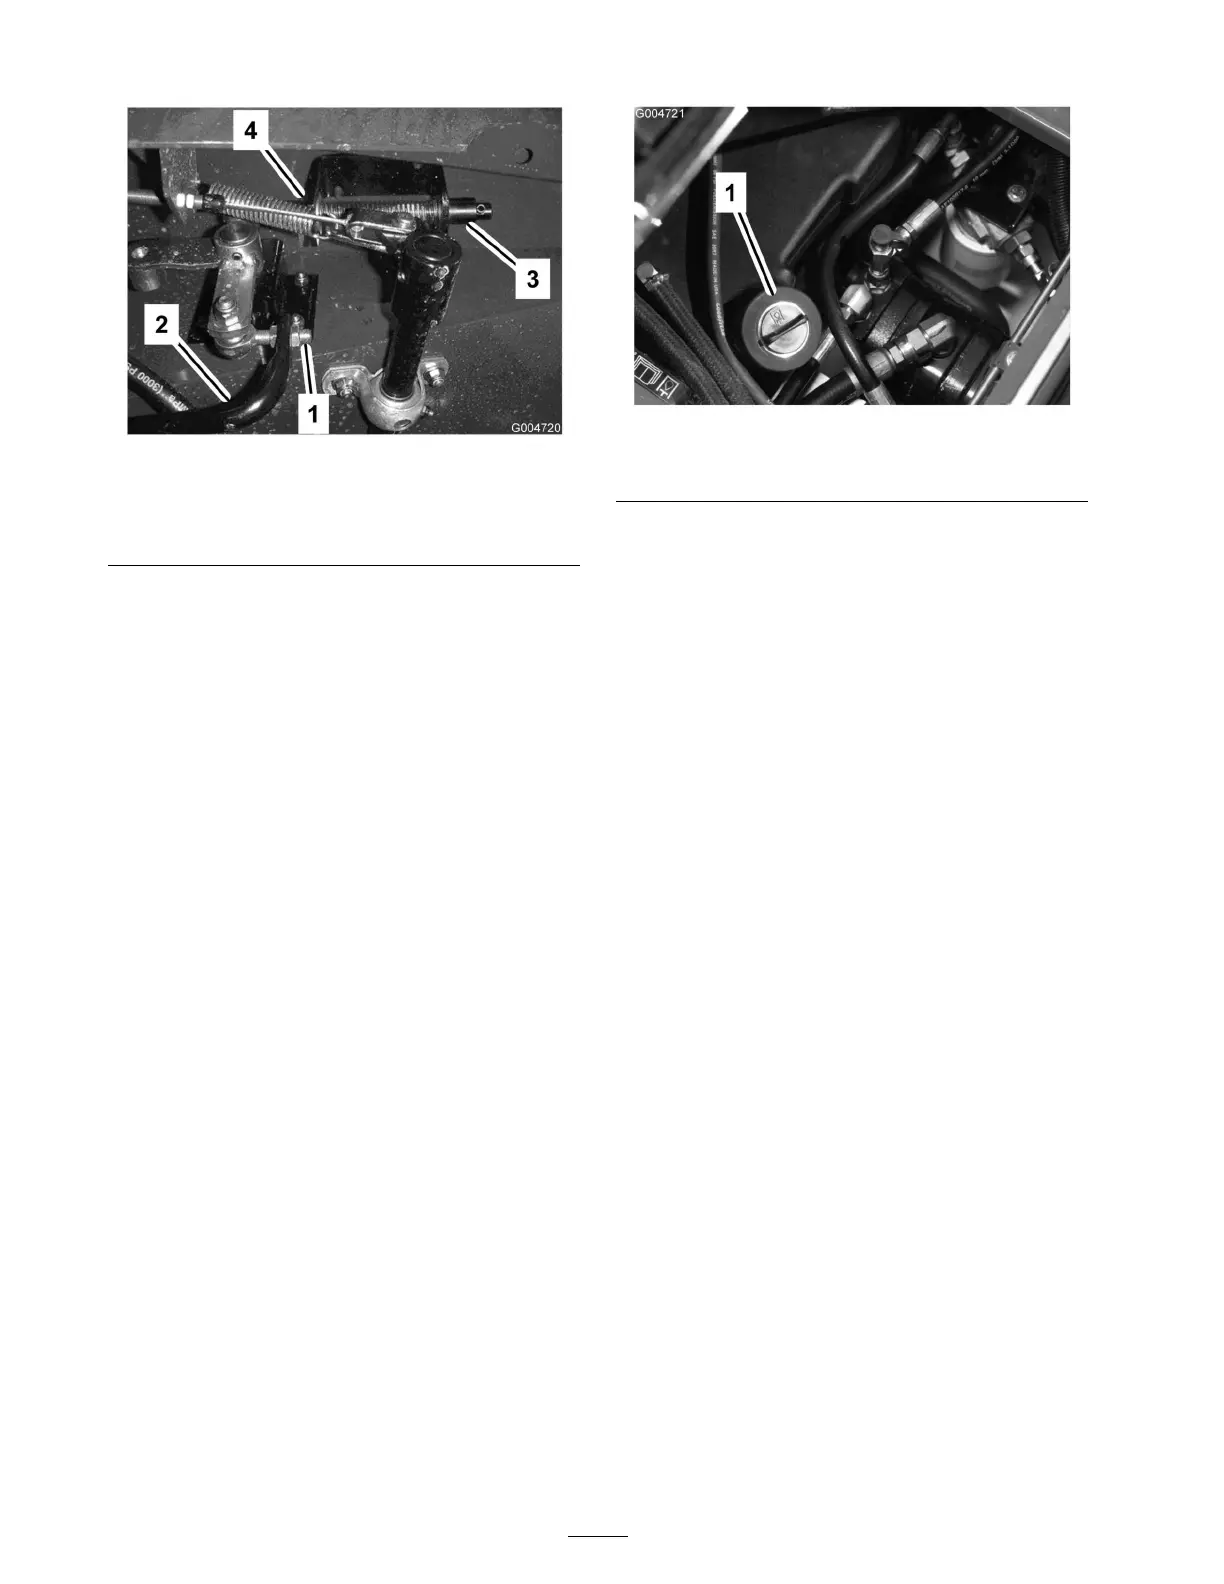
3. Fill the reser v oir ( Figure 68 ) with appro ximately
8 g allons (30 l) of h y draulic fluid; refer to
Chec king the Hy draulic Fluid.
Important: Use onl y the h y draulic fluids
specified. Other fluids could cause system
dama ge.
Figure 69
1. Hydraulic reservoir
4. Install the reser v oir cap . Star t the engine and
use all of the h y draulic controls to distribute
h y draulic fluid throughout the system. Also
c hec k for leaks; then stop the engine .
5. Chec k the fluid lev el and add enough to
raise lev el the lev el to the FULL mark on the
dipstic k. Do not o v erfill.
Replacing the Hydraulic
Filters
Chang e the 2 h y draulic filters initially after the
first 200 operating hours . T hereafter , c hang e the
filters after ev er y 800 operating hours , in nor mal
conditions .
Use T oro re placement filters (P ar t No . 94-2621
for the left side of the mac hine and 75-1310 for
the right side of the mac hine).
Important: Use of an y other filter may v oid
the w ar ranty on some components.
1. P osition the mac hine on a lev el surface , lo w er
the cutting units , stop the engine , eng ag e the
parking brak es , and remo v e the ignition k ey .
2. Clean the area around the filter mounting area.
Place a drain pan under the filter and remo v e
the filter ( Figure 70 ).
48