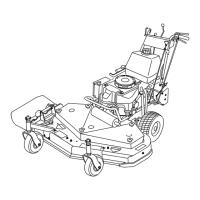
Figure69
1.Blade2.Balancer
InstallingtheBlades
1.Installthecurvedwasherandthenthebladeontothe
bolt.Selectthepropernumberofspacer(s)forthe
heightofcut,andslidetheboltintothespindle(Figure
67).
Important:Thecurvedpartoftheblademust
pointupwardtowardtheinsideofthemowerto
ensurepropercutting.
2.Installtheremainingspacer(s)andsecurethemwitha
thinwasherandanut(Fig.Figure67).
3.Torquethebladeboltto101to108N-m(75to
80ft-lb).
AdjustingtheBladeBrake
1.DisengagethePTO,turntheignitionkeytooff,and
removethekey.
2.Waitforallmovingpartstostopbeforeleavingthe
operatingpositionandthensettheparkingbrake.
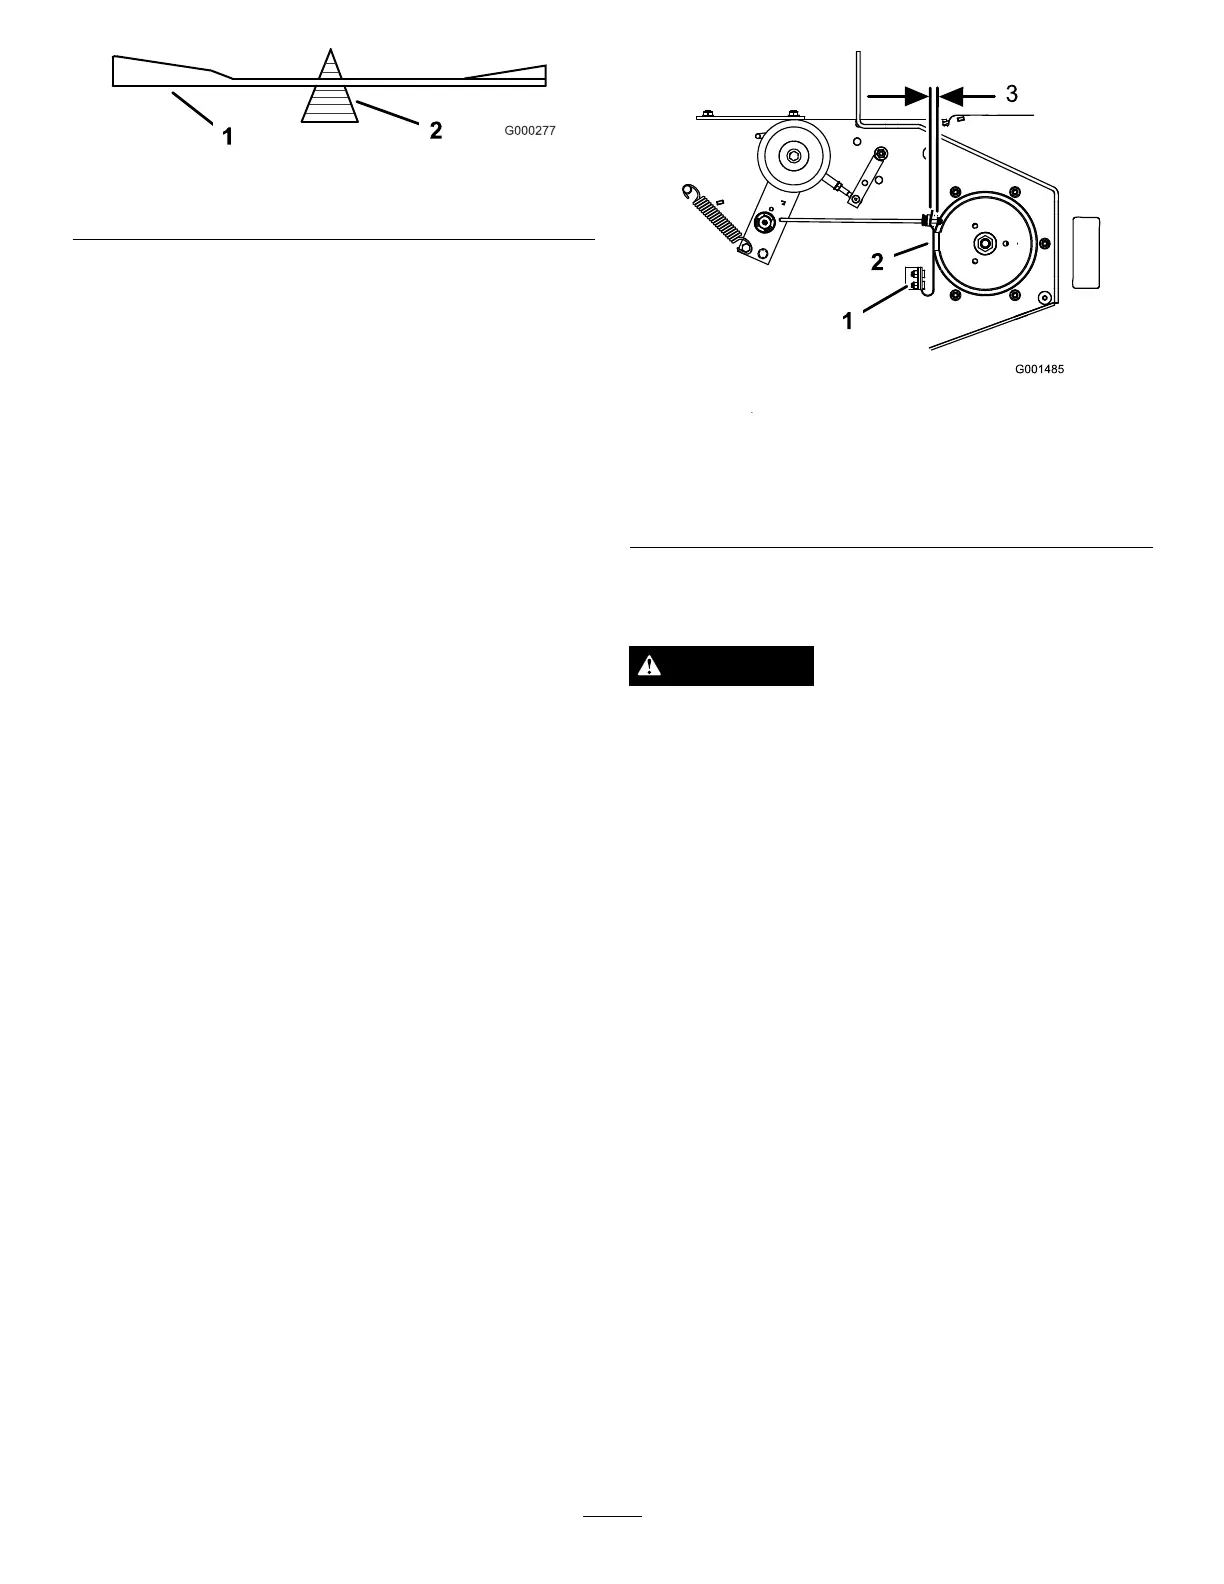
3.Ifnecessary,adjustthespringmountingboltssothat
thebladebrakepadrubsagainstbothsidesofthe
pulleygroove(Figure70).
4.Adjustthenutattheendofthebladebrakeroduntil
thereis3mmto5mm(1/8to3/16inch)betweenthe
nutandspacer(Figure70).
5.Engagetheblades.Ensurethebladebrakepadno
longercontactsthepulleygroove.
Figure70
1.Springmountingbolts3.3mmto5mm(1/8to
3/16inch)
2.Bladebrakepad
ReplacingtheGrassDeector
WARNING
Anuncovereddischargeopeningcouldallowthe
lawnmowertothrowobjectsintheoperator'sor
bystander'sdirectionandresultinseriousinjuryor
death.Also,contactwiththebladecouldoccur.
Neveroperatethelawnmowerunlessyouinstall
acoverplate,amulchplate,oragrasschuteand
catcher.
1.Removethelocknut,bolt,springandspacerholding
thedeectortothepivotbrackets(Figure71).Remove
damagedorworngrassdeector.
46