RemovingtheBlowerDriveShaft(continued)
4.Removethebolts,washers,andangenutsthatsecurethedriveshaft
assemblytothehubsontheengineshaftandblowershaft.
5.Liftthedriveshaftassemblyfromthemachine.
6.Disassemblethedrivecouplingsfromthedriveshaft.Forassembly
purposes,notethedifferencesinthecouplingspacers.
7.Inspectthedrivecouplingsfordamageandreplaceifnecessary.
8.Ifnecessary,removethehubsfromtheengineshaftorblowershaftas
follows:
A.Removetheboltandwasherthatsecurethehubtotheshaft.
Note:Theengineandblowershaftsaretaperedandwillrequireapuller
toremovethehubfromtheshaft.
B.Useappropriatepullertoremovethehubfromtheshaft.
C.Removethewoodruffkeyfromtheshaftslot.
InstallingtheBlowerDriveShaft
RefertoFigure38forthisprocedure.
1.UsetheShaftAlignmentT ooltoaligntheengineoutputshafttotheblower
shaft;refertoAligningtheEngineandBlowerDriveShafts(page4–4).
2.Ifthehubwasremovedfromtheengineshaftorblowershaft:
A.Cleanthetapersoftheshaftandhub.
B.Installawoodruffkeyintheshaft.
C.Applymediumstrengththreadlockingcompoundandinstallthehub,
washer,andhubretainingbolt.
D.Tightenthehubretainingboltfrom37to45N·m(27to33ft-lb).
3.Placethecouplingspacersintothedrivecoupling.Thethickercoupling
spacerscontactthedrivehubs.
4.Securethedrivecouplingstothedriveshaftandtightentheboltsfrom35
to41N·m(26to30ft-lb).
5.Positionthedriveshaftassemblytotheengineshaftandblowershaft.
6.Securethedriveshaftassemblytothehubsontheengineshaftandblower
shaftandtightentheboltsfrom34to37N·m(25to27.5ft-lb).
7.Installthetopguardtothemachine;refertoInstallingtheGuards(page7–7).
8.Connectthenegativebatterycabletothebatteryterminal;refertoServicing
theBattery(page5–37).
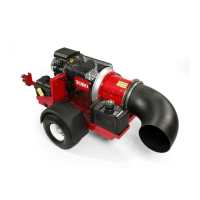
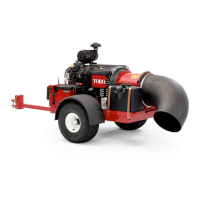
ProForce®DebrisBlower
Page6–5
BlowerAssembly:ServiceandRepairs
18237SLRevA