24
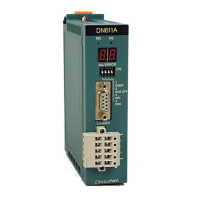
model 2000 DeviceNet Module Manual (DN611/DN611A)
Chapter 3 Preparations for Operation (Hardware)
3
The following flowchart shows the flow of DN611 setting.
Figure 3-1 DN611 Hardware Setting Flowchart
Start
Setting DN611 node address,
operation mode,
communication rate
Mounting the DN611 in the G2
bus I/O slot in the S controller
Set them with the DIP switches on the front panel
and the rotary switches on the bottom.
For details, see 3.2 Setting the Switches.
Mount the DN611 in the G22 bus I/O slot in the
base unit of the S controller. For details, see the
description of module mounting in the Sequence
Controller S2 User's Manual.
Connecting the DN611 to the
network
Connect the DeviceNet cables to the DN611 using
the network connector (supplied with the DN611).
For details, see 3.4 Connection to the Network.
Supplying network power
Supply the communication power for the DeviceNet
devices through the network cables. For details,
see 3.5 Network Power/Grounding.
Switching the S controller on
After completing the above steps, switch the S
controller on. For details on power cabling and
grounding procedures, see the descriptions of
grounding and power cabling procedures in the
Sequence Controller S2 User's Manual.
End
 Loading...