– 11 –
Part Name
Procedure
1
2
3
4
5
6
7
Description
Turn on power of the air conditioner.
The operation is not accepted for 5 minutes when power has been turned on at first time after installation, and
1 minute when power has been turned on at the next time and after. After the specified time has passed,
perform a test operation.
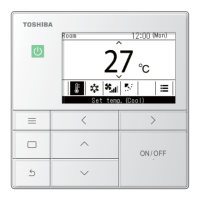
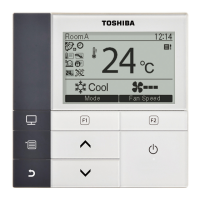
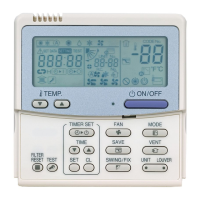
Push [Start/Stop] button and change the operation mode to [COOL] or [HEAT] with [Mode] button.
Then change the fan speed to [High] using [Fan] button.
Test cooling operation Test heating operation
Set temperature to [18˚C] using [Temperature set] Set temperature to [30˚C] using [Temperature set]
button. button.
After checking the receiving sound “Pi”, immediately After checking the receiving sound “Pi”, immediately
push [Temperature set] button to set to [19˚C] push [Temperature set] button to set to [29˚C].
After checking the receiving sound “Pi”, immediately After checking the receiving sound “Pi”, immediately
push [Temperature set] button to set to [18˚C]. push [Temperature set] button to set to [30˚C].
Then repeat the procedure
4
→
5
→
4
→
5
.
After approx. 10 seconds, all the display lamps on the sensor part of wireless remote controller, [Operation]
(Green), [Timer] (Green), and [Ready] (Yellow) flash and the air conditioner starts operation.
If the lamps do not flash, repeat the procedure
2
and after.
After the test operation, push [Start/Stop] button to stop the operation.
2
3, 4, 5,
2, 7
Be sure to set the
air speed to [High]
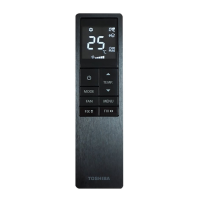
<Outline of test operation from the wireless remote controller>
Test cooling operation:
Start → 18˚C → 19˚C → 18˚C → 19˚C → 18˚C → 19˚C → 18˚C → (Test operation) → Stop
Test heating operation:
Start → 30˚C → 29˚C → 30˚C → 29˚C → 30˚C → 29˚C → 30˚C → (Test operation) → Stop
 Loading...