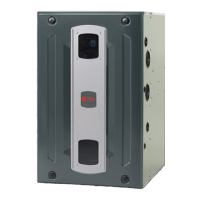
S9V2-SVX001-1B-EN
87
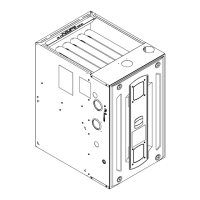
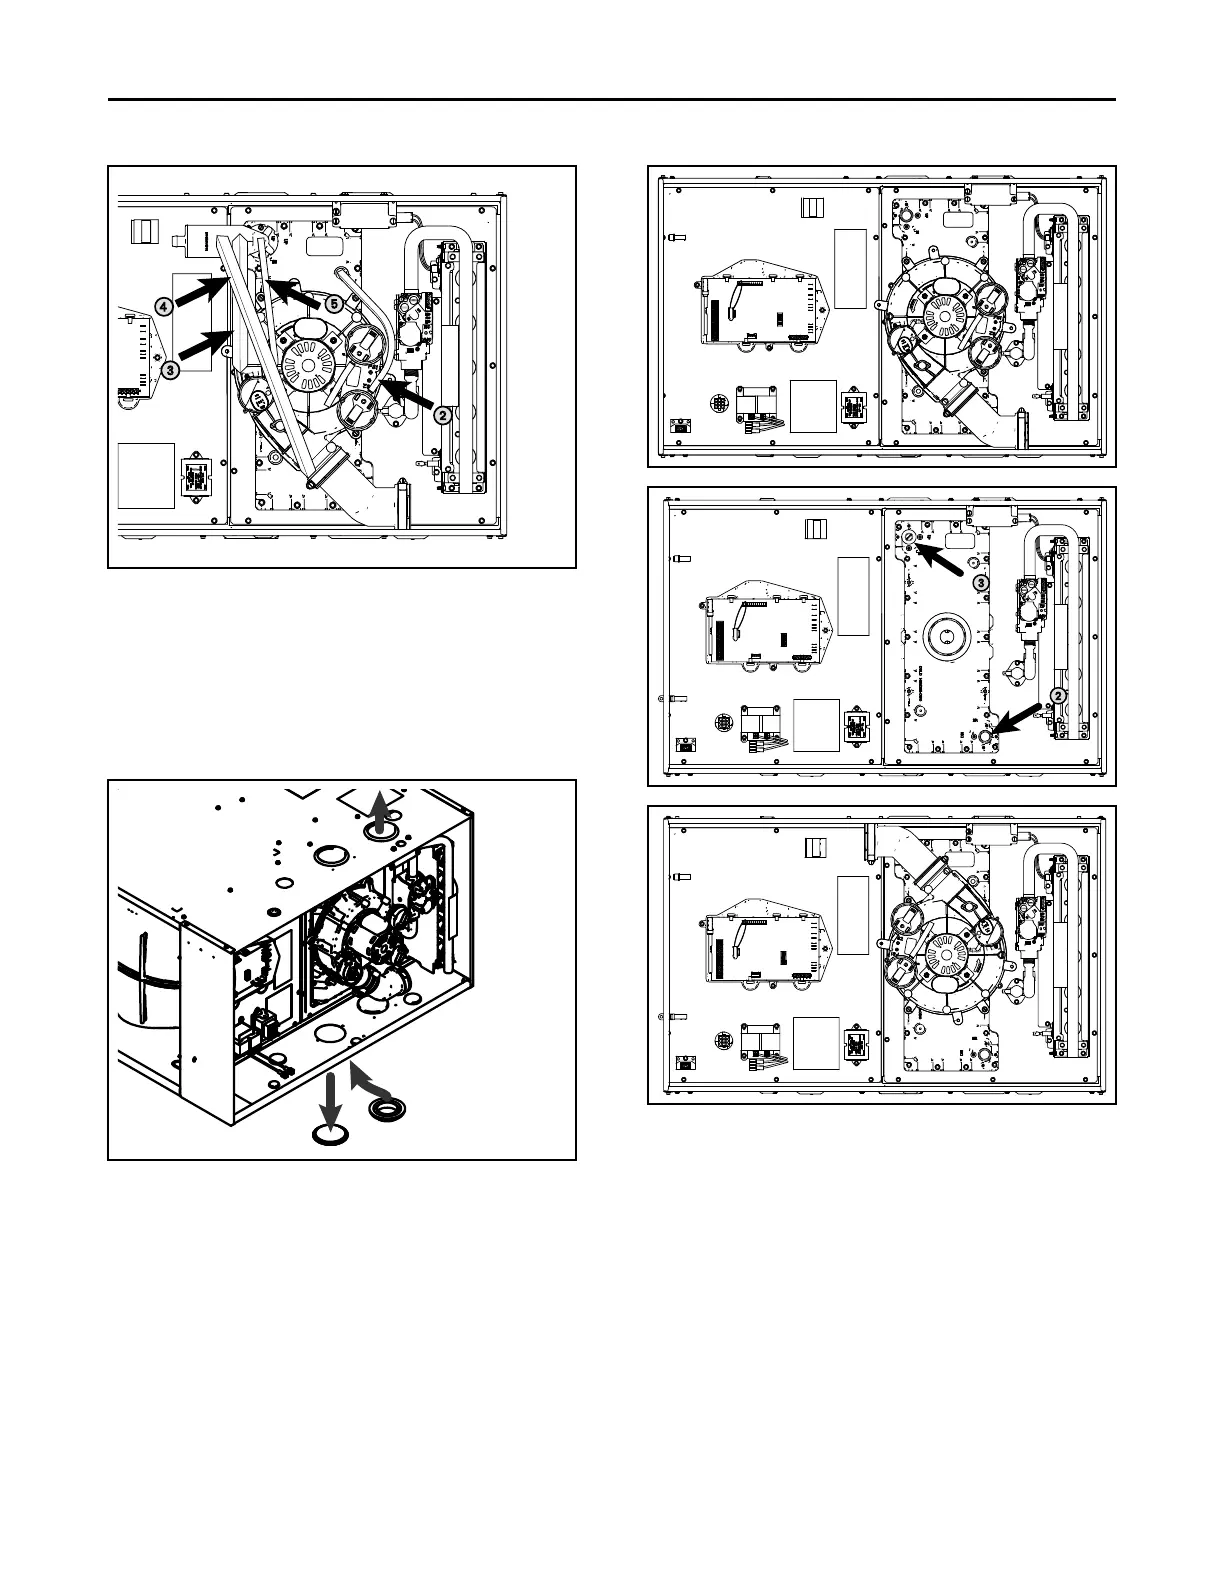
8. Remove 3” plug on right side of unit. To be used for
condensate trap.
9. Install condensate trap grommet.
10. Remove 3” plugs on the left side of the cabinet. To
be used for combustion air inlet.
11. Reuse the two 3” plugs to seal the two 3” default
openings on the top of the furnace.
12. Remove three inducer screws.
13. While the inducer is loose, remove condensate
drain plug from top right location on cold header.
14. Place condensate drain plug onto the cold header
outlet located on the bottom left of the cold header.
15. Rotate the inducer 180 degrees so that the elbow is
pointing towards the left.
16. Use the three inducer screws to reattach the
inducer to the cold header. Torque to 30 in.-lbs. Do
not overtighten.
17. Remove the pressure switch bracket assembly.
18. Remove the screw that holds PS2, rotate 90 degrees
clockwise, and reattach.
19. Reattach the pressure switch bracket assembly.
NNoottee:: The inducer is shown rotated into its final
position in the illustration in next page.
FFuurrnnaaccee CCoommbbuussttiioonn AAiirr EExxhhaauusstt OOppttiioonnss
 Loading...