Chapter 10 Installing the stand-alone operator display
60 CNT-SVN01C-EN
CAUTION
Equipment damage!
To clean the operator display, use a cloth dampened with commercial
liquid glass cleaner. Spraying water or cleansers directly on the screen
may result in equipment damage.
To install the stand-alone operator display:
1. Unsnap the gray plastic backing from the operator display.
2. Carefully disconnect the operator-display cable from the connector
inside the operator display.
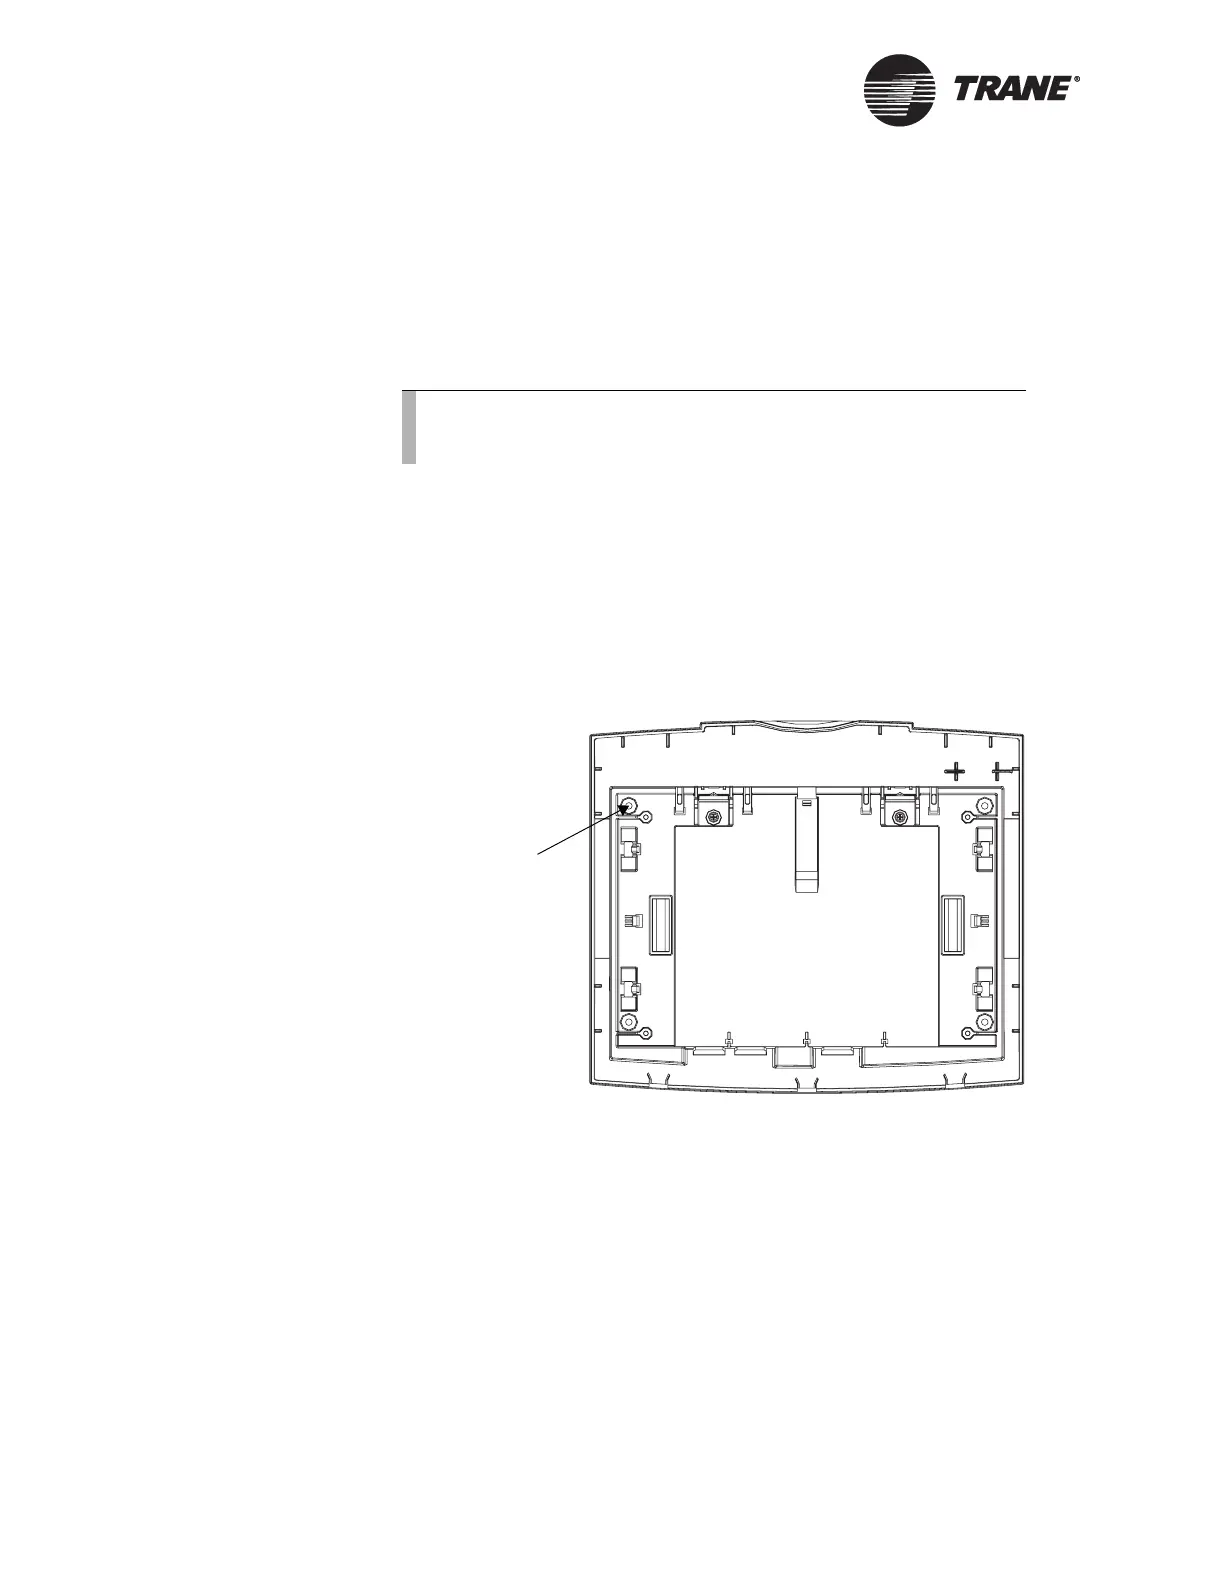
3. Use the plastic backing as a template to mark the position of the four
mounting holes on the mounting surface (see Figure 38).
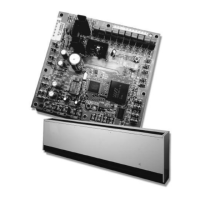
Figure 38. Operator-display mounting holes
4. Set the plastic backing aside and drill holes for #8 (4 mm) screws or
#8 wall anchors.
5. Secure the plastic backing to the wall with #8 (4 mm) mounting
screws (not supplied).
6. Connect the operator-display cable to the operator display, then snap
the operator display to the plastic backing.
The connector fits only one way. If you have difficulty connecting it,
rotate the cable 180° and try again.
7. Run the operator-display cable to the Tracer MP581, affixing it to the
wall with wiring staples or wire mold.
8. Feed the cable into the Tracer MP581 enclosure.
Note:
You do not need to power down the Tracer MP581 when
connecting the operator display.
Mounting hole
(four locations)
 Loading...