UNT-SVX07B-EN 49
Installation—General
Note: Follow the requirements of National Fire Protection Association (NFPA) Standard 90A or
90B, concerning the use of concealed ceiling spaces as return air plenums.
1. Prepare the ceiling opening for recessed units. Reference the unit submittals for dimensions.
2. Position and install the suspension rods or a suspension device (supplied by installer)
according to the unit model and size in “Dimensions and Weights,” p. 14.
3. On cabinet units, remove the bottom panel by
using a 5/32-inch Allen wrench to unscrew
fasteners. Swing the panel down and lift outward.
4. Level the unit by referencing the chassis en
d panels. Adjust the suspension device.
5. Complete piping and wiring connections, in addition to any necessary ductwork as instructed
in
the following sections. Ensure that the auxiliary drain pan is in position on fan-coil units.
6. Install the bottom panel before starting the unit.
7. Ensure condensate drain line is pitched one inch per ten feet of pipe away from the fan-coil unit.
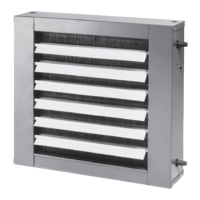
Cabinet Units
Install the bottom panel by placing the hinged end on the unit’s hinged end (always at the return
end of the unit). Refer to “Dimensions and Weights,” p. 14 for keyslot hanger hole locations. Swing
the panel upward into position. Secure the panel with the fasteners provided. Do not overtighten
the fasteners.
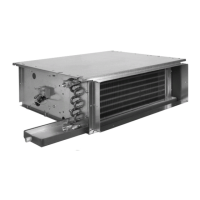
Recessed Units
Refer to “Dimensions and Weights,” p. 14 for mounting locations and unit weights. Follow the
procedure below and see Figure 16, p. 50.
1. Insert the mounting bolts through the panel brackets of the trim ring and secure to the hanger
holes on the unit. Tighten the mounting bolts to pull the trim ring snug against the finished
ceiling.
2. Install the bottom panel by placing the hinged end on the trim ring hinged end (always at the
unit’
s return end).
3. Adjust the expansion collar’s inner
duct (only on fan-coil units with a bottom return) to ensure
a tight fit against the insulation located on the perimeter of the bottom panel’s return louver.
4. Close the s-hook on each end of safety chain assembly. Insert s-hooks through holes in unit and
d
oor. Close s-hook on door.
5. Insert retaining screws through bottom panel
door and place retaining rings on screws.
6. Swing the bottom panel upward into position. Hook the safety chain to the bottom panel and
the
unit. Tighten the panel to the unit with the fasteners provided.
NOTICE
Unit Leveling!
All unit panels and filters must be in place prior to unit start-up. Failure to have panels and filters
in place may cause motor overload.