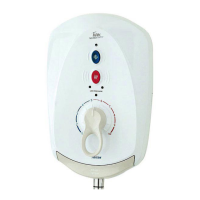
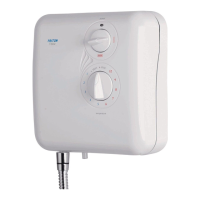
T100e thermostatic care & care plus
9
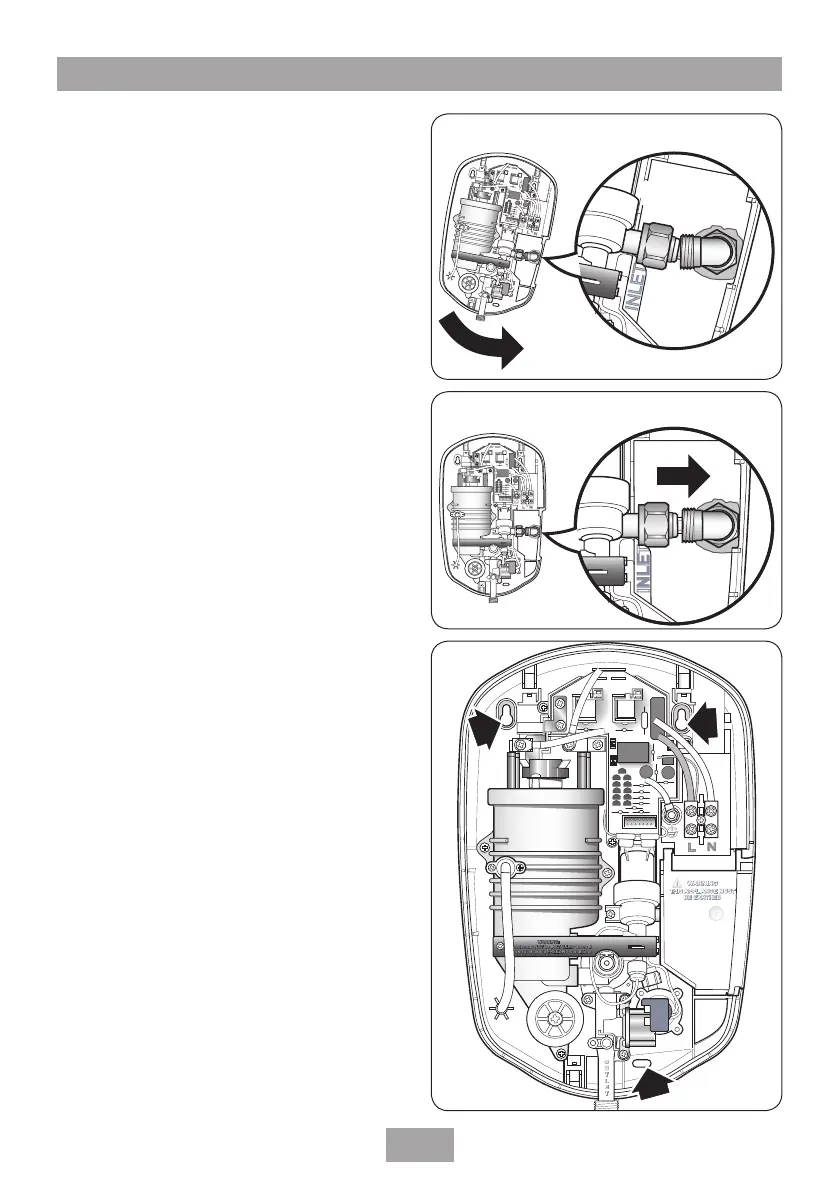
Slide the compression nut and olive onto the
unit inlet pipe. Make sure the inlet filter is in
place before attempting to fit onto the elbow
connector (fig.12).
Turn the unit at an angle similar to that shown in
fig.13. This will allow easier access for fitting the
inlet pipe onto the elbow connector.
Fit the unit, taking care to make sure that the
inlet pipe is connected to the elbow. Once the
inlet pipe is located, carefully turn the unit anti-
clockwise until it is level and push gently into
place onto the elbow (fig,14).
After choosing the site for the shower, use the
backplate as a template (fig.15) and mark the
three fixing holes.
Remove the unit. Drill and plug to suit the fixing
screws supplied. (The wall plugs provided are
suitable for most brick walls — use an appropriate
masonry drill. If the wall is plasterboard or soft
building block, you must use suitable wall plugs and
an appropriate drill bit).
Secure the unit in place using the screws
supplied. Do not fully tighten the screws at
this stage, as the fixing holes are elongated for
out of square adjustment after the plumbing
connections has been completed.
. . . . . .
. . . . . .
. . . . . .
. . . . . .
L
L
N
N
. . . . .
.
. . . . .
.
. . . . .
.
. . . . .
.
INLET
INLET
Slide inlet pipe into
elbow connector
at an angle
.
.
. .
.
.
.
.
. .
.
.
.
.
.
.
.
.
.
.
.
.
.
.
L
L
N
N
. . . . . .
. . . . . .
. . . . . .
. . . . . .
INLET
INLET
Fig.13
Fig.14
Fig.15
 Loading...